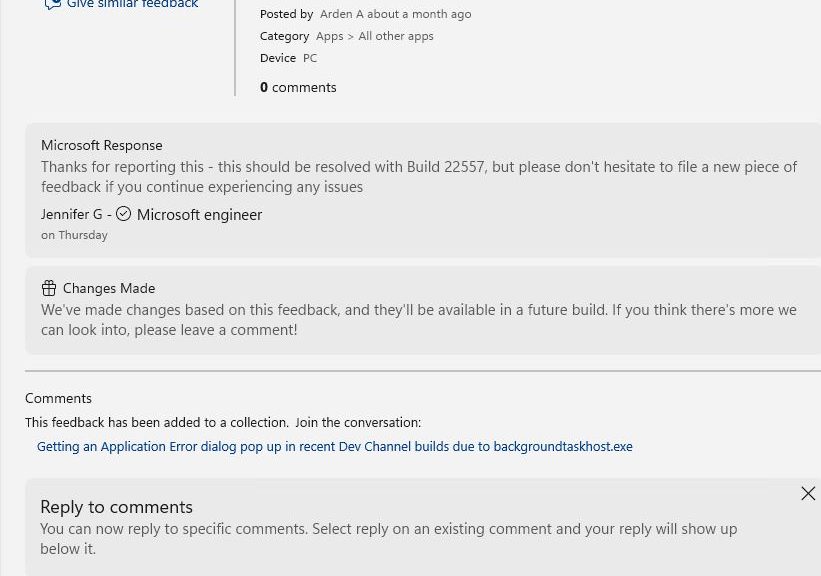
Woo hoo! I saw a notification from Feedback Hub when I logged into my X1 Carbon this morning. Indeed: “BackgroundTaskHost Feedback Hub Response Received” hardly does justice to my sense of vindication and delight. AFAIK, this is the first time one of my FB Hub posts has engendered a reply. And if you look at the text in the lead-in graphic you’ll see they plan to fix it “in a future build.” (Note: you may have to open the graphic by double-clicking to read the text because of how WordPress handles such images.)
Party Time: BackgroundTaskHost Feedback Hub Response Received
I’ve reported a sizable number of FB Hub items, but this is the first time I’ve seen such a response. It’s nice to know the mechanism is doing its job. MS developers and engineers need input on what’s working and what’s not, for sure. But it’s even nicer to get a response back, and to understand that doing one’s bit can actuallly result in changes. Hopefully, improvements even.
All I can say is: I’m jazzed. This is a great way to get my Friday off to a good start. Considering what I need to accomplish today, this may be just the lift-off I need to help me along the way. Not to mention a forthcoming second cup of coffee, too!
Added to a Collection, It Was…
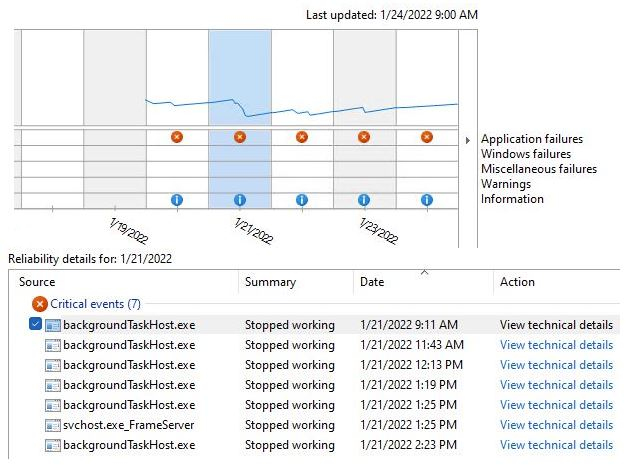
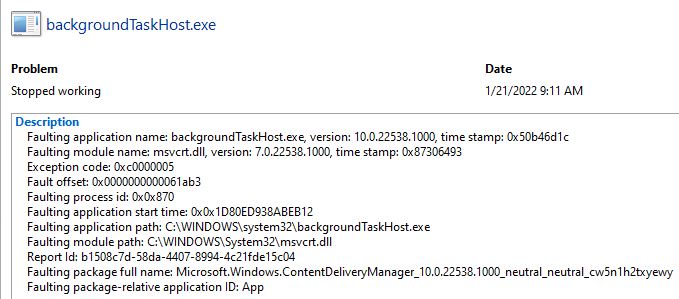
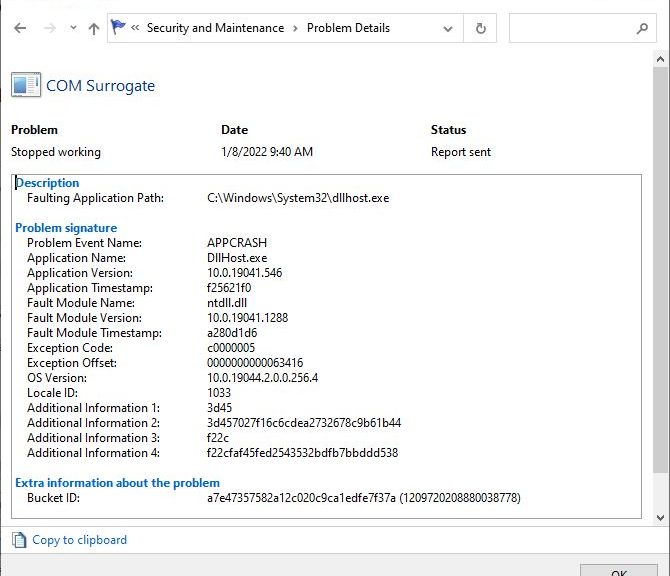
The feedback item I submitted has been added to a collection of similar items. It’s entitled “Getting an Application Error dialog pop up in recent Dev Channel builds due to backgroundtaskhost.exe.” Funny thing in my case is that I never saw the pop-up: all I saw was copious errors in Reliability Monitor, as described in this January 24 post. But hey: I’ll take my responses and their notoriety where I can get ’em. Cheers!