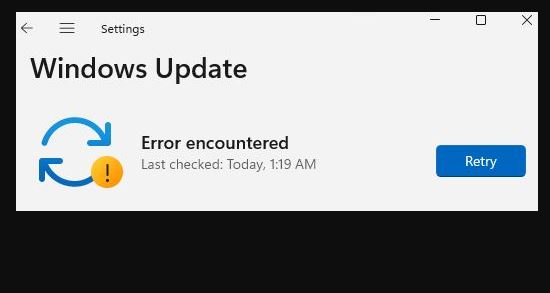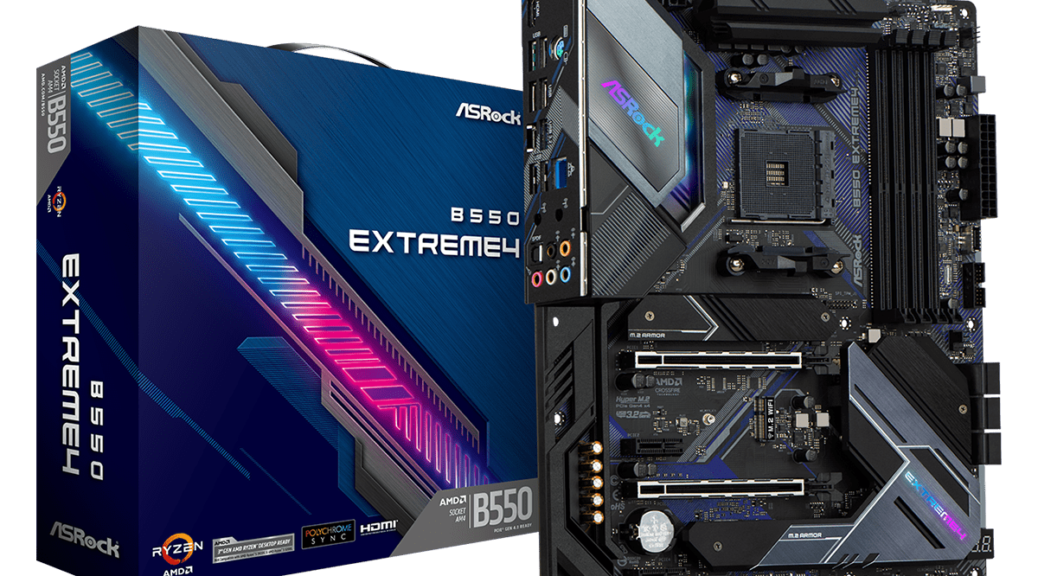
It’s an old-school repair technique that remains relevant even for the latest Windows version. While fiddling with my up-and-coming production PC this weekend, I encountered absent apps. This is my latest PC build — Asrock B550 Extreme4 mobo, AMD 5800X CPU, 64 GB RAM, 2TB Sabrent Rocket SSD, and GeForce 1070 Ti . At a bare minimum, I found both Windows Defender and Windows Terminal MIA on the then-current install. Fortunately, an in-place upgrade repair install fixes mystery Windows 11 woes.
Indeed In-place Upgrade Repair Install Fixes Mystery Windows 11 Woes Quickly and Easily
The principle behind this technique involves over-writing the current Windows image with an equivalent replacement. Essentially, it replaces all of the OS files and related scaffolding without touching local files and applications. It also re-creates the default app environment for Windows 11, which was my real motivation for this maneuver.
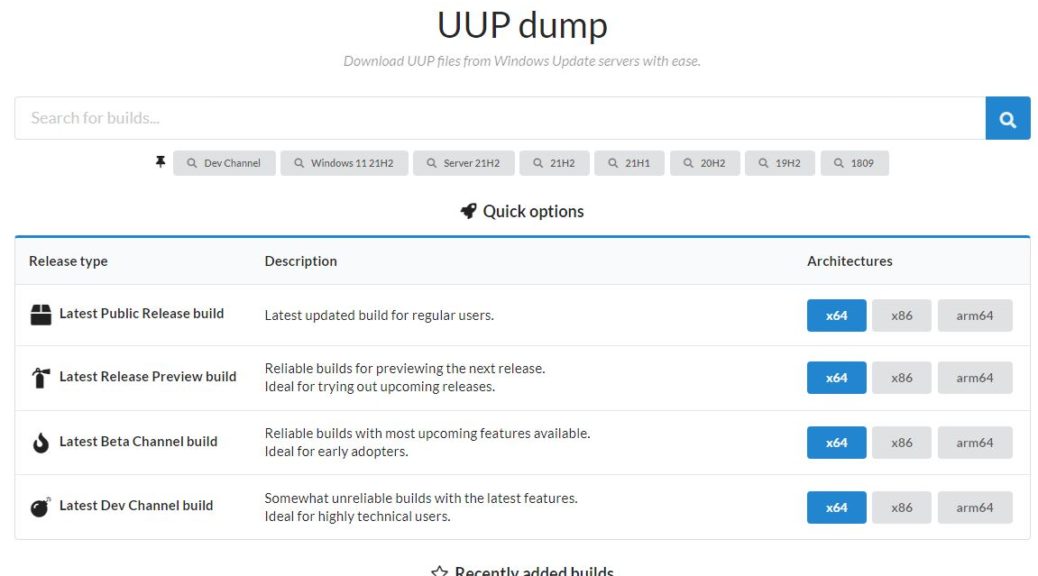
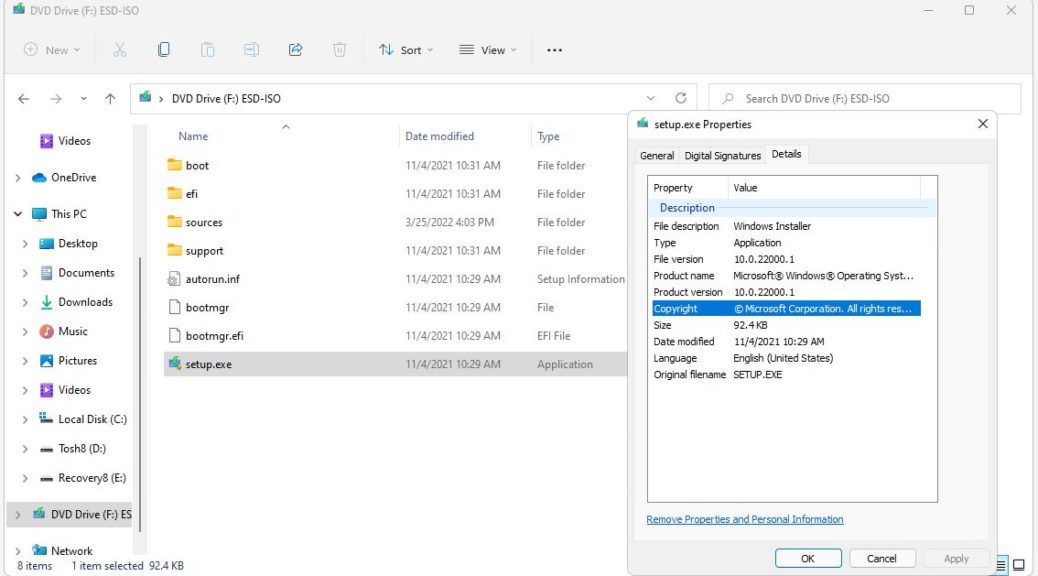
I visited the Download Windows 11 page to grab the ISO. I clicked on “Download now” under the Create Windows 11 Installlation Media heading, and used the Media Creation Tool to create an ISO file. After mounting that ISO on the target PC, I ran setup.exe to perform the in-place upgrade repair install.
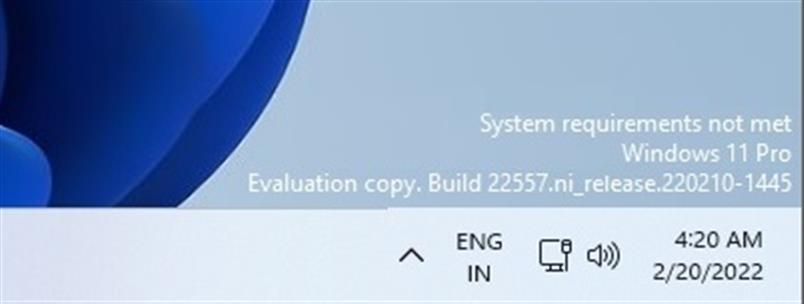
Before: no Windows Defender or Windows Terminal (the packages themselves were absent from the runtime environment). After: both Windows Defender and Windows Terminal were present and ran as expected. Total time involved in this repair: 10 minutes to download the ISO file shown in the lead-in graphic; 20 minutes to perform the install itself (total time: half an hour).
The Half-Hour Troubleshooting Rule
Once i figured out that the apps were missing completely, I immediately decided to run the upgrade repair install. Normally, I will troubleshoot for half an hour on a problematic Windows image. If I haven’t solved the problem by then, my next move is to try this repair technique. Most of the time, it works when problems are OS related (it may not help with application issues, though).
And fortunately for me, it worked as desired this time. I’ll continue my “slow migration” from my 2016 vintage Z170 i7-6700 (too old to meet Windows 11 hardware requirements) later this week, after I meet some pressing deadlines first and foremost. Stay tuned: I’ll keep you posted on progress and issues encountered.