Here’s an uncomfortable, seldom considered truth: your operating system isn’t the first thing that runs when you power on your PC. The firmware goes first. Then the bootloader. Then the OS kernel. Malware creators figured this out a long time ago. Get in early enough — before the OS loads — and you can own a machine invisibly, surviving reboots, reinstalls, and even antivirus scans. All this explains why the secure boot chain of trust is vital to modern Windows security.
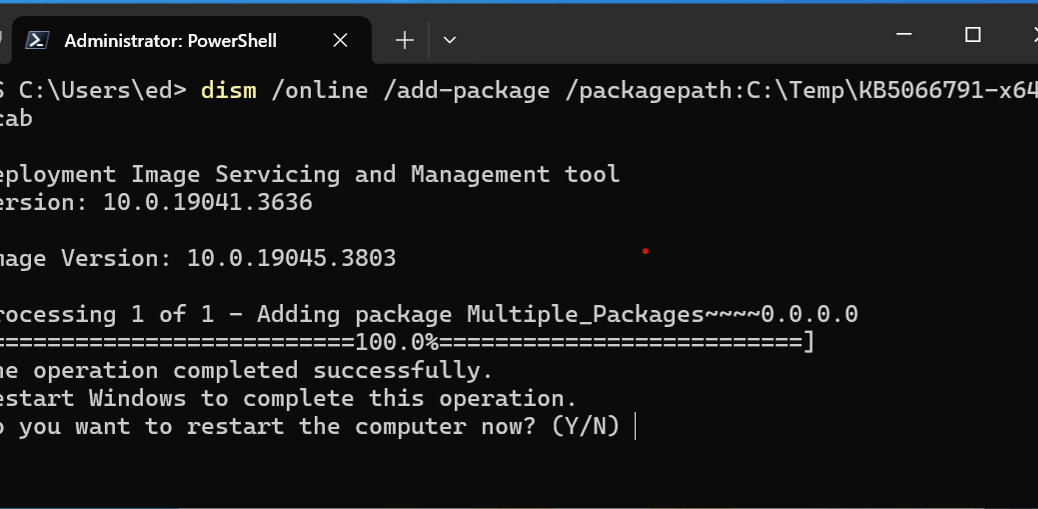
The threat is real and it’s present right now. BlackLotus, a UEFI bootkit sold on criminal forums, made headlines in 2023 for bypassing Secure Boot on fully patched Windows 11 systems. BootHole exposed a critical flaw in GRUB2’s boot process that affected both Linux and Windows. PKFail (2024) revealed that dozens of device vendors had shipped products using a leaked “do not ship” test Platform Key — meaning the root of the entire trust hierarchy was compromised straight out of the box. Then, in January 2025, ESET researchers disclosed CVE-2024-7344: a Microsoft-signed UEFI recovery application that could silently load unsigned bootkit code — on any UEFI system, regardless of whether Secure Boot was enabled. Microsoft pulled the vulnerable binaries in the January 14, 2025 Patch Tuesday update.
Boot-time attacks aren’t theoretical. They’re happening. Under-standing Secure Boot’s chain of trust is the first step toward knowing whether your defenses are actually holding.
Understanding the Secure Boot Chain of Trust
Think of the chain of trust as a series of checkpoints at the border. Each checkpoint must vouch for the next before anything is allowed through. No vouching, no entry, and the boot process stops dead.
In technical terms: every component in the boot sequence verifies the digital signature of the next component cryptographically before handing off execution. The firmware checks the bootloader. The bootloader checks the OS kernel. The kernel checks drivers. If any link in that chain can’t be verified — wrong signature, no signature, a signature that’s been revoked — the process stops. Your PC refuses to proceed rather than run untrusted code. That’s the whole point. Always safe means never sorry, even if it also means a PC that won’t fire up and run.
The chain only works, of course, if the first link is trustworthy. That’s where the UEFI key hierarchy comes in.
The Key Players: PK, KEK, db, and dbx
UEFI Secure Boot manages trust through four interlocking databases baked into your firmware. Get familiar with them — they come up constantly whenever something goes wrong at boot time.
| Key / Database | Full Name | Role |
| PK | Platform Key | Root of trust. Set by the hardware manufacturer. Controls who can update KEK. |
| KEK | Key Exchange Key | Authorized to update the signature databases (db and dbx). |
| db | Signature Database | Hashes and certificates of trusted bootloaders allowed to execute. |
| dbx | Forbidden Signatures Database | Revoked signatures and hashes. Anything here is blocked unconditionally. |
The PK sits at the top. Your motherboard manufacturer owns it. Below the PK, the KEK authorizes who gets to update the lists of trusted and forbidden signatures. In practice, Microsoft functions as the de facto Secure Boot Certificate Authority for the consumer PC ecosystem. Nearly every machine you buy ships with Microsoft’s certificates pre-loaded in db — exactly why CVE-2024-7344 was so broadly dangerous. A legitimately Microsoft-signed binary became a usable attack vector!
Worth Knowing: PKFail and the Test Key Problem
In 2024, the PKFail vulnerability revealed that over 200 device models from multiple vendors shipped with a Platform Key originally marked “DO NOT TRUST” — a sample key from AMI’s reference firmware that was never meant to leave the lab. When your PK is public knowledge, the entire root of trust collapses.
How the Chain Is Created at Boot Time
Power on your PC, and here’s what actually happens — fast, invisible, and mostly taken for granted.
- The UEFI firmware initializes hardware and activates Secure Boot mode.
- The firmware reads the bootloader from the EFI System Partition and checks its signature against db. It also checks against dbx — if it’s there, execution stops immediately.
- The signed bootloader (Windows Boot Manager, for example) takes over and verifies the OS kernel’s signature using its own embedded certificates.
- The kernel loads and verifies signed drivers. On Windows, this is enforced through Driver Signature Enforcement — unsigned kernel-mode code is blocked by default.
Every handoff is cryptographically verified before it happens. Compromise any link — plant an unsigned binary, exploit a signed-but-vulnerable loader, sneak past a misconfigured dbx — and an attacker owns your machine below the OS waterline. That’s precisely the attack surface that BlackLotus, BootHole, and CVE-2024-7344 each exploited in different ways.
Maintaining a Strong Chain of Trust
Secure Boot isn’t a “set it and forget it” control. Maintaining a healthy chain of trust requires ongoing attention from both Microsoft and from you.
The most important maintenance lever is the dbx — the blocklist. When a bootloader is found vulnerable (as happened with a batch of 2011-era Microsoft-signed binaries in 2023, and again with the CVE-2024-7344 binaries in January 2025), Microsoft issues dbx updates through Patch Tuesday. Your firmware then refuses to execute those specific binaries even if they’re somehow placed on the system. Keeping Windows Update current is how those revocations reach your PC.
Firmware updates matter just as much. Vulnerabilities in the UEFI firmware itself require OEM-supplied updates delivered via Windows Update or manufacturer tools. The NSA and CISA have both issued guidance recommending that organizations periodically audit their Secure Boot configuration — confirming the correct keys are enrolled, the dbx is current, and no rogue Platform Keys are in place (a lesson PKFail drove home hard).
Complementing Secure Boot is the TPM’s Measured Boot capability. While Secure Boot enforces what can execute, Measured Boot records cryptographic measurements of everything that did execute into TPM Platform Configuration Registers (PCRs). Remote attestation tools can then verify those measurements after the fact. Think of Secure Boot as the bouncer at the door; Measured Boot is the security camera logging who actually got in.
Why the Chain of Trust REALLY Matters
Secure Boot isn’t perfect — BlackLotus, BootHole, PKFail, and CVE-2024-7344 all proved that. But “not perfect” is a long way from “useless.” It raises the cost and complexity of boot-level attacks significantly, and when the ecosystem keeps the revocation databases current, it closes known attack paths quickly.
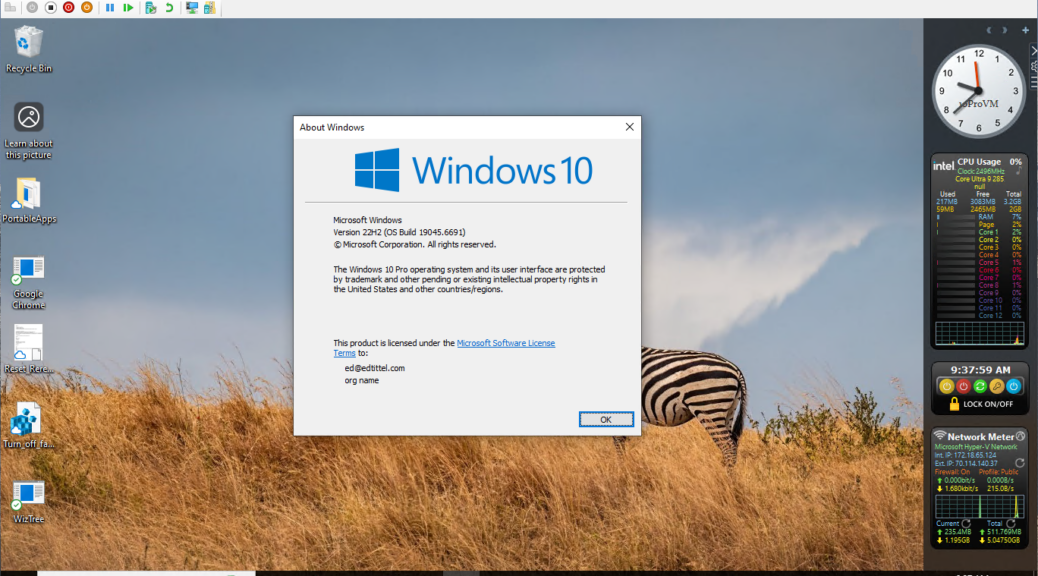
Do yourself a favor: open System Information (msinfo32), find BIOS Mode (should read UEFI) and Secure Boot State (should read On). If either is wrong, fix it. Keep your firmware updated. Keep Windows updated. The chain of trust is only as strong as its weakest, most-neglected link — and that link is usually sitting right between the keyboard and the chair. Here in Windows-World keeping track of key security concerns is darned important. The Secure Boot chain of trust should be at the top of everyone’s list.