Yesterday, I launched Intel Driver & Support Assistant (aka Intel DSA) on my Lenovo ThinkStation P3 Ultra Gen 3. Then I watched it sit there, seemingly forever, with Intel DSA hanging at “Scanning your system…” interminably. The spinner spun. And spun. And kept right on spinning.
First, I did what any reasonable Windows veteran does: I refreshed the browser tab. Then I restarted Intel DSA. Then I cleared the browser cache. Then — because hope springs eternal — I uninstalled and reinstalled the whole tool. Nothing worked.
Finally, after roughly 20 minutes of increasingly creative nattering about, I decided to actually dig in and find the culprit. Ultimately, I was able to determine that Hyper-V hangs up Intel DSA. When Hyper-V is running (with one or more VMs in tow), DSA gets stuck. When Hyper-V is off and its VMs shut down, DSA does its thing.
Discovering That Hyper-V Hangs Up Intel DSA
My first instinct was Task Manager. I scanned the process list for anything suspicious chewing up CPU or disk I/O. Nothing obvious jumped out — DSAService.exe was running, but it was barely registering any activity. Interesting.
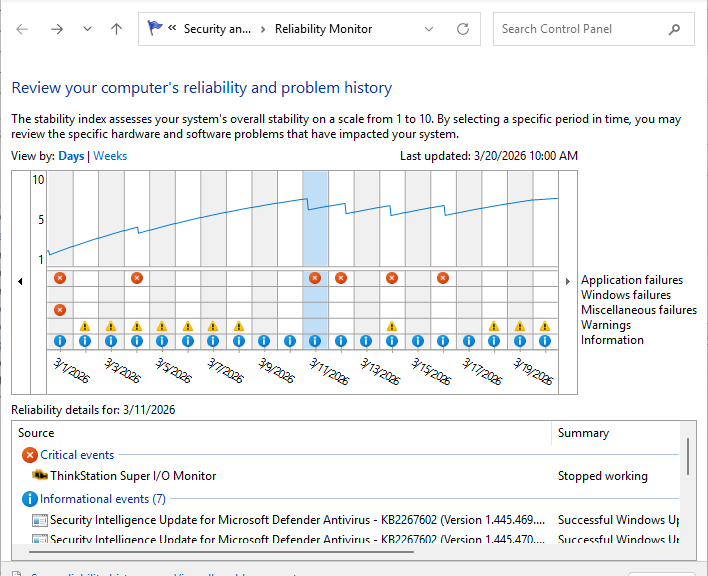
Next, I pulled up Windows Services and confirmed that the Intel DSA Service was running and set to automatic. So the service itself wasn’t the issue. I then checked Event Viewer, hoping for a clear error message. However, Event Viewer offered nothing but a wall of routine informational noise. As helpful as usual (not much).
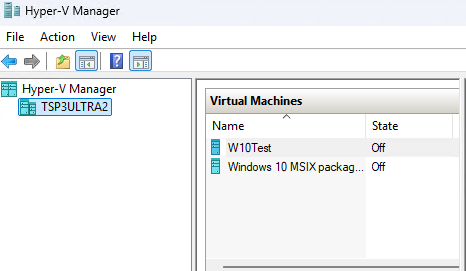
Then I glanced over at my taskbar — and something caught my eye. Hyper-V Manager was open. And sitting right there in the Virtual Machines list was my Windows 10 ESU VM, happily showing a Running state. I hadn’t touched it in days. I’d simply forgotten to shut it down.
That was my “aha” moment. I had a hunch. It was time to test it.
The Fix Is In — and Dead Easy, Too
I right-clicked the running VM in Hyper-V Manager and chose Shut Down — not Pause, not Save State, but a full, clean shutdown. Note state showing “Off” in the lead-in graphic: that’s what you want. Then I closed Hyper-V Manager entirely. Finally, I switched back to my browser and relaunched Intel DSA. The scan completed in about four seconds. Four seconds. After sitting frozen for half an hour!
So why does this happen? Here’s the short version. Intel DSA’s local service performs low-level hardware enumeration — it interrogates drivers, firmware, and system components directly. However, when Hyper-V has an active virtual machine running, the hypervisor layer sits between the operating system and the physical hardware. It intercepts certain hardware queries to protect the VM’s virtualized environment. As a result, Intel DSA’s scan requests can stall waiting for responses that never arrive. The tool doesn’t time out gracefully — it just hangs there, looking busy while doing absolutely nothing.
What to Do If Intel DSA Hangs on Your PC
If you’re seeing Intel DSA hanging at “Scanning your system…” with no end in sight, work through this list before you do anything drastic.
- Check Hyper-V Manager for running VMs. Open Hyper-V Manager and look at the State column. If anything shows “Running,” that’s your prime suspect.
- Shut down — don’t just pause — any running VMs. Right-click the VM and select Shut Down. Wait for the state to change to “Off” before moving on.
- Close Hyper-V Manager entirely. Don’t just minimize it. Close the window completely so the management layer releases its handles.
- Relaunch Intel DSA in your browser. Navigate back to the Intel DSA page and let it load fresh. The scan should complete within seconds.
- If it still hangs, try the IP listen fix. Open an elevated Command Prompt and run: netsh http add iplisten 127.0.0.1 Then, restart the DSAService via Services or with net stop DSAService && net start DSAService. This resolves a separate but related port-binding conflict that can also cause Intel DSA to freeze.
With luck, DSA will get unstuck for you, too. It worked for me. Here in Windows-World that may not guarantee it will work for you to. But at least, it’s worth a try. Give it a shot!