When is a Windows app not really a fully standalone piece of software? When it runs as an extension of the Edge environment. To be more specific: when it’s the Windows 10 version of the MS Store Copilot app. I found myself in login lockout because Copilot was using my base-level work MSA as its login account, and it only works with so-called “personal MSAs.” Only after a fair bit of searching did I discover I needed to change my default Edge profile to get Copilot to run. With apologies to Milan Kundera, I see this as a case of unbearable Windows 10 weirdness: Copilot + Edge, when the latter comes as a kind of unexpected surprise.
Deciphering Unbearable Windows 10 Weirdness: Copilot + Edge
My real issue was that I suddenly couldn’t log into Copilot. It said I was using a work MSA (it’s the base of my current production login account, in fact). It offered a “Switch account” option, too. But try as I might, I got exactly nowhere working through the MSA interface via Copilot. It kept looping back to the same place, and I remained stuck.
Naturally, I turned to Google using “can’t login to Copilot” as my starting point. Only after some serious rooting around in MS Answers and other similar online communities did I find a fix. It showed up in this MS Community thread Windows Copilot Is Not Working. Therein a self-professed “IT technician” observed that “you have to delete your Edge profile and then it works fine.”
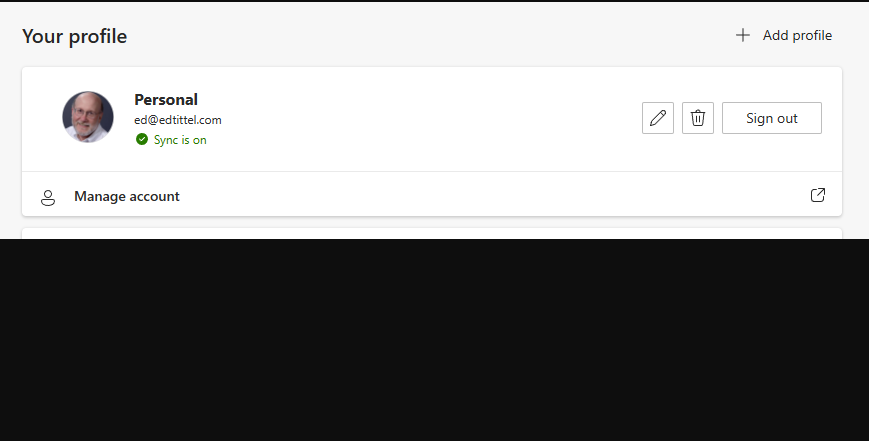
That’s not exactly true. But it is an important pointer in the right direction. If you define or switch away from a work or school MSA to a personal MSA it works that way, too. I had to set up a personal MSA profile for the account shown in the lead-in graphic, then switch to same. After that, no more problems circling around my work MSA with no traction. To be more direct: after the switch, the Copilot app resumed working.
When they say “The Devil is in the details,” I am pretty sure the MSA stuff falls under that rubric. And for what it’s worth, so also does the MSA vis-a-vis MS Teams logins. Just another day in the paradisaical paradoxes of Windows-World.