The late, great Gerald Weinberg is one of my “tech heroes.” He wrote a lot of great books. My personal fave is The Secrets of Consulting. One of its many gems is called “Rudy’s Law of Rutabagas.” Essentially, it boils down to “As soon as you solve one problem, another one pops up to take its place.” As I maneuvered — and maneuvered some more — yesterday so that my X12 Hybrid gets 25309 clean install, Rudy’s Law was ever on my mind. Let me explain…
Why X12 Hybrid Gets 25309 Clean Install
First, a bit of background. As I tried to upgrade to Build 25309 last week on the X12, I hit all kinds of snags. It kept failing at the FIRST_BOOT stage. Ironically this refers to the first reboot after the reboot that transitions from the GUI-based portion of a Windows install (where the running OS is in control) to the post-GUI portion (where the WinPE for the newly-emerging OS is in control).
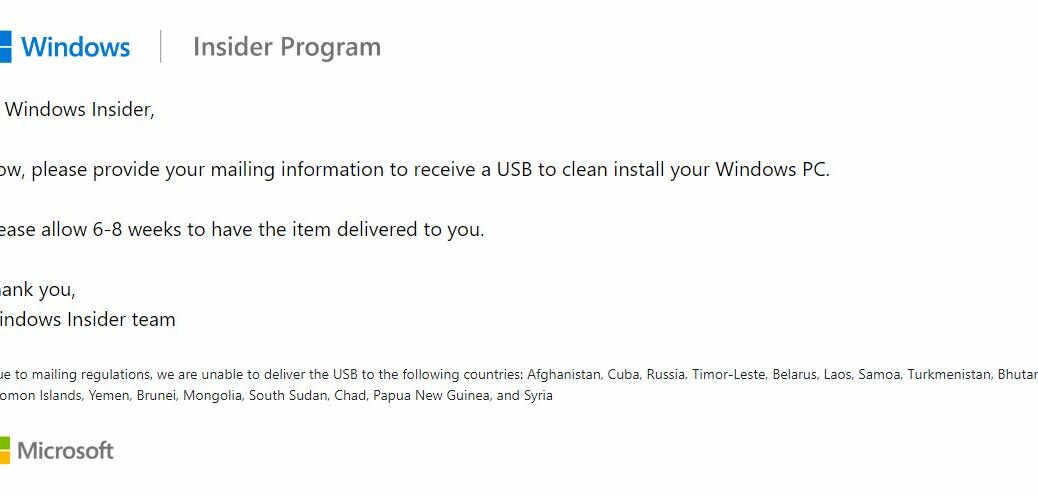
I kept getting error codes 0XC1900101 and 0XC1900131 while attempting WU-based updates. After building an ISO for 25309 at UUPdump.net, I elicited a more informative error message after that installer failed during an in-place repair install, as part of its post-fail reporting (see lead-in graphic). This usually means there’s a device driver conflict or incompatibility of some kind. But I’ll be darned if I could figure out what it was.
All in all, I attempted to install 25309 four times on the X12. And when 25314 appeared yesterday, I tried that one, too via WU. None succeeded. Nor could I get any tips or tricks for working around this from the MS Insider Team after reporting my woes to Feedback Hub.
The Upgrade of Last Resort: Clean Install
When all upgrade attempts fail, you can always wipe the system disk clean on a Windows PC, then overwrite everything with a fresh, clean install of your chosen OS version. Most people (including me) shy away from this technique because it requires re-installing all applications and apps added to the PC since it first booted up, and re-adjusting all preferences and settings. That takes TIME, and lots of it. But it is something of a silver bullet for fixing munged Windows installations. It seems pretty clear that’s what I had, so in this case a clean install made good sense.
Remembering Rudy’s Law…
I ran into plenty of obstacles along the way to achieving a clean install yesterday afternoon. Let me simply list them briefly along with my response(s):
- Couldn’t get the X12 to boot to a USB drive. Response: turn off BitLocker, suspend Secure boot.
- Couldn’t provide the proper BitLocker key to enable boot process to complete. Response: boot into running image, use Control Panel Bitlocker utility to print BitLocker keys.
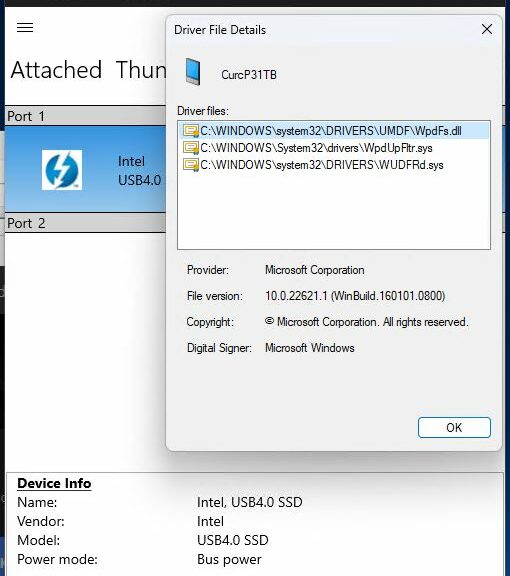
- Couldn’t get the X12 to boot to the USB NVMe drive enclosure with Ventoy and the 25309 image. Response: use RUFUS to build a bootable USB flash drive with that image installed.
Eventually after 3.5 hours or so of kibitzing around, I got to setup.exe on the USB flash drive, and fired off installation. After all that prep work, the process took less than half an hour to get me to a desktop. But those various gyrations (bulleted above) reminded me that indeed, solving any one problem inevitably leads to solving the next one.
Where’s the X12 Install Now?
Because a new Canary channel build — namely 25314 — emerged while I was still grappling with 25309, I had upgrades to apply once 25309 was clean-installed. I fired off the reboot for the next iteration last night before heading off to bed, with fingers crossed for its success. When I hit my desk this morning, 25314 was ready to run on the Lenovo ThinkPad X12 Hybrid Tablet. What a relief!
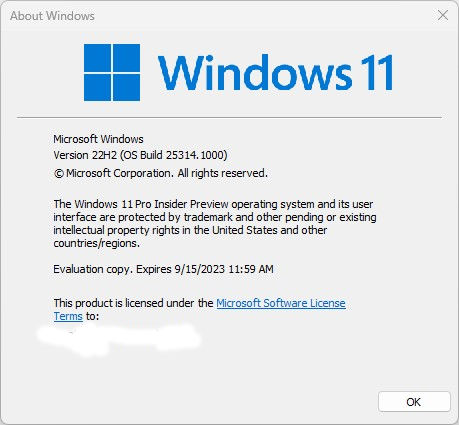
As proof of workability, the feature upgrade to 25314 succeeds. Good-oh!
Now the REAL Fun Begins…
Over the next days (and probably weeks) I’ll find myself putting the X12 together again. I’ve already set up Remote Desktop. I can see I need some changes to Power Options, File Explorer options, and more. Plenty of apps and applications to install, too. That’s what always follows in the wake of a clean install. Here we go!