Yesterday, I was bopping along and working away. Somewhere after lunch I noticed my D: drive had gone missing. I’ve been working feverishly to try to resuscitate that volume, but it ain’t coming back. Good thing I back it up frequently. I just restored the folders I care about most from that backup (and know where to find more, if I need them). So now, it’s time to say: Bye bye Seagate STL1000LM014.
Impacts from Bye Bye Seagate ST1000LM014
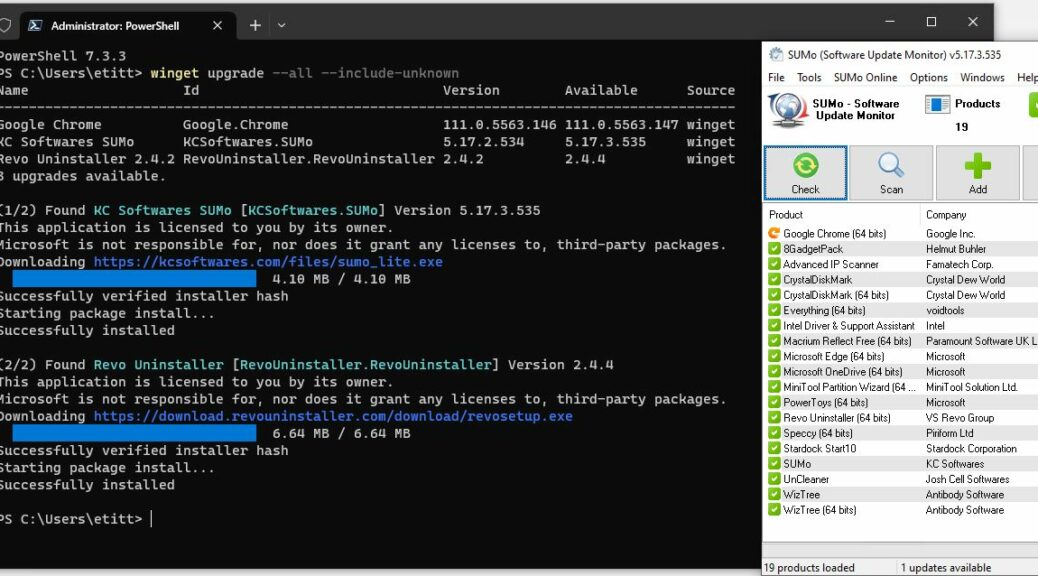
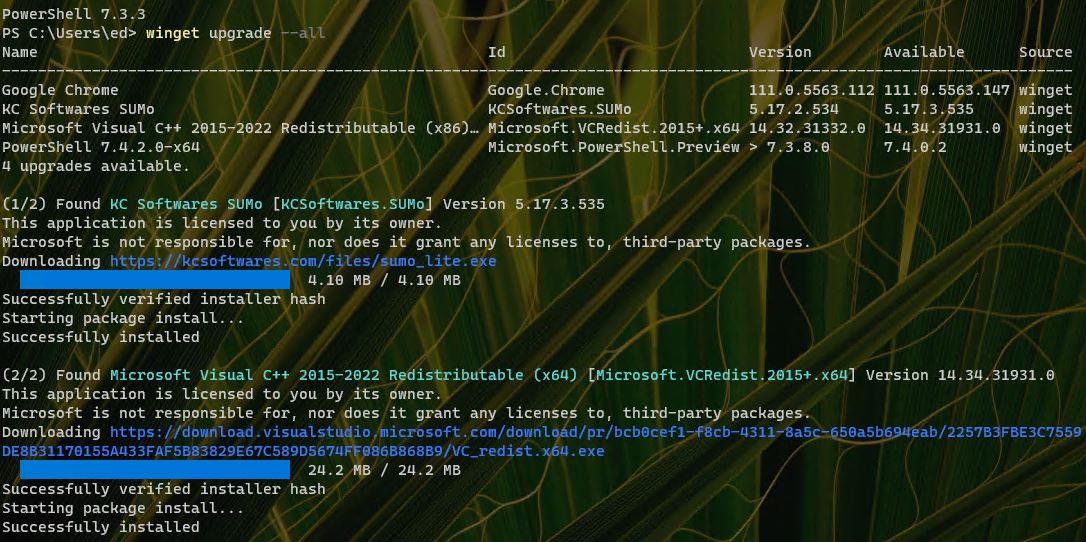
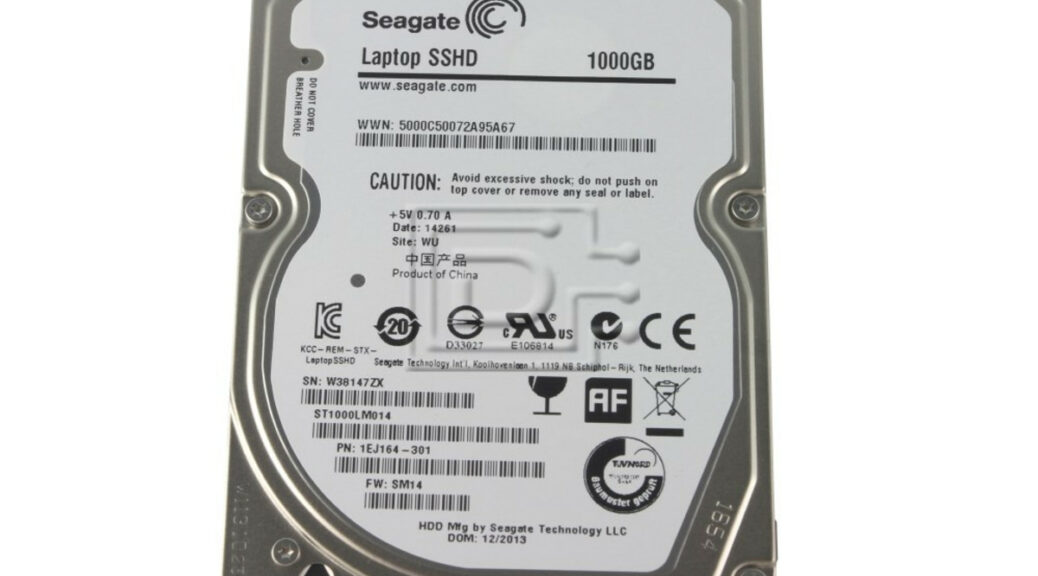
A bit of surprise and upset was my first reaction. But then, I looked at the manufacture date: 2014. Hmmm … let’s see … that’s 8-9 years ago. So, actually, not too surprising. I spent a couple of hours trying to recover the drive. But it won’t read in Windows for more than a minute or two before it falls over and throws a “failed USB device” error. So, I’m retiring this drive from service. I wasn’t able to recover its contents or restore it to working condition using Disk Management, MiniTool Partition Wizard, or SeaTools. That means it’s time for it to go.
It’s already been replaced with a different 2.5″ drive. It was mounted in a pop-out drive cage, which made it easy to remove the dead drive and drop in a live replacement. This time around, I’m going with a Seagate ST2000LX001FireCuda 2TB model, manufactured in 2020 or thereabouts. It should last for a while yet (at least 5 more years if the previous iteration is any guide). I think I’ll be OK.
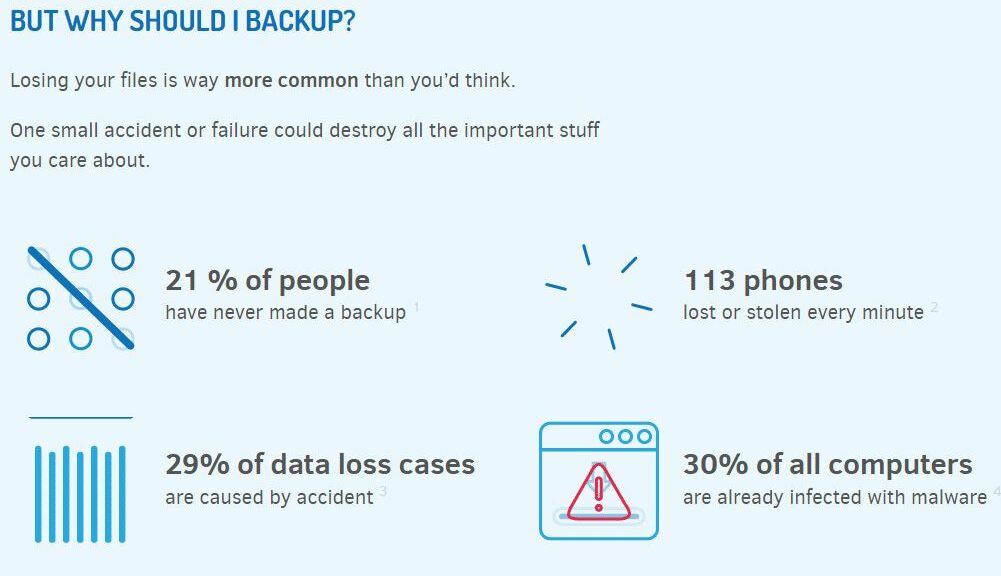
Thank God for Good Backup!
I’m so glad I made the old D: drive part of my daily backup routine. I didn’t lose more than a day’s work. Now, I have to clean up the backup definition and make sure I’m still covered when the next drive fails. As they often say here in Windows-World: it’s always something!