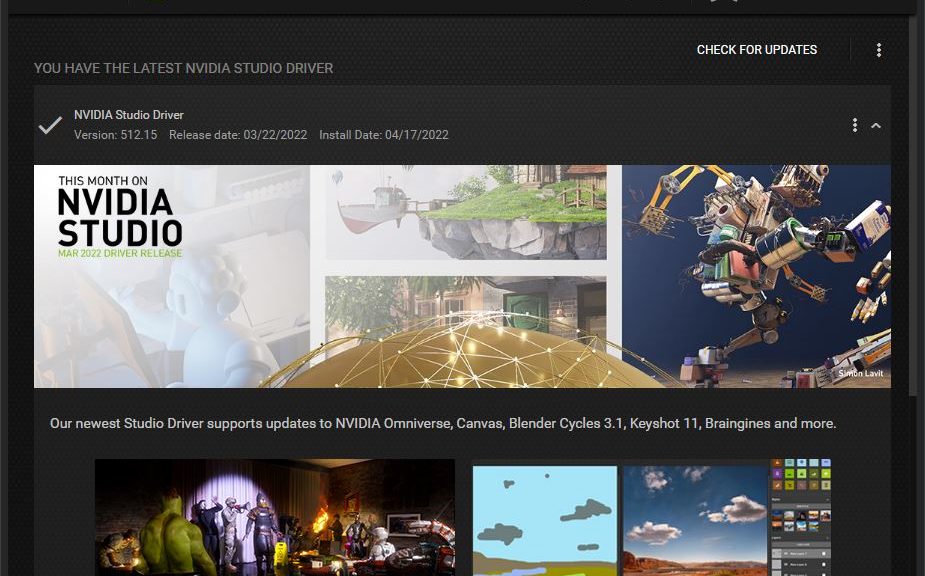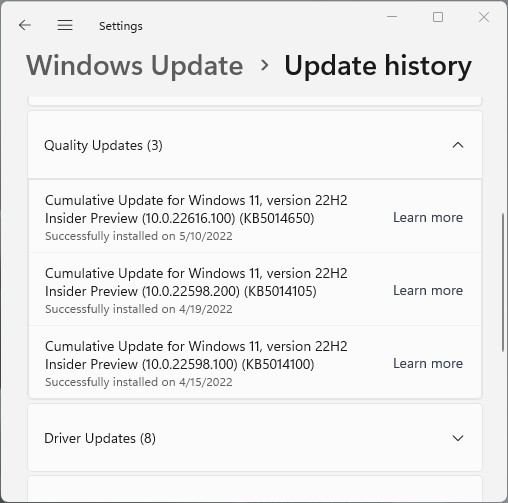
Yesterday (May 10) was Patch Tuesday. A plethora of updates hit for Windows 10 and 11 across most versions. Right now, various Windows news outlets are reporting issues with some of the updates just released. Naturally, I wanted to check to see if any of my PCs were affected, In reaching out to my various systems, I noticed RDP goes MIA following KB4014650 update to at least one of my Windows 11 Dev Channel PCs.
FWIW, that’s different from issues reported elsewhere (see this WindowsLatest story for an example). Most revolve around issues related to .NET Framework 3.5 problems.
Fixing RDP Goes MIA Following KB4014650 Update
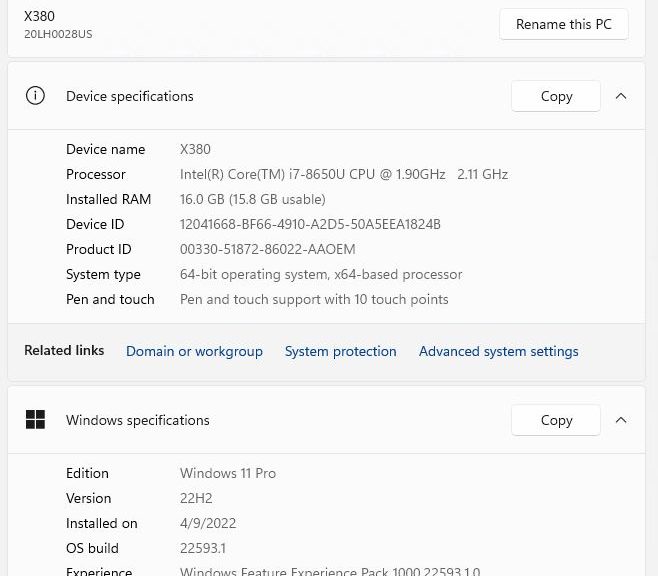
On my Lenovo X12 Hybrid, the symptoms of trouble were easy to spot. Even though the Belkin Thunderbolt 3 dock remained plugged in, the system saw neither its GbE connection, nor the nominal 5TB HDD plugged into one of its USB-C ports. Thus I knew something was up with peripheral connections. Fortunately, an unplug/re-plug operation brought both the dock and the drive back into service.
One of my X380 Yogas was unaffected by the update, and RDP kept working as always. Amusingly, the second instance (both machines are identical except that one has a Toshiba/Kioxa SSD, while the other has a Samsung, of which both are OEM varieties) did not come up right away. A visit to Settings → System → Remote Desktop to turn Remote Desktop off, then turn it back on, did the trick for this machine.
Neither fix was a big deal: each was obvious and thus easily identified, and likewise easy to fix. I can only wish all my Windows problems were this lacking in subtlety and amenable to repair. Long experience teaches me otherwise.
Shades of Other Days & Other Fixes
I can remember days when Windows 10 updates would routinely mess with my Network and Sharing Center settings. Advanced sharing settings for Private, Guest or Public, and All Network elements would routinely revert to their defaults. So then, I would have to re-set them to the way I wanted them to be. This latest set of issues strikes me as something in that vein. Hopefully, it will be just a one-time blip rather than a new continuing gotcha. Time will tell: I’ll keep watching, and report what I find. Stay tuned!