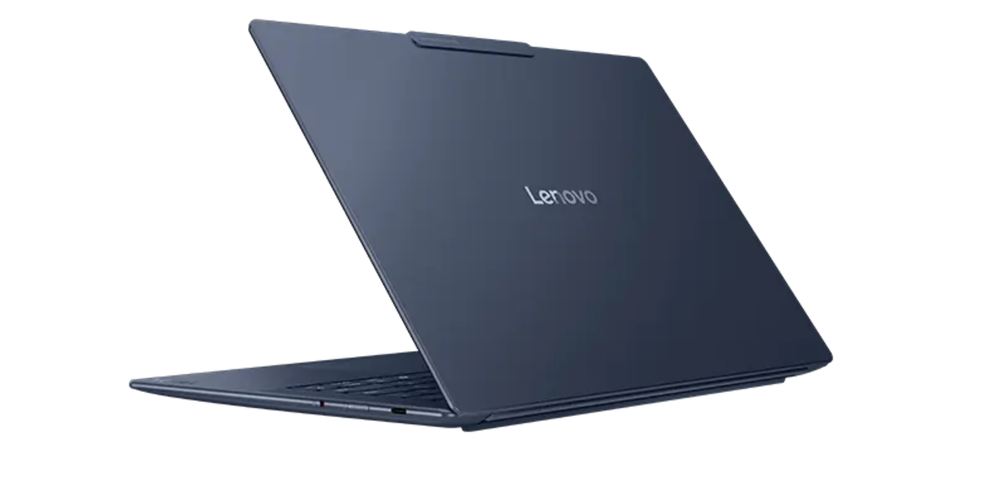
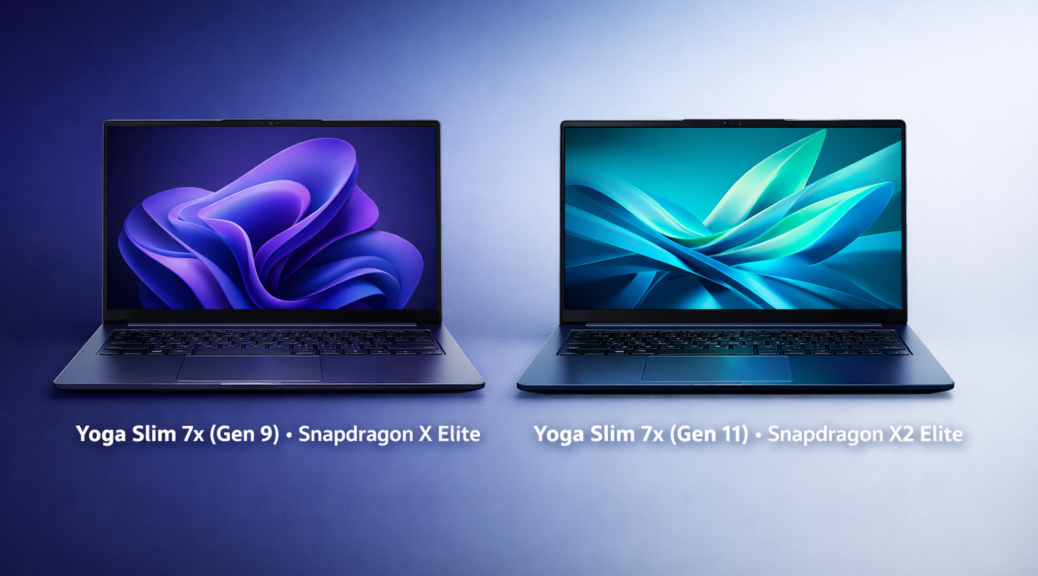
Back in May, I promised you a proper follow-up on Windows on ARM (WoA) compatibility and the full Snapdragon X2 Elite performance story. In my unboxing and first impressions post, I was cautiously optimistic. Then in my 10-days-in follow-up, I teased that the real test was still to come. Well, here we are. The Yog7X2 review is officially wrapping up today, because this loaner unit is heading back to Lenovo. Before it goes, I owe you the full picture. So let’s get into it with a final verdict: Lenovo Slim 7X Gen 11 totally rocks.
What’s the Final Verdict? Lenovo Slim 7X Gen 11
I’ll be honest — I went into this review half-expecting to hit a wall. WoA has had a reputation for compatibility gotchas. Indeed, I’ve written enough about platform transitions to know they rarely go smoothly. However, this time was different. I encountered no meaningful compatibility problems using this laptop. Not one!
The Prism x86 emulation layer handled everything I threw at it. Microsoft 365 ran without a hiccup. My browsers of choice — all fine. PDF tools, reference managers, text analyzers: all worked as expected. That lines up with what Notebookcheck found in its early X2 Elite analysis: most productivity apps now run natively on this platform. They also observed that the compatibility gaps that plagued the 2024 generation are mostly closed. First, I thought I was getting lucky. Then a week passed, and another, and still nothing. In short, for a writing- and productivity-focused user like me, WoA was essentially invisible.
That said, I’m not going to pretend WoA is a perfect story. Kernel-level anti-cheat in games remains a real issue — Apex Legends, Valorant, and a handful of others are still blocked. A few niche driver-dependent utilities are ARM-unfriendly too. PCWorld’s Mark Knapp found performance “powerful but inconsistent” under synthetic benchmark stress. That’s an honest caveat. Personally, I never hit those walls in my own productivity-focused workflow. For me, the boogeyman never showed.
X2 Elite: Quiet, Cool, and Surprisingly Ferocious
The Snapdragon X2 Elite packs 12 high-performance Oryon CPU “Prime” cores, and another 6 “Performance” cores (for background tasks and such). IMO, it delivers the kind of multi-threaded performance that puts it squarely alongside x86 ultrabook flagships. CNET called it “excellent for general-purpose use.” They awarded it 80%, citing the X2 Elite CPU and 32GB of RAM as key differentiators. Meanwhile, thermal management is genuinely impressive. In everyday use, this machine runs in silence. No fan spin, no audible whir — nothing.
When I pushed it harder — scads of browser tabs, large docs, background sync — it stayed on task. For those who want benchmarking context: Dave2D’s early hands-on preview found the X2 Elite outperforming comparable AMD and Intel chips by around 20% in Cinebench 2024 multi-core runs. That squares exactly with real-world snappiness I felt every day. As a result, I found myself reaching for the Yoga Slim 7x Gen 11 over other machines (I have 7 laptops at Chez Tittel right now), because it never slowed me down.
One practical verdict worth highlighting: 32GB of RAM is entirely enough for my day-to-day computing needs. I know some buyers agonize over that choice, so consider this firsthand reassurance. Unless you’re running 3 or more virtual machines, or doing heavy media production, 32GB is the right call — and then some.
Amazing Battery Life
I kept waiting for the day it would fall short. That day never came. Every single day I used the Yoga Slim 7x Gen 11, battery life exceeded eight hours — without fail. That’s not standby time or light-use coasting. That’s active productivity work with a Full HD+ (1920×1200) OLED display running at usable brightness levels.
My personal floor of 8-plus hours is, if anything, the conservative end of what this machine can do. Dave2D’s early preview — titled “This Laptop has a CRAZY Battery Life” — reported consistent real-world runtimes approaching 25 hours on the 70 Wh battery, with up to 31 hours in local video playback. Notebookcheck called it “the battery life ultrabook champ of 2026.” Lenovo’s official claim runs to 29–31 hours under ideal conditions; most reviewers land around 25 hours in real-world use. Either way, the number is extraordinary for a machine running a Full HD+ OLED with this kind of performance.
Finally, for a machine this thin and this powerful, sustained eight-plus hours of honest productivity runtime is not something to take for granted. It’s genuinely exceptional. Indeed this laptop had juice to work far longer than I was willing to sit in front of it to keep going. That’s one thing I’ll miss most when this unit heads out the door.
Closing Thoughts: The Whole Package
Let me run through the rest quickly, because it’s all good news. The keyboard remains one of the best I’ve used — slight flex under heavy typing, but key feel and layout are great. The touchpad is large, accurate, and responsive. No complaints on either front, which puts it ahead of more expensive competitors I might name.
Video playback is smooth and frankly gorgeous on that Full HD+ OLED display. Fit and finish impressed me from day one. That impression hasn’t faded. This machine feels well-made in the ways that matter.
So here’s my overall verdict: the Yoga Slim 7x Gen 11 is a terrific laptop. Moreover, it’s making a genuinely strong case that WoA Copilot+ PCs are no longer a “wait and see” category. For the full critical picture — including more cautious takes from outlets like PCWorld — the Notebookcheck reviews collection is the best aggregator of the prevailing consensus. My beat is real-world productivity. On that measure, this machine delivered from day one to the last day it sat on my desk. Please, Lenovo: May I have another?
As for this particular unit — it’s been a pleasure. Safe travels back to Lenovo. Now, over to you: have you been living with a WoA machine? Hit a compatibility wall I didn’t? Or had similarly smooth sailing? Drop your experience in the comments below — I genuinely want to hear what you’ve run into.
My last word: this unit retails for US$1,600 ( X2 Elite X2E88100, 32 MB RAM, Full HD+ OLED, 1TB MVMe). Even at that price, I’d buy one (always keep an eye out for deals, though: Lenovo Store price right now is US$1,300). It’s worth it.


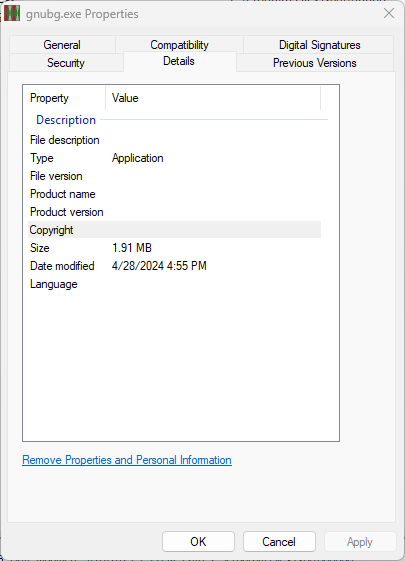
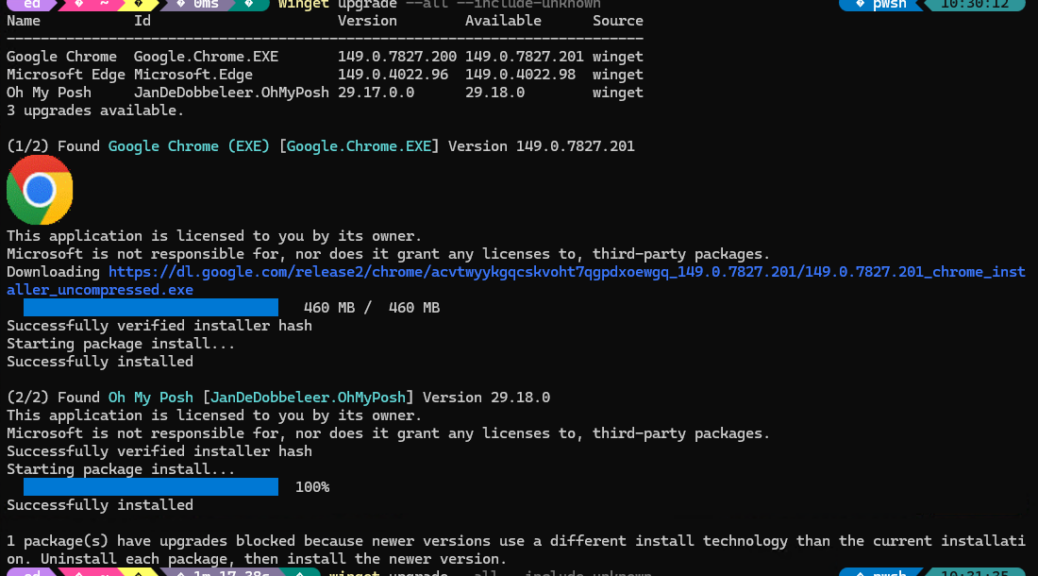
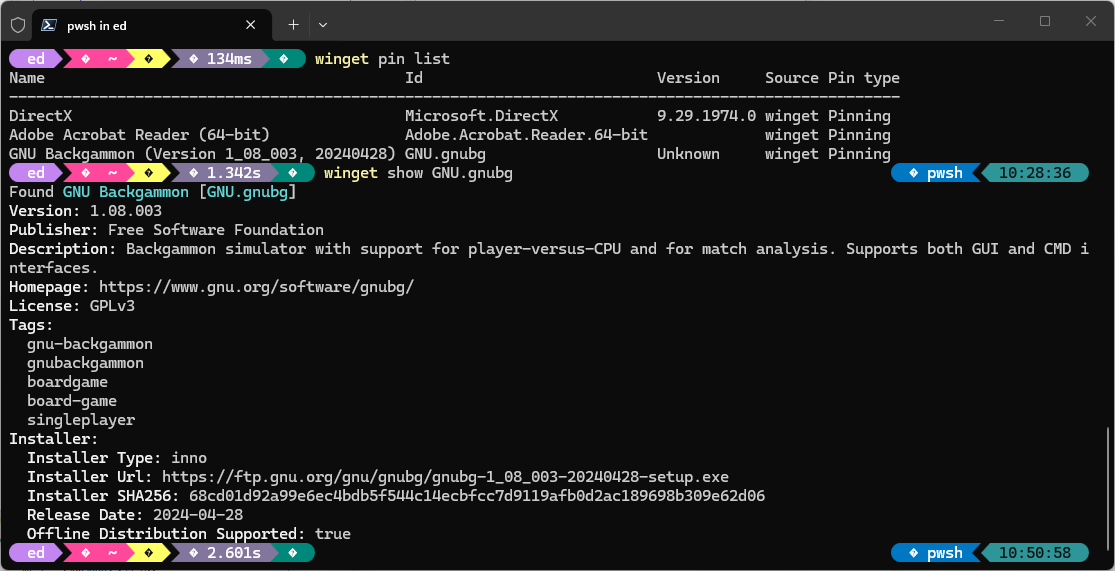 In particular, it’s noteworthy that Version info for GNU.gnubg shows up as “Unknown.” That reports the missing properties info obliquely, and explains why WinGet always attempts to upgrade that program unless I pin it up out of the way.