If you’ve been reading my posts lately, you’ve probably noticed that I’ve complained — just a little — recently about the Software Update Monitor (SUMo) update utility. Over the weekend, the developer himself tweeted me to let me know he’d seen my input and fixed the issue. In fact, he agreed with me that SUMo shouldn’t be recommending a preview/beta version of ANY software. Hence my assertion that the SUMO developer pays attention. He does!
If SUMo Developer Pays Attention, Then What?
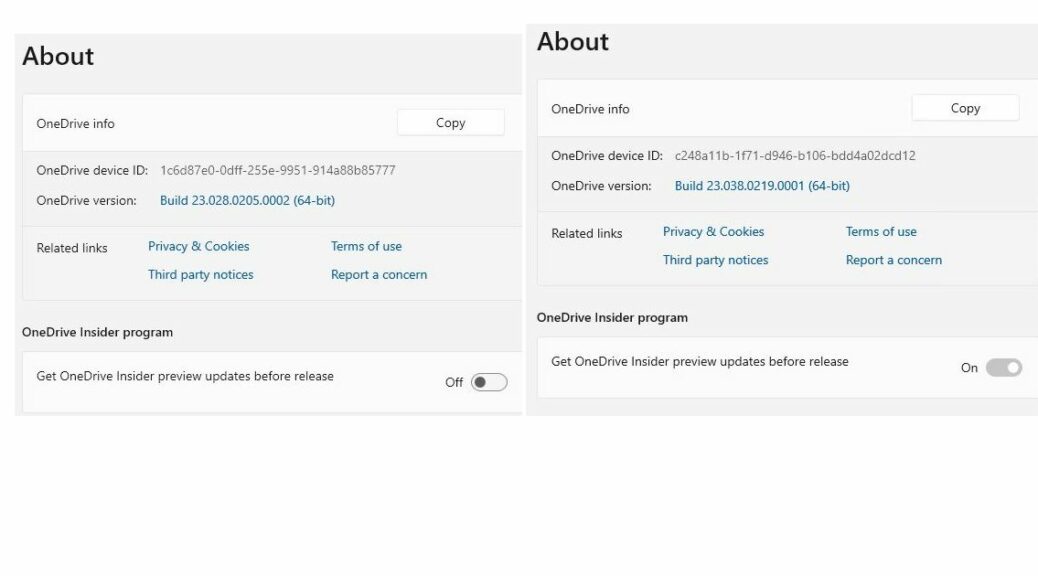
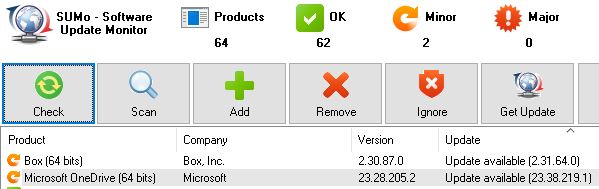
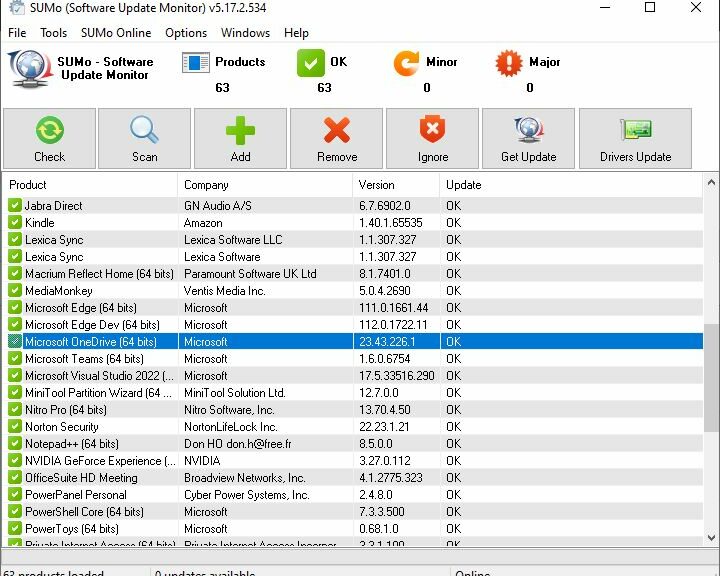
He obviously read my recent (Feb 27) post entitled “Update Semantics: Current versus Preview.” And indeed, SUMo is no longer recommending an update to pre-release versions of OneDrive. As you can see in the screencap at the head of this blog post, the current version is indeed recognized as the current version now. It’s highlighted in blue, and comes up with the same version I agree is the current one. Good-oh!
But What About CPU-Z?
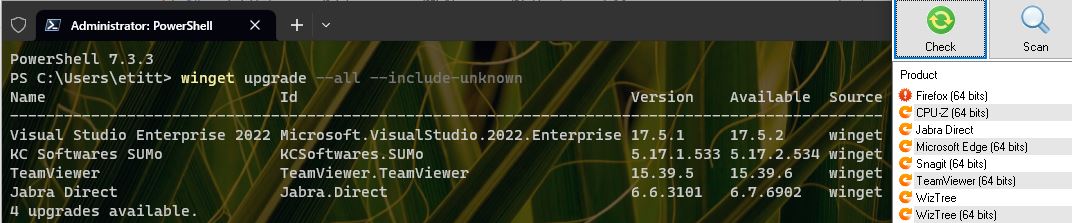
I thought I’d caught him out again for asserting this week that CPU-Z needed an update. The download page reports it as version 2.0.5, but SUMo wants version 2.0.5.1. And, sure enough, upon downloading and updating the latest version from the home page, it self-reports as version 2.0.5 (no fourth digit). But after updating and looking at the readme file, here’s what it says:
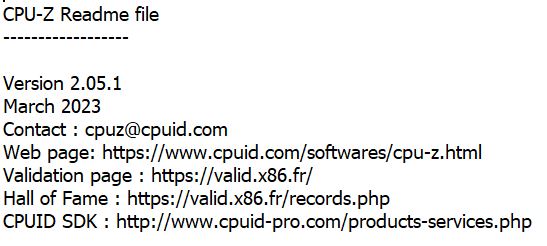
Sure enough, it really IS version 2.0.5.1. Says so right there!
I’ll be darned. Sometimes the toolmakers know more than the owners/developers do — or what they report, anyway. Very interesting! My thanks to @KCSoftwares: it is nice to know somebody’s paying attention.