I just ran PC Manager’s Deep Cleanup on my Flo6 desktop. As usual, it cleaned a lot of what it found: 11.4 of 14.6 GB wound up gone. Also, as usual it shows around 3GB remaining for my three browsers — namely, Firefox, Chrome and Edge. So I asked Copilot: why do these programs show up in their numbers? It opines (and I concur) that PC Manager Browser space is mostly volatile. Indeed the figure is kind of illusory. It’s worth understanding before treating browser cache cleanup as a valid way to recover disk space.
Take a look at the final results from my Deep Cleanup just now from the lead-in screencap. Notice that it shows 1 GB for Firefox, 1.6 GB for Chrome and ~277 MB for Edge. Keep those numbers in mind.
Why Say: PC Manager Browser Space Is Mostly Volatile?
Here’s the core issue: browser cache is engineered to be ephemeral. It’s written, read, and purged in a continuous cycle governed by cache-expiry headers, per-origin storage quotas, and the browser’s own self-management routines. The moment you fire up your browser after a cleanup and start clicking around, the cache begins refilling. Within 30 to 60 minutes of ordinary browsing, most browsers will have rebuilt several hundred megabytes of cached content — sometimes more, depending on how media-heavy the sites you visit are.
Chrome and Edge both enforce internal storage quotas and will self-evict stale or low-priority cache entries automatically when those quotas are approached. In other words, the browser is already managing this space on your behalf, without you lifting a finger. Firefox operates similarly under its own quota management framework.
In short: you didn’t “save” 2 GB when you cleared browser cache. You borrowed 2 GB temporarily — until your next browsing session rebuilt most of it. Sort of like the storage equivalent of pushing water uphill.
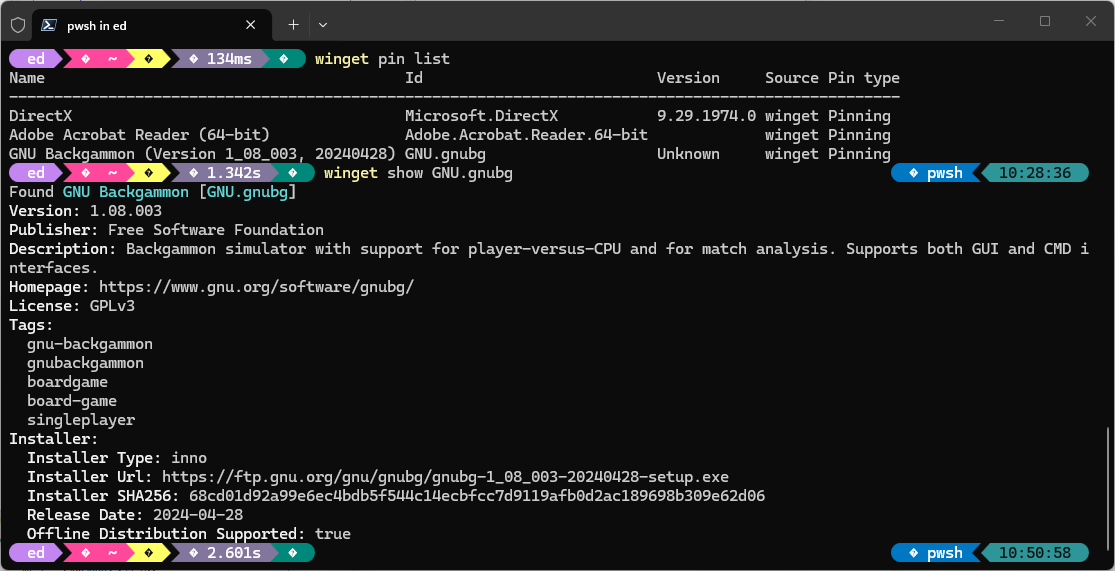
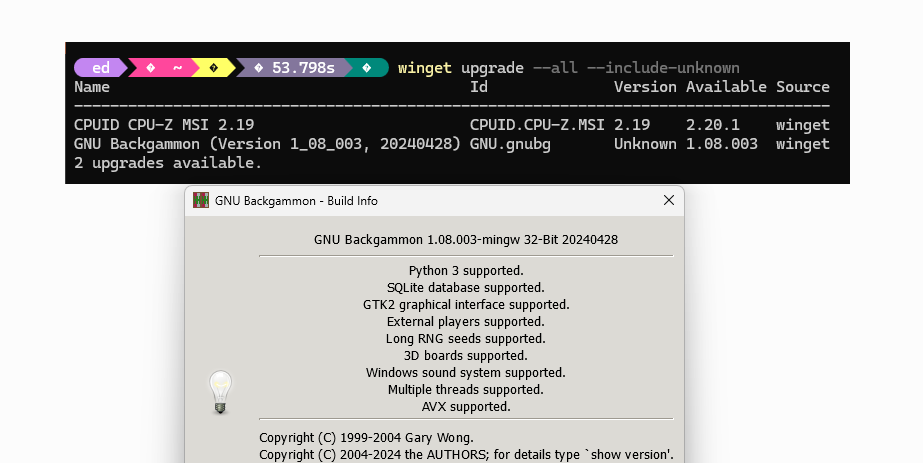
Check out these numbers: they represent the memory footprint for my three browsers.
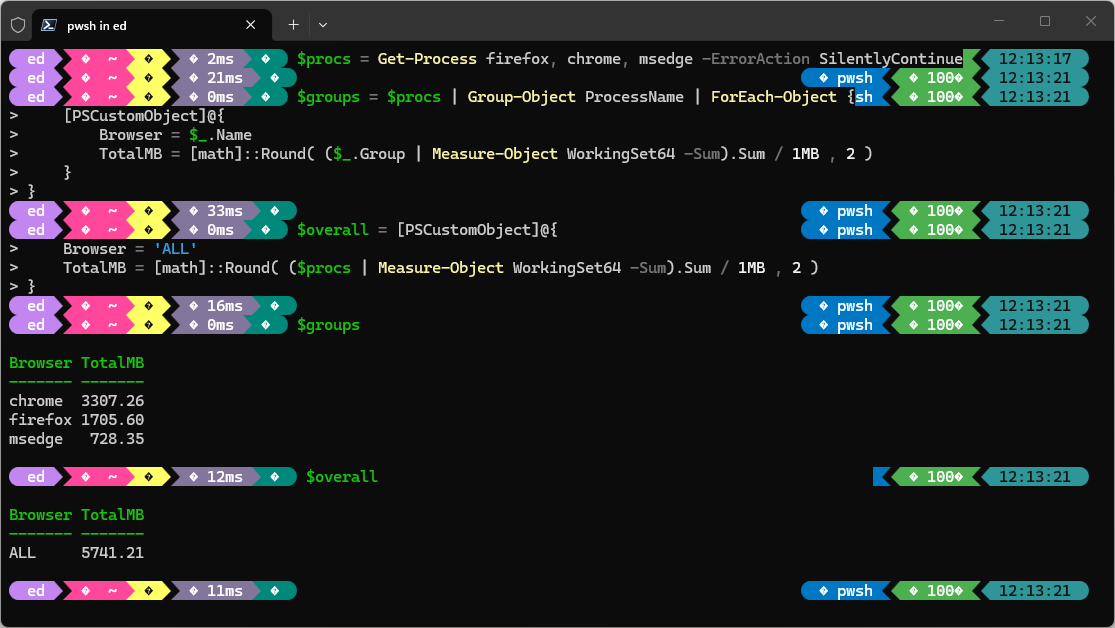 Note that those numbers fall near the potential savings that PC Manager reports for each one. That’s no coincidence, it simply represents reclaiming space that the browsers will suck back up as soon as you turn them back on, and open some tabs.
What Real, Valid Savings Look Like
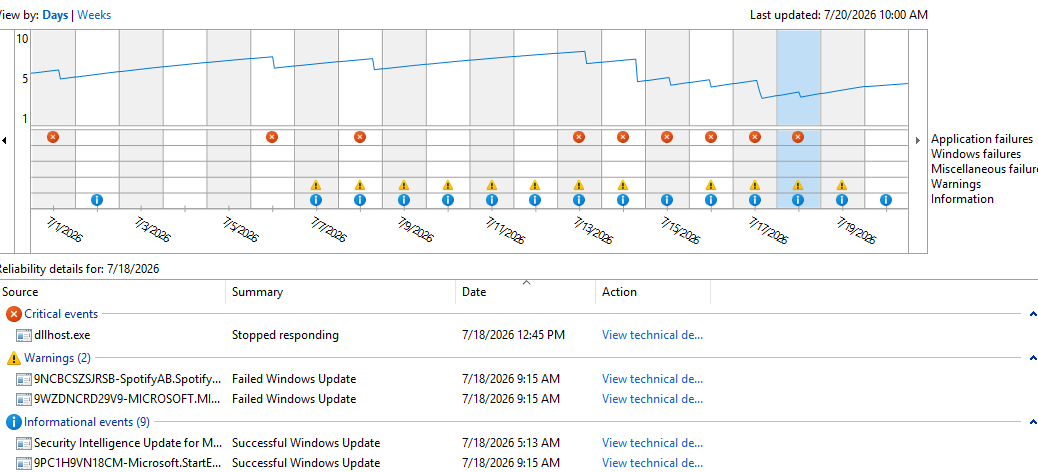
Contrast browser cache with the categories that represent genuinely permanent space recovery. Windows Update cleanup files — the old installer packages and superseded component stores left behind after updates — can run anywhere from 500 MB to 2 GB, and once deleted, they do not return. Windows Error Reporting logs are similarly non-regenerating under normal conditions. The Recycle Bin is obvious. Orphaned app data left behind by software you’ve already uninstalled is another solid target. Thumbnail cache does rebuild, but far more slowly than browser cache, so it offers a more durable short-term gain.
A typical monthly cleanup on a moderately used Windows 10 or 11 machine might yield up to a 5 GB of truly permanent, non-regenerating space. That’s a lot less dramatic than the headline figure PC Manager flashes at you — but it’s real. And it stays real.
Do You Need to Clean Browser Cache?
Maybe, but go into that effort with adjusted expectations. Clearing browser cache could deliver a brief responsiveness improvement. Thus, if the cache has grown bloated with stale or corrupt entries, or to make room in storage-intense scenarios, such as recording a long screen capture session, installing a large application, or freeing up breathing room on a drive that’s genuinely running tight. Otherwise, don’t expect much either in the short or long term.
If you’re truly short on disk space, PC Manager’s Large Files finder and the Windows Update Files cleanup row are far more useful targets. The browser cache, left alone, will look after itself. That’s the point!
Here in Windows-World keeping things clean does have its reward. But some things are more worth cleaning up than others. Browser cache is near the end of that list, and best left alone.
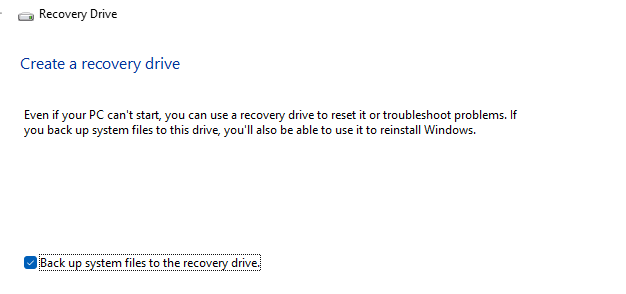
 Accessed via on-disk WinRE, there it is!