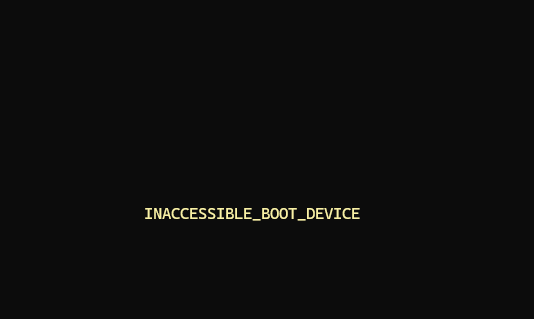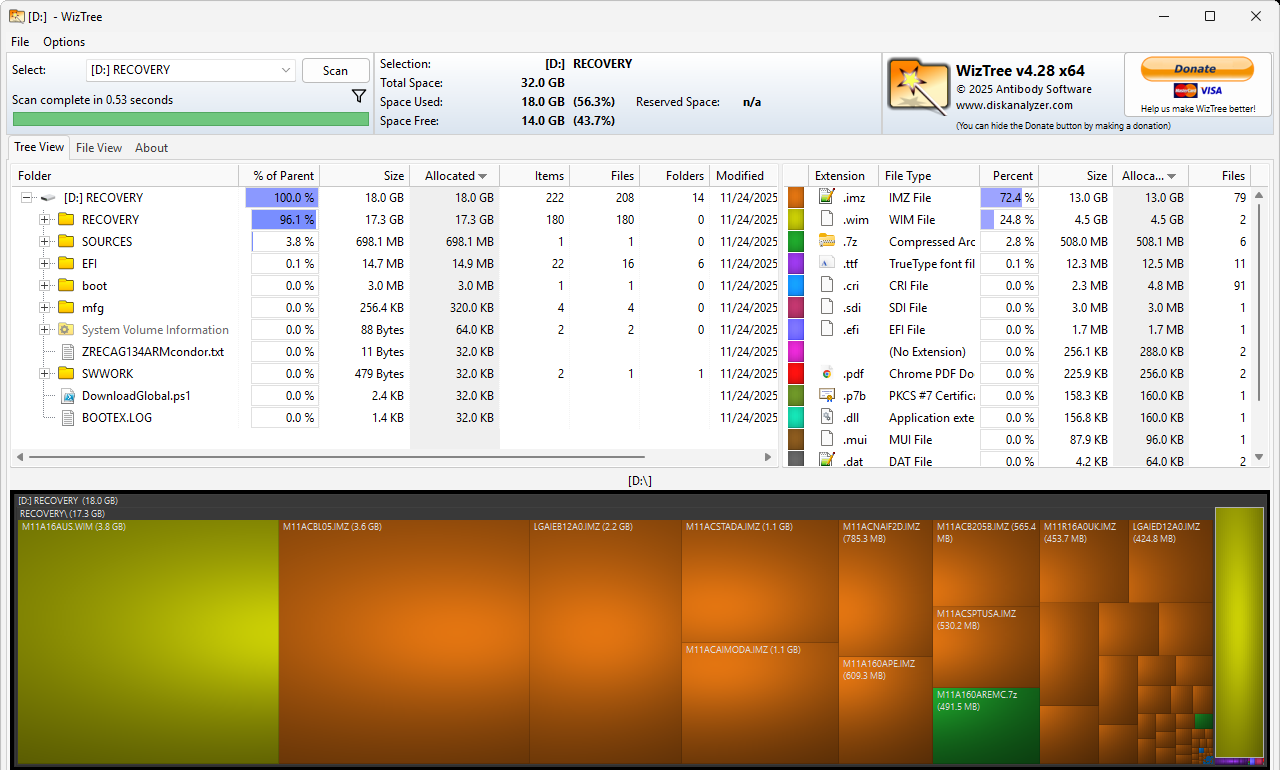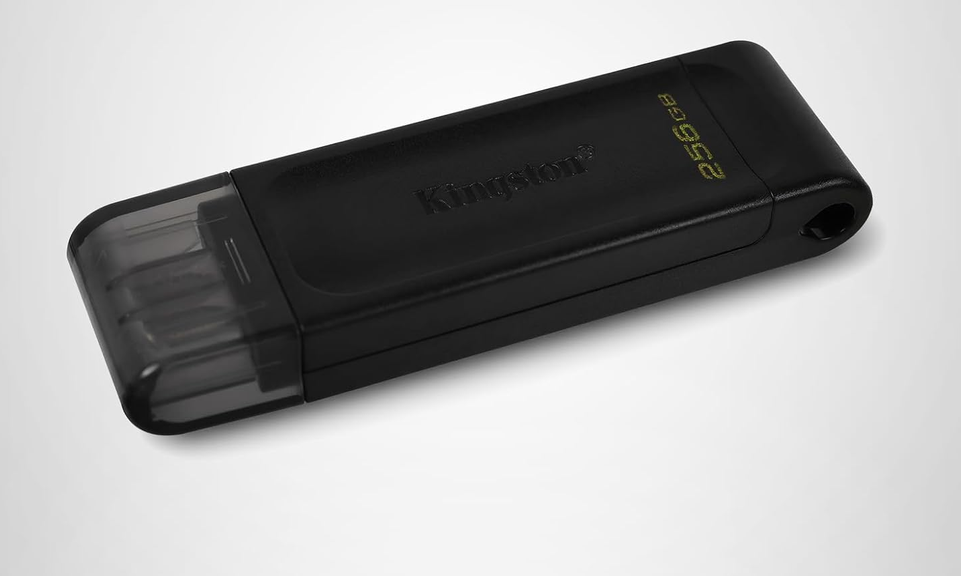
I wasn’t sure Copilot was right. Even some of my regular commenters here at edtittel.com were sure Copilot was wrong. Fact is, I couldn’t get into WinRE to repair my damaged BCD until I inserted a brand-new USB-C based Kingston Data Traveler 70 (US$28) into the X12 Hybrid Tablet (Gen 1). Now it’s working. More explicitly using the USB-C UFD restores X12 boot capability.
Before that, I had tried known, good working USB-A UFDs via a USBA2C adapter. I’d also tried native USB-C NVMe SSDs as well. Apparently — as Copilot averred and my experience shows — it will only boot to a real USB-C UFD. Same format, same files, same creation approach on the other devices just didn’t result in a boot into WinRE for on-disk boot repairs to the C: drive. That much of the travail, at least, is now over…
After USB-C UFD Restores X12 Boot, Then?
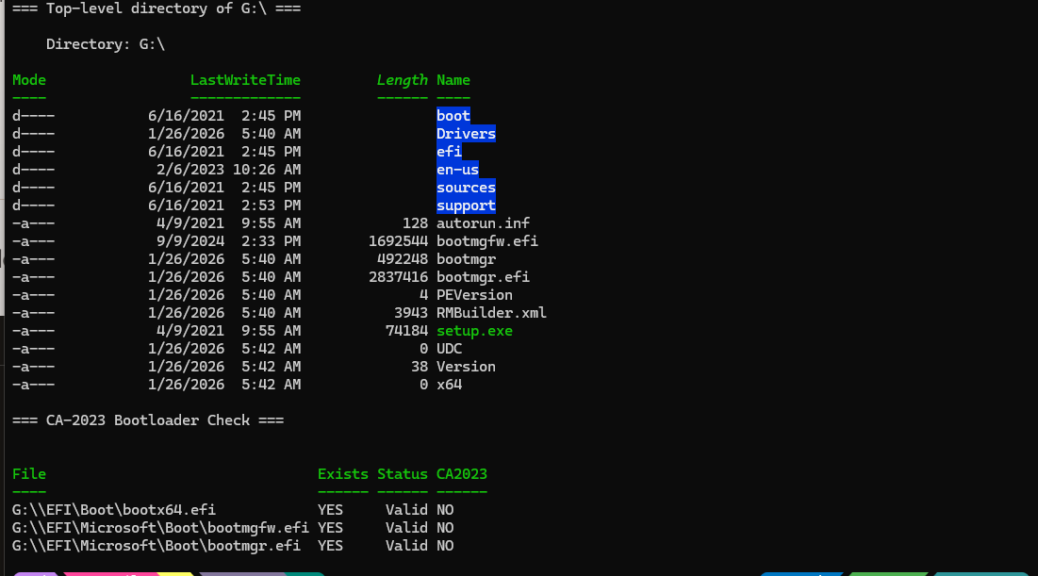
Now I need to fix Secure Boot (SB), which is what got me in trouble in the first place. Right now, the unit boots fine with SB disabled. I’ve run the Garlin check script and have installed SkuSiPolicy.P7b. But still, I get the red text “Secure Boot mismatch” error info when I try to book with SB turned on. I’m going to reset the keys to factory default, and pick up from there to see what happens next.
But first, after I rebooted again on the X12 without making any changes, it took me to the Windows 11 lock screen. Windows Security gives the system its blessing (green checkmark on the Secure boot entry). So I may already be over the hump, because of the second reboot.
If at First You Don’t Succeed, Reboot Again…
On a third reboot, I get the spinning circles while the OS loads and get right to the Windows 11 lock screen. No more boot issues, no more “boot mismatch” refusals. I seem to have things working again.
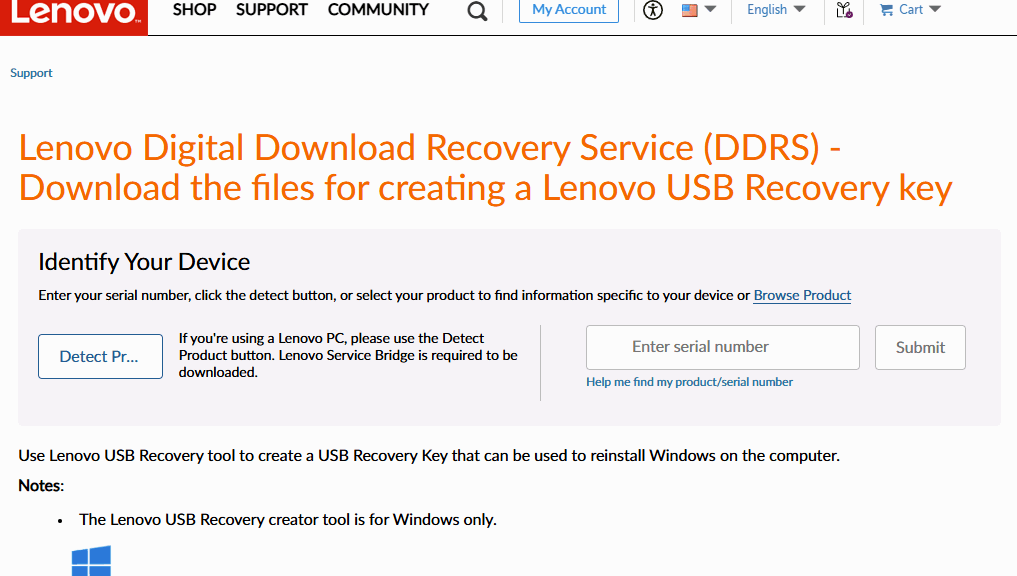
As the old saying goes “Get the right tool for the job.” In my case I had to learn the hard way that I MUST use a USB-C UFD to boot the X12 into anything. Now I know. It’s in my little plastic bin of UFDs and I guess I know how to use it. Case closed, I hope!