Undoing Enterprise Version WU Defaults

This morning, I read a fascinating story from Mayank Parmar at WindowsLatest. It covers the one-year grant that MS plans to offer Windows 10 users to participate in the Extended Security Update (ESU) program at no charge. Given that around half of all Windows users still run version 10, that makes sense to me. But there’s a catch: apparently this offer extends to neither Enterprise nor Education versions of Windows 10. But first, that meant undoing Enterprise version WU defaults to figure this out. Let me explain…

Why Bother Undoing Enterprise Version WU Defaults?

I couldn’t opt into the “Get the latest updates…” option in WU unless and until I used gpedit.msc to explicitly disable a Group Policy setting. But I didn’t find it on my PC where MS Learn said it should reside, instead it was an additional level down, to wit:

Computer Configuration>Administrative Templates>Windows Components>Windows Update>Windows Update for Business

On Windows Home and Pro PCs (and probably Workstation as well) the hierarchy doesn’t automatically include WU for Business. On Education and Enterprise versions it does.

Long story short, I couldn’t see “Get ready for Windows 11…” or “Get the latest updates…” until I had explicitly disabled the policy named “Select the target Feature Update version.” As I think about it, that makes sense. MS is NOT giving ESU away to government, education and businesses; the grant only goes to SOHO and individual users. The others can — and many will — pay for their coverage plans. You don’t see the enroll info that Parmar shows in his story on my PC — and that’s because it’s running Enterprise.

And apparently, those running Enterprise and Education versions will not get the free ESU offer. I’m going to stand up a Pro version VM to double-check this, but I’m betting that’s right.

And boy howdy, isn’t that just the way things go in Windows-World. There’s always a wrinkle, and sometimes you have to dig and think, and think and dig to figure out how to understand and deal with things.

Facebooklinkedin
Facebooklinkedin

Interesting ThinkPad T14s Snapdragon Intake

Here, interesting comes from the purported “Chinese” curse: “May you live in interesting times.” If fact, those times got a little too interesting for me once or twice last week, as I worked my way through intake on a the Snapdragon X version of the ThinkPad T14s from Lenovo (see “Speeds and Feeds” for more of those details). Indeed, I experienced what I choose to call an interesting ThinkPad T14s intake because of WU issues that popped up along the way.

Ultimately, I would have to send the PC back to Lenovo for a replacement because:

(a) I couldn’t repair a Windows Update error on the latest CU

(b) When I tried an in-place upgrade repair install, the PC asked for a BitLocker recovery key during one of the post-GUI install boot-ups. [The lead-in graphic shows this on its way to a fiery crash.]

I’ll admit it: I was caught unprepared. And when the Lenovo Recovery Media facility could only produce a USB key (no digital download for me, alas), an overnight swap was my only way to proceed. Sigh, sigh, and sigh again.

What Interesting ThinkPad T14s Snapdragon Intake Means

For me, it meant an irresolvable issue trying to catch the machine up to current CU levels. For the first time in recent memory the ElevenForum.com reset/reregister WU script failed to fix that, too. Thus I had to avail myself of the “Reinstall now” button in the options available from this Windows 11 24H2 instance via Settings > System > Recovery. That’s what you see as the lead-in graphic above, at 35% complete during the GUI install phase.

Along the way to catching the OS up, I installed a bunch of apps I like to use (12 in all: 7-Zip, Adv IP Scanner, CPU-Z, CrystalDiskMark, Everything, FileZilla, GadgetPack, Notepad++, PS 7.5.1, PowerToys, and Speccy). I also turned on Remote Access so I can view the desktop on a 27″ monitor instead of a 14″ laptop.

It was all good until I tried running WU. It was stuck, stuck, stuck, on the latest CU. It was throwing Error Code 0x800F0905, which Google tells me means “an issue with Windows Update or a corrupted installation file.” That’s why I went to the reset/register script immediately thereafter, and then Reinstall now when that failed as well. As I said earlier, I ended up swapping my ultimately bricked T14s for an identical replacement. It had to retry the stuck CU, but succeeded on a second attempt. So now I have a working T14s to play with for a while.

So following the well-known principle of “If you don’t get it right the first time, do it over,” I reinstalled all the apps I’d added to the first, bricked version. Then I enabled Remote Access so I can use RDP,  set up Windows Terminal and PowerShell, and I’m now fully off and running.

Speeds and Feeds, and More

The T14s Gen 6 model that Lenovo sent me includes the following:

  • Snapdragon X Elite X1E-78-100 CPU (3.4GHz, 12 cores/threads)
  • Adreno X1-85 GPU (built-in)
  • Hexagon NPU (delivers 45 TOPS)
  • 32 GB LPDDR5X-8448 MHz RAM
  • Samsung OEM PCIe Gen4 NVMe 1TB SSD
  • 14″ WUXGA (1920×1200, IPS, Anti-Glare, non-touch)
  • Windows Hello 1080P PHD camera, fingerprint reader
  • Qualcomm Wi-Fi 7 NCM825A 2×2 BE & Bluetooth 5.3
  • 2ea USB4 USB-C (40Gbps), USB 3.1 Gen 1 (5 Gbps) ports

As configured the unit currently goes for US$1,259 at the Lenovo Store. It’s sturdy, has a standard ThinkPad look and feel, and both thin and pretty lightweight (2.72lbs/1.24kg). It’s not quite as awe-inspiring as the less expensive Slim 7X model I reviewed almost a year ago, but it’s bigger, beefier, and pretty darn snappy. I will take it on the road with me at my next opportunity and see how it plays.

So far, though, it’s a solid performer and seems to get things done with verve. I look forward to a machine that will let me use the benefits of Copilot+ PCs in the near future. Indeed, that’s why I asked Lenovo to send me this unit. Stay tuned: I’ll tell you lots more, real soon.


Facebooklinkedin
Facebooklinkedin

Clearing Windows 11 ARM Spurious Reclaimables

I’ve got a new laptop in from Lenovo. It’s a peachy-keen ThinkPad T14s (which I’ll describe in tomorrow’s post, so hold on for those deets). Today, what I care about is its Qualcomm Snapdragon X1-E78-100 CPU, which uses ARM64 not AMD64 architecture. This makes a difference, as I learned in clearing Windows 11 AM spurious reclaimables.

“What is a spurious reclaimable?” I hear you ask. It’s a Windows package in the component store (aka WinSxS) that sticks around, even after you run

DISM /Online /Cleanup-Image /StartComponentCleanup

to have it clean up reclaimable packages in said store. I blogged about this in March, when I explained how a single DISM /Remove-Package command could clear up two (2) spurious reclaimables seeingly built into Windows 11 24H2. This came courtesy of VIP expert @Bree at ElevenForum.com.

How-to: Clearing Windows 11 ARM Spurious Reclaimables

It turns out that those spurious packages for ARM64 are more or less the same as those for AMD64. But the names are slightly different for one of them. Unlike AMD64 a single /Remove-Package does NOT suffice to clear up both spurious reclaimables. Instead each package must be removed individually, as follows:

1. The initial syntax for each command line is the same: DISM /Remove-Package /Packagename:

2. The first package name replaces the “AMD64” with “ARM64” in its name with no further changes — namely Package_for_RollupFix~31bf3856ad364e35~arm64~~26100.1742.1.10

3. The second package name does the same substitution, but drops the minor version numbers from the end, too — namely Microsoft-Windows-FodMetadataServicing-Desktop-Metadata-Package~31bf3856ad364e35~arm64~~10.0.26100.1742

If you build up the entire command strings with the common stuff from item 1 above plus the bold text in item 2 (1st command) and item 3 (2nd command) you’ll clear out both spurious packages for Windows 11 24H2 ARM. Just a little bit different, but it does the trick.

Cheers!


Facebooklinkedin
Facebooklinkedin

Learning New Backup Post-Blowup

I must confess. I blew up a Lenovo review unit Wednesday trying to fix an update problem. Now after what I learned during that experience, I’m learning new backup post-blowup. First, I’ll explain the need for new backup; then the blowup,; and finally, the backup and recovery manuevers I must now make part of my review process. It all ends with an ironic footnote, as my precautions prove unneeded.

To begin with, I’d like to thank Amanda Heater and Michael Redd of the Lenovo Reviews team, based in North Carolina. They didn’t even laugh at me when I told them what I’d done. They simply offered to cross-ship me a replacement system while I returned the one I so thoroughly munged. Thanks, thanks, thanks.

Why I’m Learning New Backup, Post-Blowup

It all goes back to Paramount Software, maker of the excellent backup and recovery toolset known as Macrium Reflect. I’ve been a happy and satisfied use of same for seven years or more. But as of January 1, 2024 (now 18 months ago), the company dropped its free version of that software. In good conscience that meant when I updated my ComputerWorld  story How to make a Windows 10 or 11 Backup, I had to recommend one or two free backup packages, as well as continuing my ongoing endorsement for Reflect (I own 8 licenses for version X and 4 for version 8, in fact).

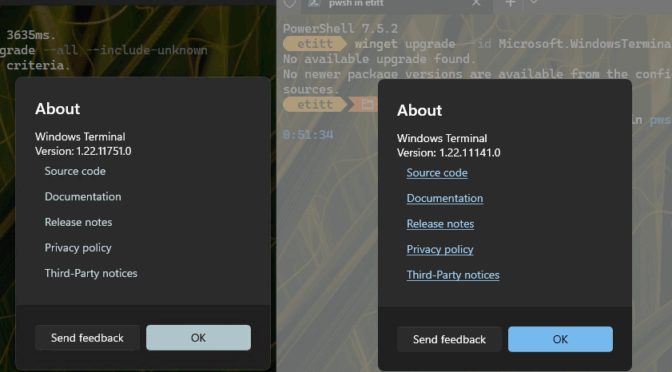
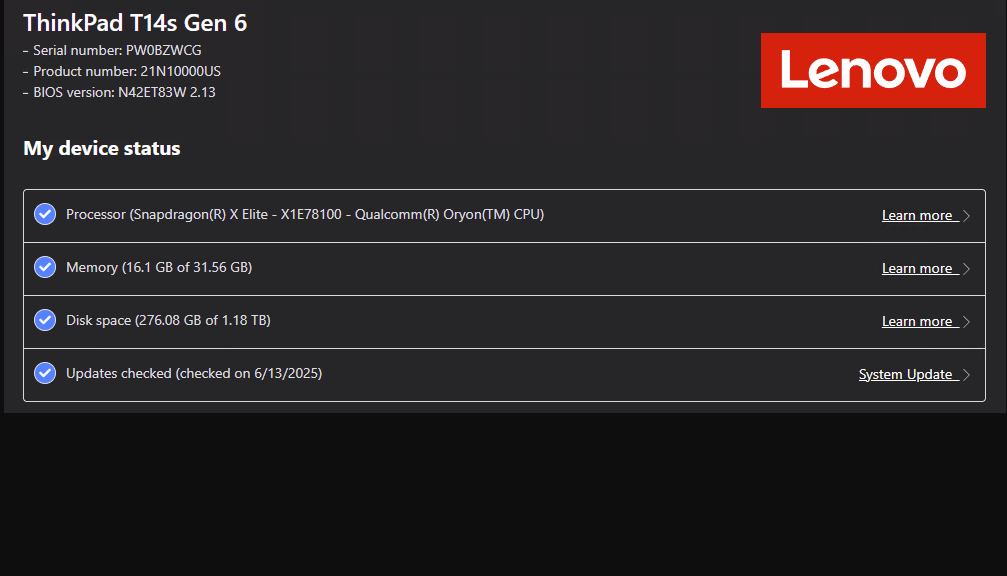
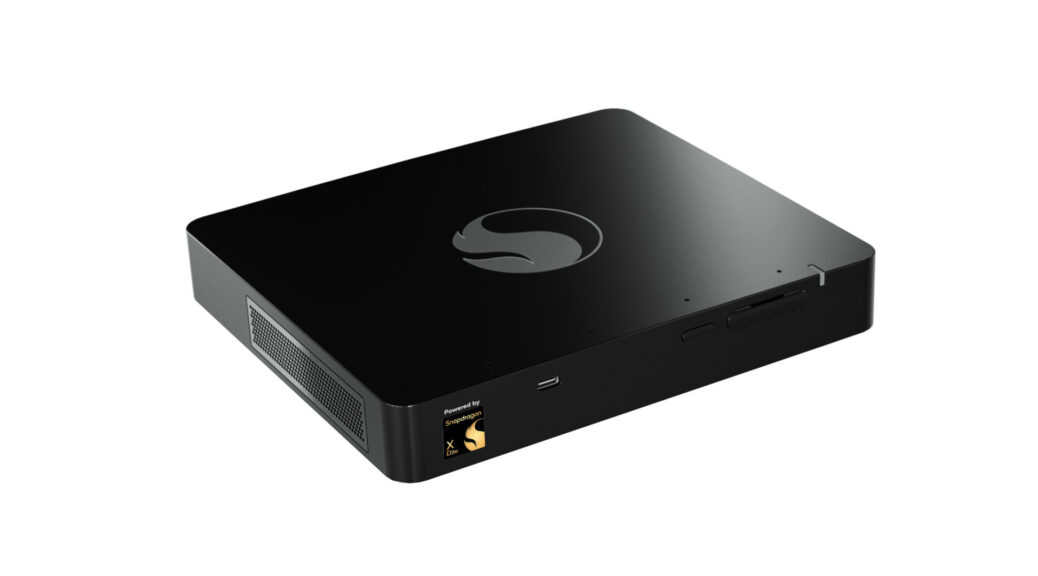
So while I’m intaking the second iteration of a Lenovo ThinkPad T14s (the Snapdragon X variant of their thin-and-light 2-in-1 business laptop), I’m also learning how to install and use Easus ToDo Backup (one of the three free packages I mention in the February 2024 revision to the afore-cited CW story, the other two being AEOMEI Backupper Standard and MiniTool ShadowMaker Free).

It’s been both interesting and frustrating. I know Reflect so well now I don’t have to think about what I’m doing anymore: I just do it. In using Easus ToDo, I’m reminded of how idiosyncratic UI design can be, and how careful one must be in reading UI clues to understand how to define, schedule and run backups. Ditto for building and using recovery media. Long story short, I did figure things out, and I do have two backups of the T14s, working recovery media, and am ready to use them if needed. I’ve also saved a copy of the T14s BitLocker Recovery Key to a USB flash drive and my MSA.

What About That Blowup?

In working on the first of the two T14s laptops Lenovo sent me, I learned something about Windows 11 that I didn’t know, and would have preferred never to learn. In working through my normal intake process I ran Windows Update. It showed a pending CU that would not install, with the error code 0x8007000D, which indicates a corrupt Windows download or some issue with WU itself.

So naturally, I next ran the batch file from the Eleven Forum Tutorial: Reset Windows Update in Windows 11. This nearly always works to set WU back to rights, and let me get on with my updates. Not this time. The OS recommended, and my own experience concurred, that an in-place repair install was the next step in fixing this issue.

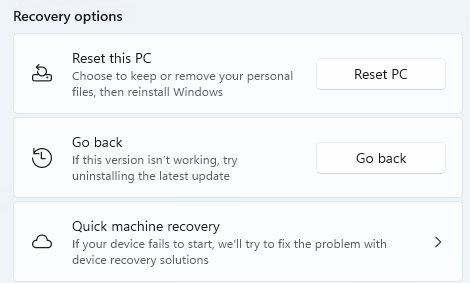
That’s where the blowup happened, as I encountered a Windows misbehavior I’ve never, ever seen before. I used the “Reinstall now” button in Settings > System > Recovery. It appears under the heading of “Fix problems using Windows Update.” It’s usually pretty foolproof and often turns a balky or misbehaving Windows OS into its tidy and proper counterpart. But first a short detour to describe the in-place repair upgrade or install.

More About the In-Place Repair Install

A repair install goes through two major phases. First, there’s a GUI-based portion, where it copies over the Windows OS installer and the files it needs to install the OS. Second, there’s a reboot after which a WinPE-based installer takes over and finishes building a new OS from a whole new set of files and data structures. Usually, Windows 11 reboots 2 or 3 times after the initial reboot as it finishes various aspects of that install process. When it’s done, a newly installed and presumably pristine version of Windows is running, usually devoid of the issues that prompted this repair fix.

This time, on either the first or second post-GUI reboot, the boot handler brought up a BitLocker recovery key screen. It also informed me that something about the boot environment had changed enough during the install that this key was needed to proceed. Ooops!

What Makes BitLocker Key Request a Blowup?

I didn’t have the BitLocker recovery key for that machine locally, and it hadn’t yet propagated into my Microsoft Account (MSA) online. I literally couldn’t access the hard drive. When I attempted to use the Lenovo image recovery service, I couldn’t get it to fork over a digital download. I could buy a pre-loaded USB for US$29 but it could take as long a week to make it to my door. Lenovo suggested that I return the unusable T14s to them, while they would cross-ship a new, working one to me for next-day delivery.

That’s the machine I’m working on right now. And my first steps on that second iteration were to:

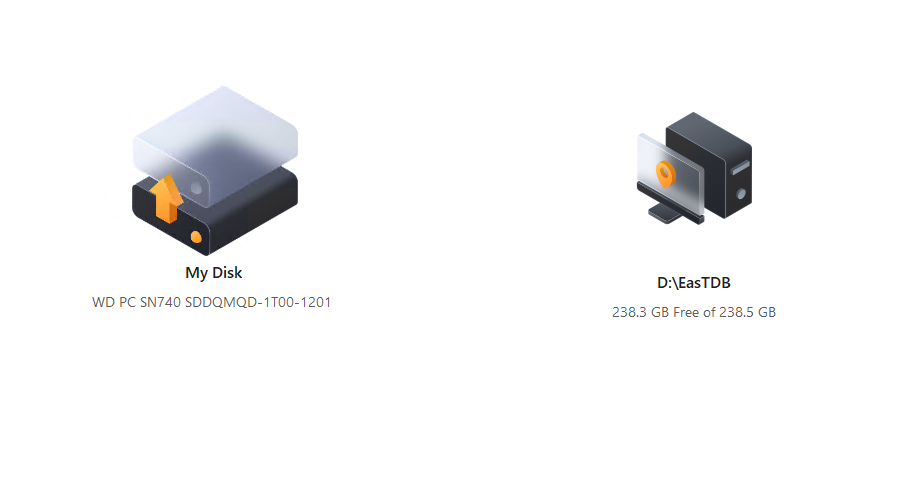
  1. Install Easus ToDo Backup, and make a full-drive C: image backup
  2. Build the ToDo Recovery Media (this bootable flash drive will let me restore any ToDo image even if the C: drive is inaccessible)
  3. Make a file copy of the BitLocker recovery key to that same bootable flash drive, should I need for any reason. I also forced a copy into my MSA online as well (I don’t always travel with a full set of UFDs).

This is a new and permanent set of intake activities when I get a new PC or review unit from an OEM like Lenovo (I’ve also reviewed PCs and laptops from ASUS, Acer, MSI, Dell, Panasonic, and HP in past years). If a repair install can provoke the Bitlocker key request, I have to be ready for that. Now, thanks to the foregoing steps, I will be.

Ironic WU Conclusion

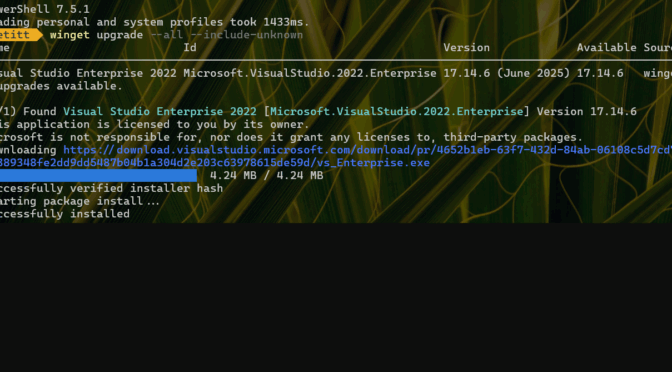
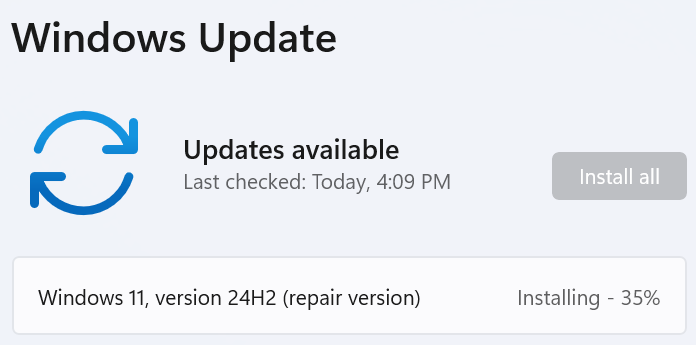
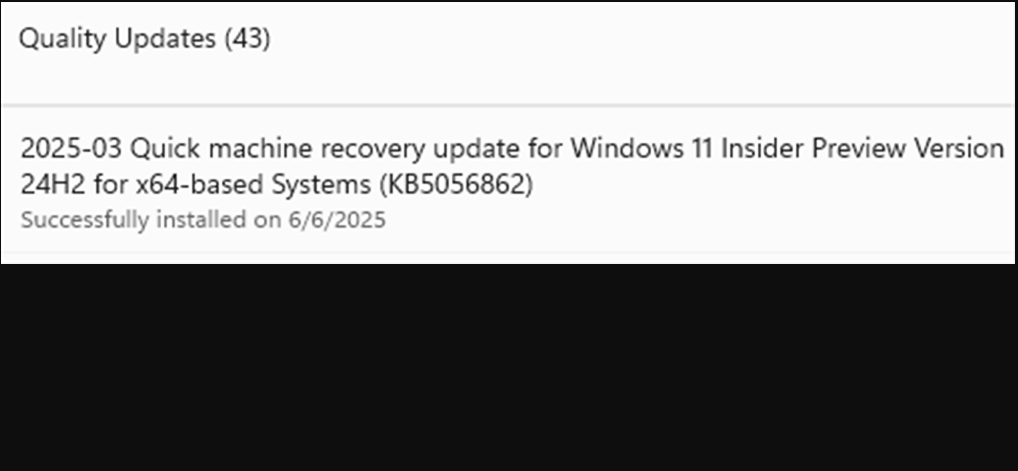
The CU that caused me problems on the first machine also needed installing on the second one. It was KB5063060 (26100.4351 Out-of-band). It failed on the first attempt right after the machine came up for the first time upon unboxing. But this time, the Retry button resulted in a successful installation. The machine’s all caught up and I didn’t need to run the in-place upgrade repair install, nor to recover from its failure (and supply the Bitlocker key on demand).

I was ready for things to go south. I’m grateful they did not. But, as I can attest from painful recent experience, it’s better to have the recovery tools and data and not need them, than it is to need them and not have them.

And wow, it seems ever so appropriate to recite this saga on a day emblematic of mala fortuna: please note that it’s Friday the 13th. It can be a risky day in Windows-World, as in other worlds as well.

Facebooklinkedin
Facebooklinkedin

Pondering US$200 4TB SSD Availability

I’m working my way up, slowly, to rebuilding a 5800X AMD desktop (on an Asrock B500 Extreme4 motherboard). The current build lacks a second M.2 NVMe SSD, so I’m also thinking about what kind (and how much) SSD to emplace in that currently open slot. Based on a teaser from NeoWin this morning, I’m also pondering US$200 4TB SSD availability, and its potential impact on that refurbishment.

Why Am I Pondering US$200 4TB SSD Availability?

Other than the obvious — amazing price for decent performance — I’ve got lots of reasons to think about choosing my second drive for this rebuild. Here’s a list:

  • I’ve got 3 or 4 good 1TB NVMe SSDs already in hand, all with 3K+ MBps read/write capability, plus 1 2 TB that’s PCIe Gen 4 and on par with the cheap-o 4TB item.
  • The B550 manual says the max capacity of SSDs it handles tops out at 2TB. So a 4TB unit might not even work.
  • I am trying to contain myself on this redo, price-wise, so I’m not sure I want to fork out another US$200, even though it’s a pretty potent price/performance combination.

Then I Started Thinking About HDDs

You can still buy a Seagate 5TB 2.5″ 5400 RPM hard disk for between US$140 and $160. That puts cost per TB on a roughly equal footing, though it does significantly impact performance. Indeed,  the HDD’s 450 MBps read/write is a decimal order of magnitude slower than this SSD’s reported 4,500 MBps or better. FWIW, I already own two of those so I could easily emplace one as a backup or archival drive in that build. Backup/archival space won’t be an issue, for sure.

So you see my situation: I have to think about what I want from the rebuild, and manage the expense versus capacity/capability ratio. I’ll keep thinking, and keep writing about it here. So far I’m leaning heavily toward “use what I’ve got, keep it cheap.” But that could change: Stay tuned!

Facebooklinkedin
Facebooklinkedin

Order EX5 Receive EX4 Request Refund

Wow! I can’t believe what happened to me. I’m rebuilding the AMD 5800X PC in a new case, and ordered an Asus Thunderbolt EX5 to include, so I can try out Thunderbolt 5 and the Intel Thunderbolt Share application (licensed to a device or PC). Here’s what happened: order ex5, receive ex4, request refund (being processed), order again from Amazon. The replacement is on its way and should be here by Friday. All in all, I’m stunned.


As you can see from my carpet-based photo above, I received a ThunderboltEX 4, even though I ordered the next-gen version. Back it goes! Just printed a label and will send it back from the UPS Store later today. And to think I paid extra, because Amazon had none in stock that day. I should — and do — know better. Sigh.

Getting Past Order EX5 Receive EX4 Request Refund

All I can do now is wait. It won’t be terribly long, though because my Amazon Premium membership gets it delivered to me tomorrow, free. I need to try this item out so I can test-drive the Intel Thunderbolt Share application. It’s licensed to specific devices. And because I don’t have any laptops or docks with said license, this is a relatively affordable (~US$140) way for me to give it a whirl.

What I didn’t expect, after many, many years of entirely positive experiences with Newegg, was that one of their “stores” would try to slip me old wine and claim it was a new bottle. Not so, alas, and it won’t work for what I need it to do.

Ain’t that just way things go here in Windows-World sometimes? You ask for something specific for a supposedly included feature. Then you get something completely different, and deal with the aftermath. Sign again.

Facebooklinkedin
Facebooklinkedin

X12 Gains QMR Support

Wow! What a difference a day makes. Yesterday, Quick Machine Recovery didn’t work on my 2021 vintage Lenovo ThinkPad X12 Hybrid Tablet (with 11th-Gen i7-1180G7 CPU). This morning, the X12 gains QMR support and the test mode actually works. Methinks the edge of the gradual rollout just made it four generations back from the leading edge. (Copilot sez that if intel still used such numbers, Arrow Lake would like be 15th-Gen.)

If X12 Gains QMR Support, How Can You Tell?

Interestingly, even though the QMR test completes successfully on the X12, the QRM entry under Settings > System > Recovery — depicted from the 13th-Gen P3 Ultra ThinkStation above — is absent. Ditto for the QRM update (KB5056862) in Update History.

And yet, it works. Something isn’t precisely right around here, because QRM works (or says it completes the self-test successfully) without including those other presumptive signs of capability. It’s a bit confusing, if not at least mildly troubling.

Will the Circle Be Unbroken?

All this leaves me wondering how much further down the device chain this stuff will propagate. There’s a hard stop at 8th-Gen in that progression. Because my X380 is of that specific generation, all I can say right now is: “The update hasn’t gotten there yet.”

I just tried all the methods that the QRM article from MS Learn recommends to get it working when it opens to the WinRE boot screen, instead of going through its paces. Nothing doing, just yet. I’ll keep trying, and I’ll keep reporting: stay tuned and you can know, too.

Facebooklinkedin
Facebooklinkedin

QMR Wants Newer PCs

I have to laugh at myself. I’ve been waiting since Quick Machine Repair (QMR) emerged in April 2024 for it to show up on my Beta Channel test PC. (KB5056862 first appeared on June 2 for Build 26200.5622.) Alas, I probably could have kept waiting much longer. That’s because my Beta Channel test PC is built around an 8th-Gen i7-8650U CPU. But it seems that QMR wants newer PCs to include them in this gradual rollout. Let me explain.

Why say: QMR Wants Newer PCs?

I switched the Lenovo ThinkStation P3 Ultra, with its 13th-Gen i9-13900 CPU, over to Beta Channel. As soon as I brought up Build 26120.4230, WU extended the KB5056862 update. You can see that item in the Update History for that machine as the lead-in image above, in fact. What’s going on here?

It’s often the case that boot-related stuff on gradual rollout starts with newer PCs. It only makes its way back to older machines once MS is convinced that it really works as it should. And indeed, I followed the step-by-step instructions for testing QMR on the P3 Ultra (with the afore-depicted KB installed) from MS Learn’s Quick Machine Recovery article. It worked just like they said it would, too.

Meanwhile, the X380 Remains on Hold…

The older X380 is still on the outside, looking in, waiting for MS to extend the Quick Machine recovery update its way. I think it will keep waiting for some time yet. But at least, I have now been able to run the utility and see how it works. I’ll be reporting that in detail for an upcoming ComputerWorld story that’s due for submission on June 25. Stay tuned, and I’ll provide a link when that story goes live.

Facebooklinkedin
Facebooklinkedin

Still No Snapdragon X Mini-PCs

I’m disappointed, and more than a little curious. Last year Qualcomm announced a pilot program offering developer kits with Snapdragon X CPU in a mini-PC format. I bought in, only to see the program cancelled. Then, I spent two months chasing my refund down. The lead-in graphic is a publicity still of that very device from Qualcomm itself. Other companies, including Lenovo and Geekom, announced plans to release SFF PCs built around this SoC in early 2025. Despite release dates floated for H1 2025, there are still no Snapdragon X mini-PCs for sale from anybody, anywhere. Nor do I see signs that any might appear in the market any time soon. Oops!

Why Still No Snapdragon X Mini-PCs?

My gut feeling is that the answer is, in an acronym, USB. As the Snapdragon X architecture currently stands, it supports only a single USB4 (40 Gbps) and one USB 3 gen 2 (10 Gbps) port. Charging on a mini PC could possibly leave the USB4 port open (TBD, with none such for sale right now). Even so, that’s too few high speed ports for the build to make good economic sense. Who wants to spend $500-700 (or more) on an SFF PC, only to plunk down another $200-300 for a USB4 or 5 dock to bring the port count up to where it needs to be?

I’m guessing that these projects are on hold while Qualcomm is defining its next-gen Snapdragon X architecture. I’m also guessing that the new version will include either 2 or 3 USB4 or 5 ports so that such units can support a more plausible number of high speed video and storage connections in a compact form factor. Especially on tiny PCs ports enable them to do what users need.

An Interesting Upcoming Snapdragon Summit?

Qualcomm is expected to uncover details about the next-gen Snapdragon X architecture and capabilities when the company holds its September Summit in Maui. I’m expected the current paucity of ports to be over topped. And possibly, a new crop of promised mini or SFF PCs could follow in its wake. It should be interesting to see how it all turns out.

I’m pretty sure at this point that we won’t see any SFF or mini PCs around the current Snapdragon X version. The only possible exception might be a low-ball, dirt-cheap model. OEMs may seek to produce some revenue from the efforts that have apparently been expended in trying to build this recalcitrant beast. I’m not holding my breath, however… Let’s hope the next generation is a different story, and has a happier ending!


Facebooklinkedin
Facebooklinkedin

Recent Rising Reclaimable Counts

Recently, I’ve been noticing that Cumulative Updates (CUs) typically leave upwards of 10 or more reclaimable packages around, following installation. If my memory is any guide, numbers from 2-4 had been more typical until earlier this year. But recent rising reclaimable counts seem all too likely these days.

So I asked Copilot about it: “Why does dism /analyzecompo-nentstore find more reclaimable packages after CU updates recently?” Imagine my surprise when Copilot cited one of my very own blog posts in response as a potential source of “deeper insights.” Wow: that’s a shock to me!

Here’s what DISM told me after I updated Windows 11 24H2 to 26100.4202 last week: 10 packages reclaimable!

Why Rising Recent Reclaimable Counts?

When I check the component store using DISM /Get-Packages after recent CUs I see numerous staged and superseded items in the listing. These are what often gets cleaned up when a following DISM /StartComponentCleanup is run. Google AI says that  recent changes to “checkpoint cumulative updates” in 24H2 means that “Future updates then build incrementally from these checkpoints, leading to smaller downloads and potentially faster updates.” Looks like it means there are more and smaller items of this kind, rather than fewer and larger ones, as under the previous regime.

Thus, I think the phenomenon is real, and reflects a change in update approach and architecture. DISM dispatches these items pretty quickly (at least anecdotally more quickly than the older approach, in my own personal experience). So all in all, I’m inclined to find this a good thing.

It’s nice when incremental changes in Windows mean improvements in the general state of Windows-World itself. Today, that’s my story — and I’m sticking to it!

Note Added 6/7: A New Top Count!

I ran DISM /AnalyzeComponentStore on the X380 Yoga just now (running 24H2 Beta Channel Build 26120.4230). It reported a whopping 21 reclaimable packages, all of which vanish after running DISM /StartComponentCleanup. See this:

I’m inclined to take this as further validation of my thesis that CUs bring more (and smaller) packages for cleanup in their wake. What do you think?

Facebooklinkedin
Facebooklinkedin

Author, Editor, Expert Witness