Picture a freshly wiped Lenovo ThinkPad X12 Gen 1 Hybrid tablet. Windows 11, clean install, not a single orphaned registry key or stale cache entry to its name. I had spent an entire Saturday — a real, honest, could-have-been-doing-anything-else Saturday — systematically troubleshooting seven distinct layers of the Windows stack, trying to coax winget into rendering package icons inside Windows Terminal. First, I checked the pipeline. Then, I checked the frameworks. Finally, I checked the fonts, the settings, the preview builds, and the GitHub issue tracker. My conclusion, published with the full confidence of a man who had just inspected every plumbing joint in the house, was that the feature didn’t exist yet. The faucet wasn’t connected to anything.
Why Say: Icons Make Their WinTerm Debut?
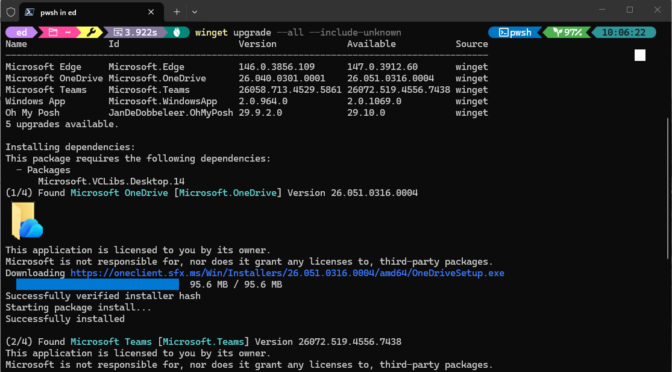
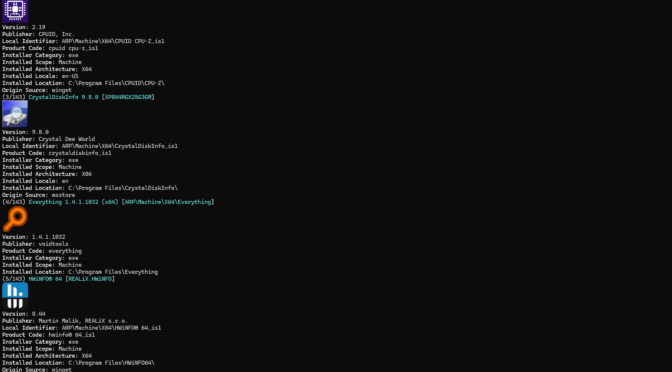
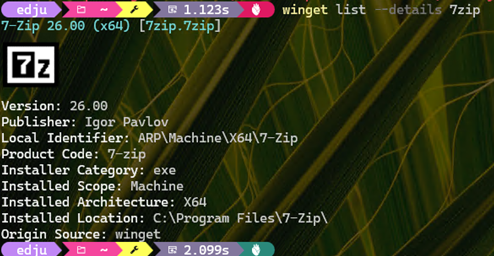
I was wrong. The icons were there all along, hiding behind a single toggle nobody told me about. Now, running winget list --details,most of the 140 installed packages display beautiful sixel-rendered icons inline in Windows Terminal. The 7-Zip logo in crisp black and white (see lead-in graphic). CPU-Z’s purple microchip. Everything’s orange magnifier. Many, many packages, adorned and accounted for. The bloody icons are alive.
Synopsis: TL;DR
After seven layers of troubleshooting on a pristine clean install that ended in defeat, the fix turned out to be embarrassingly simple: update to winget preview v1.29.70, add "enableSixels": true to the winget settings file, and restart Windows Terminal. That’s it.
Three steps, one hidden toggle, a plethora of package icons rendered in full sixel graphics glory. The seven-layer journey wasn’t wasted — it built the foundation that made the fix possible — but the actual answer was only one JSON property deep.
The Clean-Install Gambit
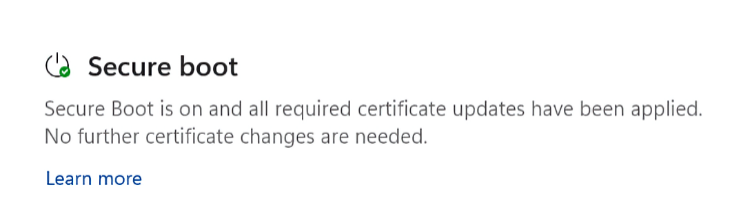
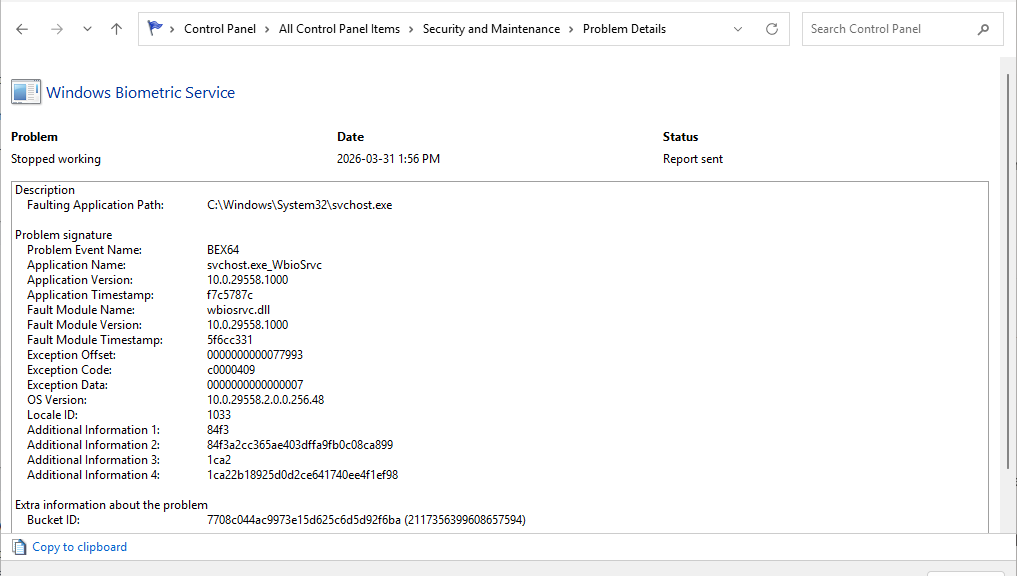
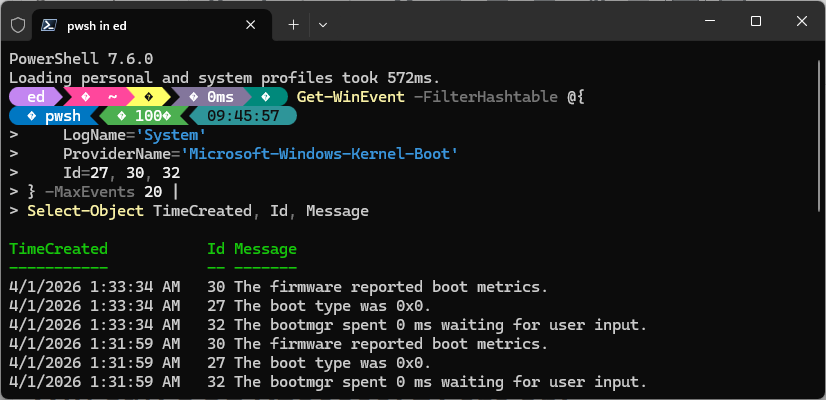
The Lenovo X12 Hybrid was the perfect test bed. I’d done a fresh clean install of Windows 11. That curred partly because a failed experiment with Secure Boot EFI data had left the boot configuration in a philosophical state. And partly because I wanted to try Smart App Control on a virgin system. No leftover manifests, or stale caches. No conflicting side-loaded packages from six months of tinkering. A blank slate. If icons were going to work anywhere in the known universe, this was the place.
The first round of troubleshooting — documented in painstaking detail a now-abandoned “Still No Bloody Icons” post — ended with a serious verdict. The icon rendering pipeline doesn’t exist. Every layer of the stack was sound, every component was healthy, every dependency was present and accounted for, but winget simply wasn’t emitting anything visual. The conclusion was deeply unsatisfying but seemed defensible. It was also, as it turns out, incomplete.
The Seven Layers: A Brief Retrospective
Before we get to the breakthrough, let’s do a brisk lap through the original investigation. Think of this as the training before the final fight — except the opponent was a JSON property, and the training took eight hours.
Layer 1: App Installer/Preview Pipeline.
I sideloaded the preview .msixbundle, navigated the privilege boundaries between the Microsoft Store and manual installation, and got winget preview running. The CLI worked. The commands parsed. No icons.
Layer 2: VCLibs and UI.Xaml.
The framework dependency chain — Microsoft.VCLibs and Microsoft.UI.Xaml.2.8 — had to be present for the preview to run. Downloaded them, sideloaded them, confirmed both were registered. Still no icons.
Layer 3: WinUI 3 Runtime.
I checked whether the Windows App SDK runtime was present, which it was, because Windows Terminal itself depends on it. Dead end, but a clean one.
Layer 4: Terminal Capabilities.
Tested output in both Command Prompt and Windows Terminal. Both showed identical plain text. The pipe was open; the faucet was off.
Layer 5: Fonts and Glyph Coverage.
I installed CaskaydiaMono Nerd Font, complete with its thousands of extra glyphs — Powerline segments, dev icons, weather symbols, the whole typographic buffet. Powerline segments in my prompt looked gorgeous. Winget output? Still plain text, dressed in its Sunday worst.
Layer 6: Terminal settings.json and Profile Configuration.
I did an exhaustive review of every setting, experimental feature, and flag in the Windows Terminal configuration. Renderer settings, text formatting options, experimental feature toggles — I read them all with the desperation of a man looking for his car keys in a coat he’s already checked three times. Nothing relevant.
Layer 7: Preview-Build Regressions and the Canary Channel.
I searched the GitHub issue tracker for every synonym of “icon” I could think of. Found discussions. Looked at mockups. Found companion app implementations and third-party extensions. What I did not find was any evidence of shipped CLI icon rendering.
The original verdict: “It’s not a regression. It’s not a bug. It’s an absence.” That verdict was wrong — but getting there was essential. It eliminated every false lead and left only the real answer, waiting patiently for me to circle back with fresh eyes and one additional search query.
The Real Deal: Layer 8 (Politics & Religion)
A few days later, I revisited the problem. Different day, different energy, different collaborator. This time I had Copilot riding shotgun, and instead of working bottom-up through the stack like a plumber checking every joint from the basement to the roof, we started with a simpler question: What changed in the latest winget preview releases?
The first discovery landed fast. Winget v1.29.70-preview had stabilized the list --details command and — this is the part that caught my eye — explicitly added icon rendering support. Not “planned.” Not “in development.” Added. Past tense. Shipped. The feature I’d declared nonexistent was sitting in a release that had dropped while I was busy writing about its absence. Timing, as they say, is everything.
Dealing with Dependencies
Installing it required the familiar dependency dance, the kind of manual choreography that makes you deeply appreciate package managers while simultaneously wrestling with one:
- Grab
Microsoft.UI.Xaml.2.8, extract it, and install the .appx from the extracted architecture folder
- Install the DesktopAppInstaller license XML via
Add-AppxProvisionedPackage
- Install the
.msixbundle itself with Add-AppxPackage
All done in an elevated PowerShell session, naturally. You haven’t lived until you’ve used a package manager’s own dependency framework to manually bootstrap the package manager.
But installing v1.29.70 alone didn’t do it. The second discovery — the actual fix, the thing that had eluded seven layers of investigation — was hiding in the winget settings file, accessible via winget settings. I already had "icons": true under the "visual" section:true under "experimentalFeatures". Those were documented. Those were obvious.
The Missing Link
But there was a third setting, never mentioned in any trouble-shooting guide, blog post, or Stack Overflow answer I saw:
{
    "visual": {
        "icons": true,
        "enableSixels": true
    },
    "experimentalFeatures": {
        "richOutput": true
    }
}
The enableSixels property is the linchpin. Without it, winget has no instruction to emit sixel graphics — even though Windows Terminal can render them and the server has the icon data ready to go. The "icons": true setting enables icon support but not the sixel encoding. Two switches that sound like they do the same thing. They don’t. One says “I would like icons, please.” The other says “Here is how you shall deliver them.” You need both.
After adding that one property and restarting Windows Terminal, I ran winget list --details and watched 140 packages scroll by — nearly every single one adorned with its sixel-rendered icon. The 7-Zip logo in crisp black and white. CPU-Z’s purple microchip. Discord’s round blue glyph. Firefox’s fox-wrapped globe. Every package, every icon, rendered inline in the terminal like it’s the future and we should be grateful.
The bloody icons were alive.
The Anatomy of the Fix
Now that the confetti has settled, let’s look at the tripod that had to be in place simultaneously. This is the part I wish I’d understood three weeks earlier, though I suspect I needed the seven-layer pilgrimage to truly appreciate it.
Piece 1: Windows Terminal 1.24+.
The terminal renders sixel graphics inline. This capability has been built in since v1.22 and is enabled by default — no special settings required. It was never the bottleneck. It was the one component that worked perfectly from the start, sitting there patiently while I blamed everything else.
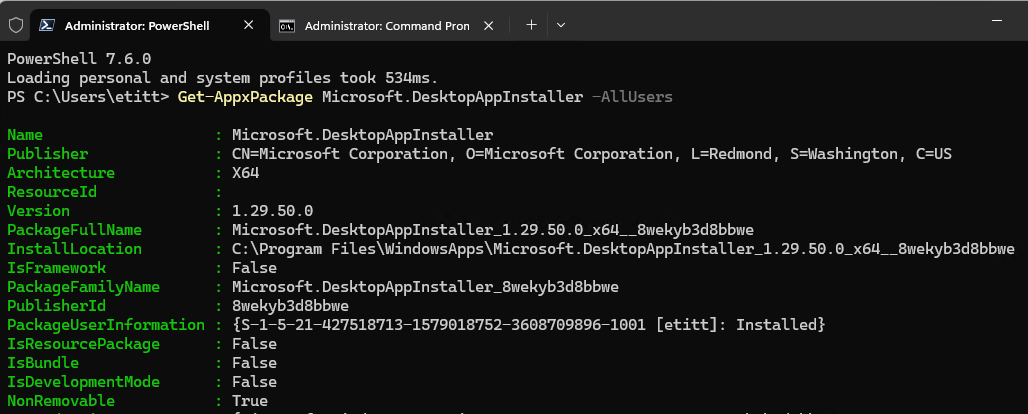
Piece 2: Winget v1.29.70-preview.
This is the version that emits sixel graphics and has the stable list --details command. The older preview I’d been testing with (v1.29.50) could show the winget banner icon — the little “W” logo that appears when you run certain commands — but didn’t reliably render package-level icons. The distinction matters: seeing the banner icon confirmed that sixel rendering could work but didn’t tell me why individual package icons weren’t appearing.
Piece 3: The winget settings file with enableSixels: true
The missing piece. The hidden toggle. The one ring. This tells winget to actually encode icons as sixel graphics in its terminal output. Sans this setting, winget sends plain text — even if the terminal is sixel-capable, even if the icon data exists, even if you’ve set "icons": true and crossed every finger you have.
Behind the scenes, the icons aren’t stored in the YAML package manifests on the winget-pkgs GitHub repository. They’re auto-extracted server-side from installer executables during the validation pipeline, then compiled into the compressed index that winget downloads during source updates. This extraction process was enabled in late 2024, which means the icon data has been quietly accumulating in the index for months — waiting for someone to flip the switch that tells winget to actually use it.
| Component |
What It Does |
Was It the Problem? |
| Windows Terminal 1.24+ |
Renders sixel graphics inline |
No — already working |
| Winget v1.29.70-preview |
Emits sixel graphics for package icons |
Partially — needed updating |
enableSixels: true |
Tells winget to encode icons as sixels |
YES — the missing piece |
| Server-side icon index |
Auto-extracted icons in compressed index |
No — already populated |
The Red Herrings
No investigation worth its salt is complete without a few false trails, and this one had its share. Early tests with the --name filter — for example, winget list --details --name "Windows Terminal" showed no icons, which sent me chasing theories about manifest coverage and incomplete icon databases. Were some packages missing icon data? Were MSIX-packaged apps excluded from the server-side extraction?
I went spelunking through GitHub discussions suggesting that the extraction pipeline didn’t work for all installer types. It turns out the terminal session needed a restart after changing the settings file. The filter works fine. The icons were there. I was looking at stale output and drawing conclusions from it, which is the troubleshooting equivalent of reading yesterday’s weather forecast and complaining that the meteorologist lied.
Another false trail: the winget show command. It doesn’t display package icons — never has, apparently isn’t designed to. The icon rendering is exclusive to list --details. If you’re testing with the wrong command surface, you’ll produce the same old plain text and conclude nothing has changed.
I lost about thirty minutes to this particular detour before Copilot gently suggested I might be looking in the wrong room. And those concerns about MSIX-packaged apps lacking icon data? Unfounded. Many of my 140 packages — exe installers, MSIX bundles, and everything in between — had their icons. The extraction pipeline is, apparently, less picky than the GitHub discussions led me to believe.
What I Learned
The seven-layer expedition that ended in “the feature doesn’t exist” wasn’t wasted. I want to be clear about that, because it would be easy to read this post as “I spent eight hours troubleshooting something that required three steps” and conclude that the eight hours were pointless. They weren’t. Every dead end eliminated a variable. Every layer confirmed a component was healthy.
The mental model of the winget architecture, starting from the CLI surface through the App Installer framework, down through the WinUI and VCLibs underpinnings, all the way to the terminal’s rendering pipeline paid real dividends when it came time to identify the actual fix. I knew exactly where the gap was because I’d already verified everything else.
The actual lesson is subtler than the original post’s triumphantly grim “sometimes the feature doesn’t exist yet.” The revised lesson: sometimes the feature does exist, but it’s hiding behind a toggle that isn’t documented in any obvious place. The enableSixels setting isn’t prominently featured in winget’s help text. It’s not in the release notes, at least not in any section I found. Not on the GitHub wiki’s settings reference page, either. It’s the kind of setting you’d only discover by reading source code diffs, stumbling across a buried comment in a pull request, or having a very persistent collaborator who doesn’t get tired and doesn’t get discouraged.
Troubleshooting Two-Step
There’s a broader point here for fellow troubleshooters, and it’s one I plan to tattoo on my forearm in a readable monospaced font: when you’ve eliminated every plausible explanation and concluded something is impossible, put a pin in that conclusion. Don’t throw away your work — it’s still valid diagnostic groundwork.
Then, revisit the question when the software updates. Your seven-layer foundation didn’t disappear. The components you verified are still verified. The answer might be one release and one hidden toggle away, waiting for you to come back with fresh eyes and a slightly different search query. And maybe, just maybe, bring a collaborator who doesn’t share your blind spots.
Closing
The icons have arrived. Not “sometime.” Nor “in a future release.” Not “probably, if you squint at the right preview build.” Now. Lots of them, rendering in full sixel graphics in Windows Terminal, each one auto-extracted from its installer binary and compiled into the winget index by Microsoft’s servers. The pipeline that the original post said didn’t exist? It existed all along — it just needed one bloody toggle to turn it on.
I’m no longer reading plain text like it’s 1985. And I’m liking that just fine. Here in Windows-World, that’s cause for celebration. Hold my beer…