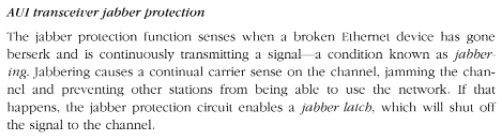
My first real networking job was as a Networking Consultant for Excelan in 1988. That company was purchased in 1989 by Novell, where I stayed quite happily until 1994. My initial training for the position included learning a hardware-based protocol analyzer (the LANalyzer, in fact). One of the things we learned in class was a coax-based 802.1 10 Mbps transceiver could crash an entire physical LAN. This device had a classy alias: “vampire tap.” It was scre-clamped onto a thickwire coax cable to add one or more network ports. Sometimes, its built-in circuitry would go bananas and overrun the network with bogus traffic. This problem, known as a jabbering transceiver error rears its ugly head recently. It happened on one of the Chez Tittel GbE switch domains.
When Jabbering Transceiver Error Rears Its Ugly Head, Divide and Conquer
Here’s a quote from the 2000 classic by Charles Spurgeon: Ethernet: The Definitive Guide
The quote comes courtesy of Google books, pg. 107.
(I still have a hardcopy on my bookshelf).
I’m pretty sure that NICs don’t have transceivers any more, so they aren’t really subject to such failures. But similar behavior — specifically, failure of a switch domain — is well-known to occur when hardware problems bedevil a LAN segment. For a while there, I was chasing random network failures in my office. They would kick all the machines off the switch, but would gradually let everybody back on.
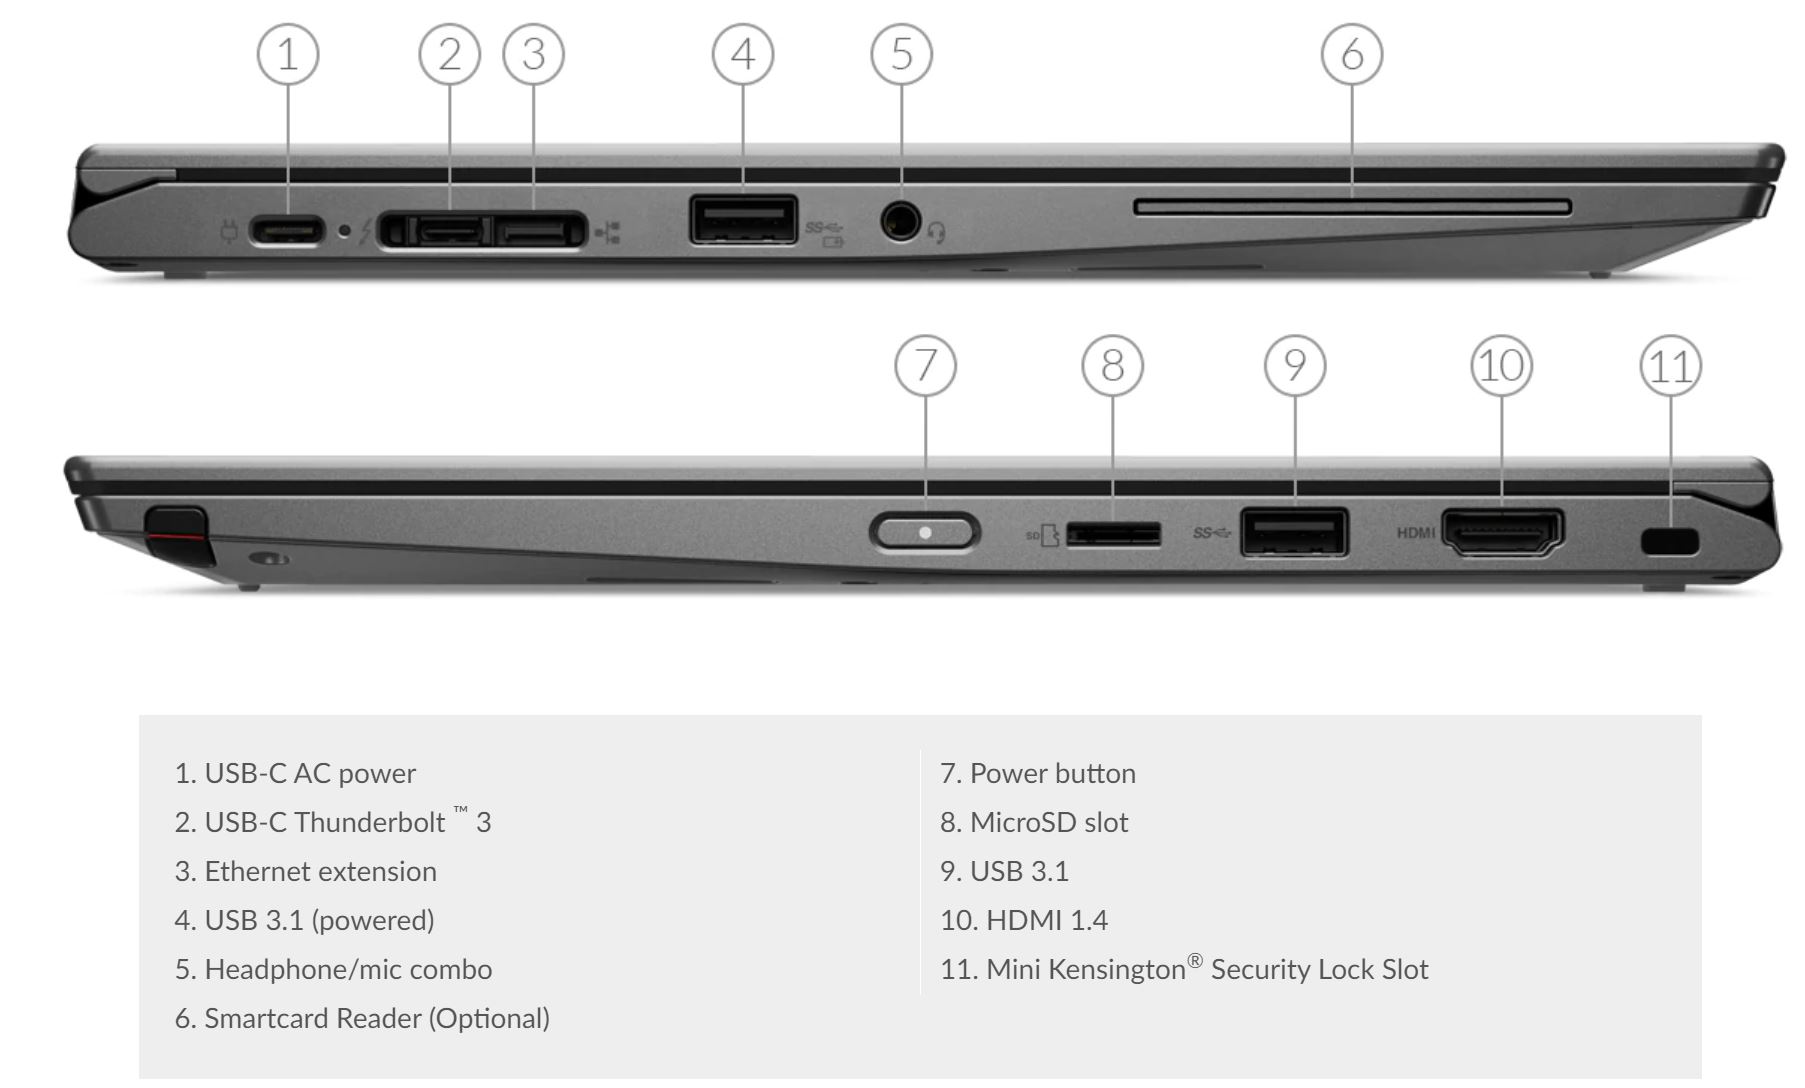
It wasn’t until I quit using the built-in GbE port on my retiring X220 Tablet PC that the problems stopped. I was able to confirm the issue by plugging the RJ-45 cable back into that until and watching the circus start back up. If I switched to a USB dongle instead, the GbE domain attached to either or both switches in my office worked fine. One is a standalone NetGear 8-port GbE switch, the other an 8-port switch integrated into my Asus 802.11AX WAP/router.
Historical Note
Divide and conquer was the recommended troubleshooting method to identify a jabbering transceiver. One would subdivide the cable segment by interrupting it at a repeater, and terminating each sub-segment. Whichever segment stayed broken had the failing device. Repeat until the device can be identified, then replace it. I did this for TRW in Austin in 1988 on an actual service call there…
It wasn’t really until I started the trip down memory lane to my first-ever Ethernet networking class in 1987, and my trip to TRW, that I understood what was happening. The built-in GbE interface was failing, and acting like a jabbering transceiver. I can’t exactly say “everything old is new again.” But I can say, an old lesson learned came in handy. And indeed, that is the way things sometimes go, shooting trouble here in Windows-World!