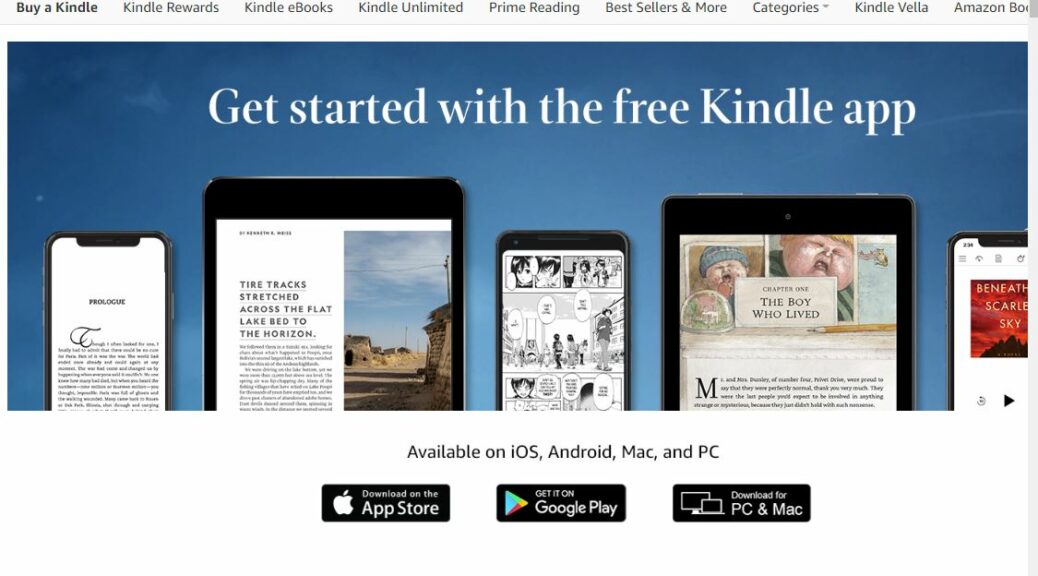
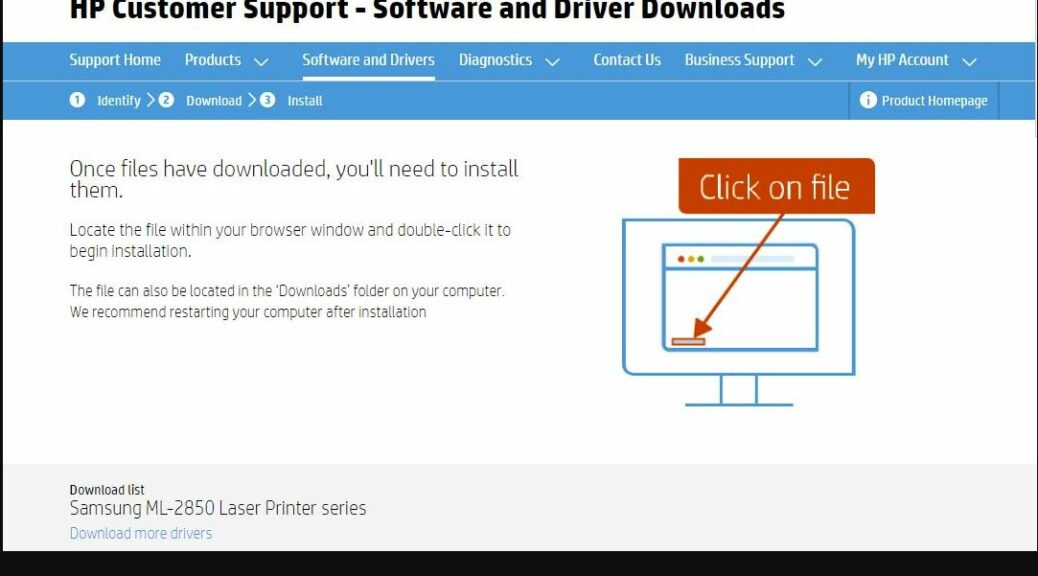
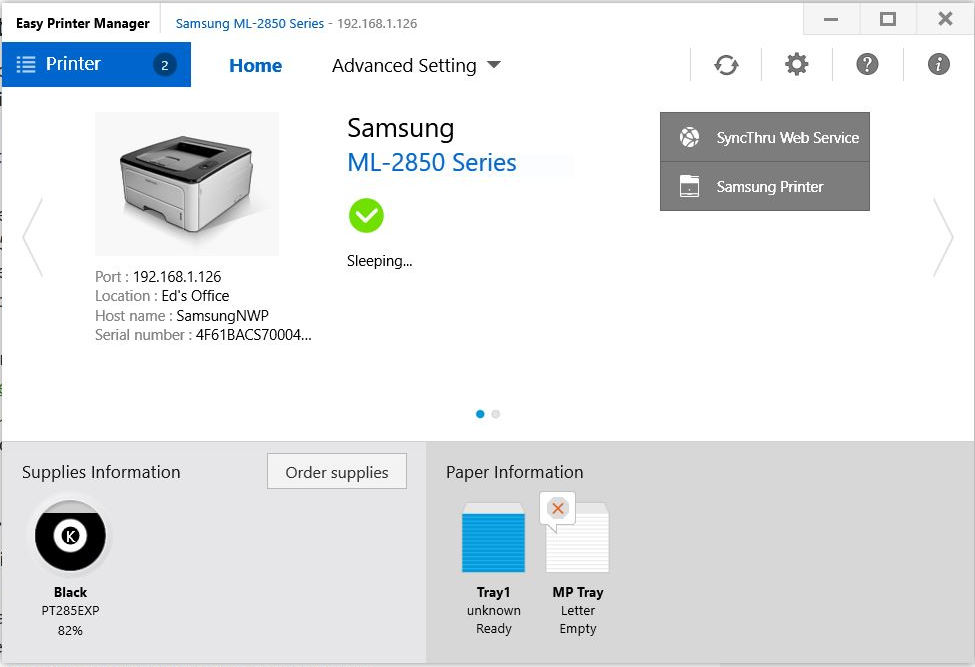
Category Archives: Windows 10

.NET 3.5 Falls Outside Pending EoS

Last Friday, I posted about impending End of Service (EoS) dates for some particular .NET releases. As shown in the lead-in graphic, .NET Framework version 4.6.1, 4.6 and 4.5.2 are all slated to go EoS on April 26 (13 days in the offing, as I write this item). That said, .NET 3.5 falls outside pending EoS (the SP1 version, anyway) as shown in red in that same graphic.

What .NET 3.5 Falls Outside Pending EoS Really Means

It turns out there’s a LOT of software that still leans heavily on .NET version 3.5 SP1. Because older software — some dating back to Vista and Windows 7 eras — requires this .NET version to run, MS packaged this particular .NET version as a standalone product with its own release and support schedule. Again, a look at the lead-in graphic shows that version 3.5 SP1 doesn’t hit EoS until January 9, 2029, nearly 7 years later than any other known EoS dates.

From older versions of Visual Studio, to a wide range of older, but still-used applications, .NET 3.5 is apparently far from moribund. To me, the VS connection is particularly telling, because it speaks to custom apps — many built in-house at companies and organizations to meet specific or proprietary needs — that benefit from an extended lease on life.

Where’s Your Favorite .NET Version in This Mix?

If you look at the Microsoft Docs Lifecycle page for the Microsoft .NET Framework, you’ll find the source for the graphic at the head of this story. MS updates this info from time to time, adding new versions and obsoleting older ones. I’m a little bemused to see that my Update History makes reference to a “2022-04 .NET 6.0.4 Update for x64 Client” (KB5013437). Though I can find an MS Catalog entry for this update and a set of .NET Release Notes that mention versions 6 and 7, only this document provides EoS dates for 7 (November 2023) and 6 (November 2024). Makes me wonder why all this info isn’t also consolidated on the Lifecycle page. Go figure!

Bottom line: I was wrong in my Friday posting in presuming version 3.5 SP1 was also slated for EoS along with the other 4.x versions named above. As you can plainly see in the graphic, 3.5 is around for some while yet. Live and learn!

Facebooklinkedin
Facebooklinkedin

Various .NET Versions Facing EoS Soon

On April 4, an End of Support notice surfaced in  the MIcrosoft Message Center. Its initial text appears in the lead-in graphic for this story above. A quick summary of its contents is that various .NET versions facing EoS soon. The version numbers involved are 4.5.2, 4.6 and 4.6.1 runtime. MS recommends that affected PCs update to .NET Framework 4.6.2 before April 26, 2022. No updates or security patches will be issued for those versions after that date.

If Various .NET Versions Facing EoS Soon, Then What?

This is an issue only if certain applications still in use employ those older .NET versions, and they themselves haven’t yet been upgraded to use a newer one. As I look at the relevant folder in my production  Windows 10 desktop — namely:

C:\Windows\Microsoft.NET\Framework

these are the folders that I see

If I understand how this works correctly, all versions lower than 4.0 reflect older .NET versions currently installed on this PC. Thus by reading the version numbers for those folders you can see that 5 such versions are installed, from v1.0.3705 through v3.5.

On the other hand, if you display properties for any .dll file in the V4.0.30319 folder, you’ll see what version of .NET is currently present, to wit:The Product Version line reads 4.8.4084.0, and tells me that I’ve got the latest and greatest .NET version installed here, as well as the earlier versions already mentioned.

What To Do About Impending Retirements?

If you’re using no software that depends on earlier .NET versions, you need do nothing. OTOH, if some of your software does depend on them you must decide if you’ll keep using it and risk possible security exposure, or find an alternative that isn’t subject to such risk. For my part, I recommend the latter approach, unless there’s no other choice. And in that case, the safest thing to do would be to run such software in the MIcrosoft Sandbox as a matter of prudent security policy. ‘Nuff said!

Facebooklinkedin
Facebooklinkedin

Ventoy 1.0.73 Requires Interesting Contortions

When I saw a new version of Ventoy came out this morning, I immediately went to update my drive with the new software. It runs on an AData 256 GB (nominal) M.2 SSD inside a Sabrent NVMe enclosure. For some odd reason, the update function did not work properly. Digging into the log, I see the program had trouble writing the new EFI files to the Vtoyefi partition where the program does its boot magic. Indeed, installing Ventoy 1.0.73 requires interesting contortions for me to achieve success. I’ll explain…

What Ventoy 1.0.73 Requires Interesting Contortions Means

First, I backed up the contents of the Ventoy drive, which shows up as E: on my production desktop. Then I tried to use the Install function in the program to over-write the existing disk structures. No go. I switched over to a newer PC, where I was able to cable up using a high-speed USB-C cable into the Sabrent enclosure. Then, I performed a clean install of Ventoy 1.0.73 on the target drive. That worked!

Of course, then I had to go back to my production PC to restore the backup. The whole process ended up taking about half an hour to complete, of which time the bulk went to creating and then restoring a backup of the 28 ISOs in the Ventoy (E:) partition.

Speculation Reigns Supreme

I must confess I don’t know why the update function failed this time around. I’ve not seen this happen before with Ventoy. That said, I’m not surprised that a vintage-2016 PC with USB 3.1 drivers might have trouble with a device that works with USB 3.2 (and Thunderbolt 3) drivers. And indeed, when I hooked up to a device that supported those newer drivers, everything worked as expected.

That’s why I’m thinking something went weird with the USB drivers when the program attempted to rewrite the 32 MB FAT based EFI partition from which Ventoy works its magic. That’s the part that wouldn’t update on the older PC, but which installed flawlessly on the newer PC. If somebody else has a better explanation, please share. But when the next Ventoy update comes out, I’m going to run it from the newer PC. I’ll bet it runs faster that way, too, thanks to those newer — and faster — USB 3.2/Thunderbolt 3 drivers it uses.

Facebooklinkedin
Facebooklinkedin

Microsoft Catalog Goes HTTPS

Call it a factoid, or perhaps administrivia. Whatever you call it, this info come thanks to the eagle-eyed folks at DeskModder.de.  Indeed, it’s now clear that the venerable Microsoft Update Catalog is using the secure version of HTTP (namely, HTTPS) for downloads. The lead-in graphic shows lookup and resolution of yesterday’s CU preview URL for Windows 10 (KB5011543) by way of proof. When I say Microsoft Catalog Goes HTTPS, you can see it at the outset of the URL I pasted into Notepad, plain and simple.

If Microsoft Catalog Goes HTTPS, So What?

It’s 2022. HTTPS made its debut in 1994, in the earliest days of the web. It comes to us courtesy of Netscape from the same folks who brought us Navigator. And as far as I can recall, MS has been using HTTPS on its websites since the mid-2000s.

So why is MS making the catalog switch only now, either 28 or perhaps only 17 years later? The answer appears on a recent (April 1, 2022) Microsoft Docs page. It’s entitled “Site compatibility-impacting changes coming to Microsoft Edge.” Among other things it states that “downloading of files from HTTP urls will be blocked on HTTPs pages.”

I guess it just wouldn’t do, if Edge couldn’t download catalog entries for that reason. Note that the catalog itself has this URL for KB5011543: https://www.catalog.update.microsoft.com/Search.aspx?q=KB5011543. If the catalog download stayed at HTTP only, starting with v94 of Edge, it would no longer deliver the goods. And that kind of defeats its purpose, right?

So there’s your explanation. Enjoy the improved security, while you use any browser of your choosing. Cheers!

Facebooklinkedin
Facebooklinkedin

Windows Memory Integrity Now Covers Device Drivers

With the latest versions of Windows 10 and 11, Windows Security gains driver level protection. I’m talking about Build 19044.1586 or higher for Windows 10. Also, 22000.593 or higher for production 11, and 22581.200 or higher for Dev Channel Insider Previews. Looks like those still running Beta (22000.588, or higher) are also covered. Go into Microsoft Security, under the left-panel Device security heading. Drill into Core isolation details, then turn on Memory integrity (see lead-in graphic). Do all those things, and Windows memory integrity now covers device drivers. I’ll explain. . .

What Windows Memory Integrity Now Covers Device Drivers Means

With Core Isolation turned on (requires Hyper-V and VM support turned on in UEFI or BIOS), you can visit the MS Support Core isolation page to learn more. It also provides detailed, step-by-step instructions on how to turn this feature on (note: a restart is required).

Here’s a brief summary:

1. Memory integrity, aka Hypervisor-protected Code Integrity (HVCI), enables low-level Windows security and protects against driver hijack attacks.

2. Memory integrity creates an isolated environment (e.g. a sandbox) using hardware virtualization.

3. Programs must pass code to memory integrity inside the sandbox for verification. It only runs if the memory integrity check confirms code safety. MS asserts “Typically, this happens very quickly.”

Essentially, memory integrity/core isolation puts security inside a more secure area. There it can better protect itself from attack, while prevents drivers (and the runtime environments they serve) from malicious code and instructions.

What Can Go Wrong?

If any suspect drivers  are already present on a target system, you can’t turn memory integrity on. Instead you’ll get an error message something like this:

Note: the name of the driver appears in the warning. Thus, you can use a tool like RAPR.exe to excise it from your system. Be sure to find and be ready to install a safe replacement because that may render the affected device inaccessible and/or unusable.

Should you attempt to install a suspect or known malicious driver after turning this security feature on, Windows will refuse. It will provide a similar error message to report that the driver is blocked because it might install malware or otherwise compromise your PC.

That’s good: because that means driver protection is working as intended. Cheers!

Facebooklinkedin
Facebooklinkedin

GPU Driver Update Fixes Flickering Solitaire

I cheerfully confess: I start most working days off with a rousing round of Microsoft Solitaire. When the game pane started flickering this morning, I asked myself “Time for a new Nvidia driver?” Sure enough, a new one issued on March 22 (yesterday). And, as usual, that GPU driver update fixes flickering Solitaire as desired.

Keep Calm and Carry On: GPU Driver Update Fixes Flickering Solitaire

I upgraded the Game Ready Driver to yesterday’s version 512.15 using GeForce Experience. The whole process took under 10 minutes. No reboot was required. Interestingly, Reliability Monitor collected no errors nor warnings while the monitor was flaking out on me, either.

It’s a good thing that the symptoms are both obvious, and easily diagnosed. And FWIW, a keyboard GPU restart (CTRL+WinKey+ Shift+B) didn’t fix things. That’s why I was hopeful that a driver update would make it all better. Luckily for me, that turned out well.

What If a New Driver Flops?

Things rapidly get more interesting if a new GPU driver fails to fix monitor flicker. First and foremost, I’d check cables next, starting (in this case) with the DisplayPort cables that stretch from the Gigabyte RTX 3070 Ti GPU adapter to the affected Dell 2717D. If a cable swap didn’t fix things, I’d try rolling back two driver versions or more (for Nvidia GPUs, that means using its manual driver search facility). If no joy after two or three older driver attempts, I’d next run monitor and GPU diagnostics.

Most of the time, it’s the driver. If it’s not the driver, it’s usually the cable. If I have to get down to diagnostics (usually available from GPU and monitor makers), things can quickly get expensive. Glad to have avoided such issues this time around.

But, here in Windows-World, it’s always something, right?

Facebooklinkedin
Facebooklinkedin

MSA Login Doesn’t Connect Via RDP

Here’s an interesting problem that I apparently share with lots of people. Try searching on “can’t login to RDP” or “MSA login to RDP doesn’t work.” You’ll see what I mean. For me, MSA login doesn’t connect via RDP from my trusty Win10 production desktop to my new Ryzen 5800X build. Sigh.

So, of course I went through all kinds of contortions and research to try to get it working. I tried a variety of GPO settings, registry hacks and more, all without getting any love.  I spent 45 minutes trying to make this work to no avail. Even though I double-checked my passwords (and in one case, reset it just to make darn sure) I kept getting errors. Either “The password used to connect to the remote PC didn’t work” or “The credentials didn’t work” (RDP app and mstsc.exe, respectively).

MSA Login Doesn't Connect Via RDP.rdp-app-error

Words alone can’t convey the frustration in using a known, good, working password and getting such an error. Ouch!

When MSA Login Doesn’t Connect Via RDP, Use Local Account

Then, in several of the posts I read online, I noticed that similarly afflicted individuals succeeded in opening an RDP session using a local (client) account. So I set up a local account on the client PC using the “Add account” facility in Settings → Accounts → Other Users. Hint: you have to say you don’t know the user’s sign-in info to get to the right screen, where you choose the “Add a user without a Microsoft account” (MSA) to create a local account. Sigh again.

So, I created an account named LocalU, and then promoted it to Administrator status. Then, on my next RDP attempt into that PC the login succeeded using that account name and its associated password.

Even though you can’t always make Windows do exactly what you want, you can often find a way to get what you need through some workaround. This is actually a pretty good example. I can’t say I’m happy about this (and plan to report it to Feedback Hub next). But at least I can RDP into my new desktop. This will be very important when I start migrating files and stuff from the current production desktop to what will be my new production desktop next month.

Stay tuned! I’ll keep you posted as things progress in their usual “two steps forward, one step back” fashion. Should be fun…

Facebooklinkedin
Facebooklinkedin

Overcoming Obsolete AMD UEFI Limitations

In yesterday’s blog post I provided an overview of the build process for a new AMD 5800X based PC. That started with putting the physical pieces together (covered therein). It continued with getting Windows 11 installed on the box. That’s today’s subject and it involved overcoming obsolete AMD UEFI limitations. Let me explain . . . and then share some other interesting observations about the state of current PC art.

What Overcoming Obsolete AMD UEFI Limitations Means

When I started up the AMD build for the first time, I had my Ventoy drive plugged in. The then-present UEFI was smart enough to recognize that my SSD was unformatted and hence, unbootable. Pretty cool. Even better, it was smart enough to recognize that the Ventoy drive was bootable — so it passed boot control to that device.

I had a fresh new Windows 11 image on that drive, and started the install process right away. But after getting past the “enter product key” hurdle (I grabbed one, courtesy of my WIMVP Visual Studio subscription) came the WTF moment. The installer informed me that the PC did not meet Windows 11 hardware requirements. I knew it should (and would, eventually) but I had to figure out what was up.

To Get to 11, I First Had to Get to 10

The same Ventoy drive also included a fresh Windows 10 ISO as well. So I selected that as my install source and went through a hurry-up install of the older OS. It went FAST: took less than 10 minutes, in fact. Then I grabbed the PC Health Check to determine where my problem lay. The then-current UEFI did not support TPM in firmware (aka fTPM). No TPM, no Windows 11.

Thus, I checked the support page for the Asrock B550 Extreme4 motherboard, BIOS (UEFI) page. The latest version is numbered 2.10, dated August 6, 2021, and its first description element reads “Support Microsoft Windows 11” (See lead-in graphic). So I quickly re-learned how to use the Asrock Flash utility, downloaded and installed the new version, and rebooted my PC. This time, the fTPM capability showed up under the Security settings for the UEFI. I was set!

All’s Well on the Second Try

Sure enough, the Windows 11 installer raised no objections to the upgrade process. Here again, the install was fast, and completed in less than 20 minutes. As an aside, I had no issues with drivers on either the Windows 10 or 11 installs, though I do have an unresolved “PCI Encryption/Decryption Controller” entry in Device Manager I still need to clean up. Based on many, many prior PC builds a single dangling reference ain’t at all bad. Looks like a new February 2022 version of the AMD Chipset drivers should take care of it, too.

{Note added 5 mins later: And yes, installing those drivers did indeed clear this entry in Device Manager. All fixed!]

I used the Windows 11 product key to activate the OS after the install was complete. I’d never activated the Windows 10 having chosen the re-installing option to bypass that check when bringing up the PC for the first time. I’m still in the process of cleaning and finishing up the new Windows 11 install on this PC. That will probably stretch out over the rest of this week, given other work commitments. But so far, now that I’m past the UEFI hurdles, the new PC has shown itself to be fast, smart and capable.

Next month, I’ll start the process of shifting over from my current production PC to make this build my new production PC. But I have a bunch of other “real work” to do first. Stay tuned: I’ll keep reporting on this process. In fact, I’ll explain what I had to do to RDP into this new PC in  tomorrow’s post.

For now, here’s the info on this new PC that shows up under my MSA. As you can see I named it RyzenOfc. (It’s got a Ryzen CPU and it’s in my home office, so why not?)

Overcoming Obsolete AMD UEFI Limitations.account-info

Interesting how Windows 11 shows up with a 10-based version number. The build suffix gives it away though…

Facebooklinkedin
Facebooklinkedin

Bringing AMD PC Into Windows 11

Man! What a day yesterday turned out to be. I finally had all the pieces together — or so I thought — to finish the AMD Ryzen 7 5800X PC. On the path to making that happen, and getting Windows 11 installed, I learned more than I expected. A LOT more… Bringing AMD PC into Windows 11 proved more difficult and challenging than I’d ever dreamed. Let me explain…

Parts Needed When Bringing AMD PC Into Windows 11

I finally broke down and ordered an Nvidia 3070 Ti GPU for the new build. I didn’t realize, until it showed up and I measured it against the Antec 902 case, that that darned thing was TOO BIG to fit inside. As my first such card, I didn’t know it needed about 2cm (around an inch) of additional clearance between the PCIe slot (and rear of the case where the outputs go) and the HDD cages at the front. Ouch!

So here’s what I had to do. My old Z170 (vintage 2017) build is in a monster Rosewill case with massive clearance. It housed an Nvidia 1070 Ti which I swapped out with the new 3070 Ti. Fortunately, the Corsair 750 PSU in the Rosewill case had enough power connectors for me to plug in 2x 8-pin power plugs to make that beast happy.

On the Antec side, I shoehorned the old 1070 Ti in. Even so, I endured some “cable snarl” to put everything in place. I had to use a tiny cable tie to hold the Reset, Power, and HD Light cablets together. Then, I used a “mosquito” (a tiny hemostat, very helpful for working inside tight spaces inside PCs) to plug them in together.

Other contortions were involved:

  • Went through a card slot at the back of the case to plug the HD97 audio connector in.
  • Used two HD power cables to reach each of 2 hard disks, to work around the 1070 GPU.
  • Used all but one of the power cables from the build’s Seasonic 650W PSU (first time ever for such a situation).

Power, Lights and Action…?

Eventually, I had all the parts together and mouse, keyboard and monitor plugged in. This time, when I hit the power switch the PC booted right into the Ventoy drive I had plugged into one of the USB 3.2 ports. I jumped immediately into installing Windows 11, only to be informed that the PC didn’t meet the necessary hardware requirements after getting past the “request for product key” screen.

Turns out that although the B550 Extreme4 motherboard and its Ryzen 5800X do support fTPM, they won’t do so unless it’s enabled in the UEFI. Figuring that out and fixing it turned into another series of adventures. They will serve as the basis for tomorrow’s story. Stay tuned, and I’ll tell you all about it then.

For now, I’m happy to report that the machine is running nicely at my second desk here in the office. I still have some setup work to do. Mostly that consists of installing a bunch of utilities, Macrium Reflect, Office 365, and then tweaking things just the way I like them. That should provide the basis for yet another story later this week. Cheers!

Facebooklinkedin
Facebooklinkedin

New Ventoy 1.0.66 Version Available

Thanks to Martin Brinkmann at Ghacks.net, I just learned there’s a new Ventoy 1.0.66 version available. Among other cool features, it now supports an “experimental” (beta) feature to boot most supported image formats from a local disk. Check out the GitHub page and its  documentation page at Ventoy.net for a complete recitation.

With New Ventoy 1.0.66 Version Available, Grab One!

I’ve been writing about Ventoy since April 2020, when I first learned about this outstanding tool. Here’s my first-ever Ventoy item: Bootable USB Tool Ventoy (Win10.Guru). The Ventoy,net site has long since overcome its initial underprovisioning issues. Indeed, the tool is now available through both GitHub and SourceForge as well. It’s also added lots of bells and whistles along the way.

If you don’t already know and use this tool, you owe it to yourself to check it out. Be sure to check out the many content items on the Ventoy Document page for news, how-tos, explainers, and information about the tool’s growing collection of interesting plug-ins.

Make Ventoy Your Go-To Install/Repair Tool

Right now, I’m still using a 256GB SSD in a Sabrent NVMe drive caddy (USB 3.2 Gen 2) for my collection of tools and images. I have 29 images on the drive, which include many versions of Windows 10 and 11, plus the Microsoft Diagnostics and Recovery Toolset (DaRT), the MacriumRescue ISO, BOOTPE.iso, various memtest utilities, and more.  I’ve still got 94 GB of disk space free on the drive and will no doubt keep adding to it over time.

It’s a great tool: worth downloading, using, and updating as needed. Cheers!


Facebooklinkedin
Facebooklinkedin