As I manage my small fleet of desktops and laptops lately, I’ve been slowly but surely updating Macrium Reflect. I’m transitioning from version 8 to version X (as in Roman Numeral 10). At this point, I’ve allocated 5 of my 8 licenses for X. Today’s effort for my Macrium X next migration step: P360 Ultra switches a temporary 8 preview version out for the “real thing.”
Taking Macrium X Next Migration Step: P360 Ultra
“What is involved in upgrading” one might ask? I just did one. Now, I can say it requires getting the configuration and schedule right. On the P360 Ultra that meant:
- switching from a no-longer-attached USB4 NVMe enclosure to an older mSATA NVMe that stays constantly plugged in.
- Defining a daily backup task, to see how that works out in this situation.
Total time and effort required: about 8 minutes, most of which went to accessing my Macrium Reflect login to grab a 5th license to take the upgrade/install process to completion.
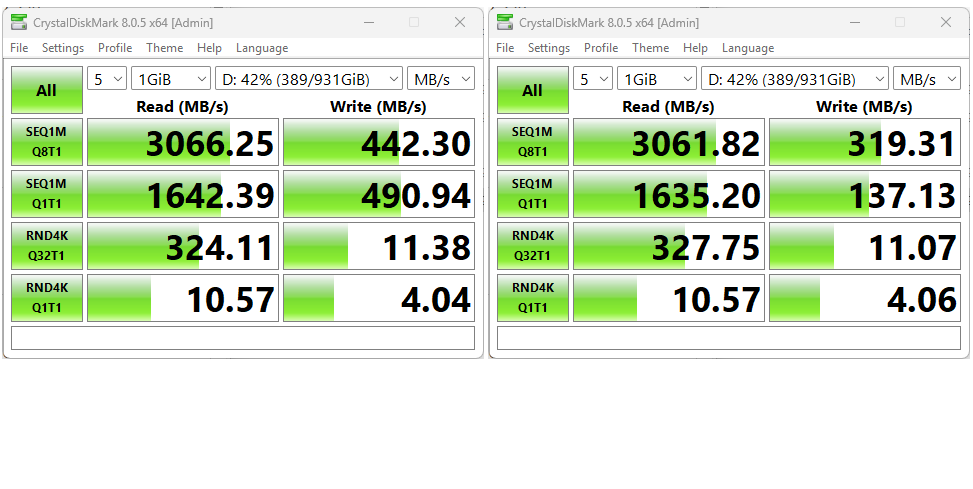
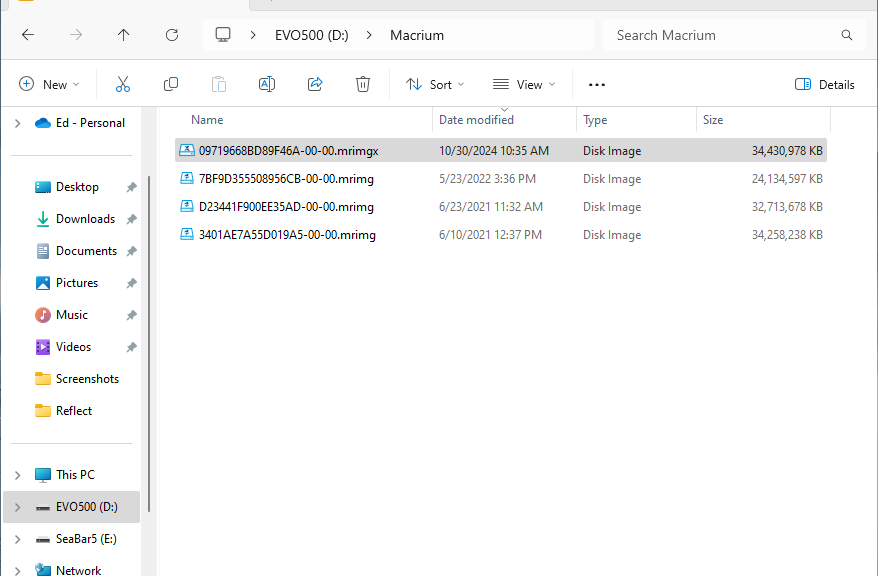
Here’s where things get interesting: Macium X is a LOT faster than Macrium 8. Even on a 10-year-old Samsung EVO 500GB mSATA SSD, X reported whopping I/O performance of: 25.7 Gb/s read and 2.7 Gb/s write. Total elapsed time for the backup was 2:13. And that backup image occupies about 32.8 GB on the EVO500 (D:) drive, as you can see in the lead-in graphic. It’s at least 2:00 faster than version 8.
This has been my experience on all the PCs I’ve upgraded so far. It’s also been blazing fast on new installs on a trio of Copilot+ PCs (two ARM Snapdragons and one Intel Aura model). That provides a sweet reward for the time and effort involved in moving on up to that new version. Good job, Macrium Reflect developer team!!