I’m something of a nut when it comes to keeping my fleet updated — now numbering 11 Windows desktops and laptops. But I’m learning that some updates are worth installing, while others are questionable. My OCD desires aside, a line between “must-have” and “nice-to-have” is coming clear. Hence the claim: OCD need not drive software updates. Let me explain, using the “free Kindle app” (Windows version), as an example.
Changes Occur, But OCD Need Not Drive Software Updates
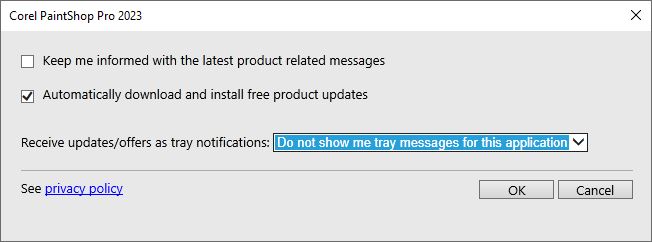
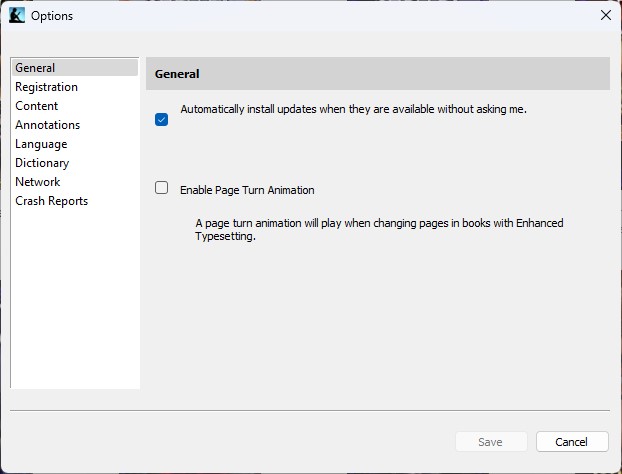
Kindle illustrates my case in point. Check the lead-in graphic. It shows the General Options page for the Kindle App (Windows variety). Note the checkbox for “Automatically install updates …” It’s checked! Note further: the Software Update Monitor tool (SUMo) reports ALL such updates.
Here’s the rub: Amazon/Kindle itself does not push updates unless they offer new functionality or security fixes. If SUMo catches one that the auto-update function does not push, catching up means extra work. First, one must uninstall the “outdated” version. Then, one must download and install the “current” version in its place. Winget does this easily, as I describe in my November 3 item. But Amazon/Kindle find it unnecessary (or they’d push it automatically).
Other Cases, Other Deferrals…
I’ve observed this pattern with other 3rd-party tools. One is ioBit Driver Booster Free (I run it as a test app on one Beta Channel PC). I emailed the company to ask about “skipped updates.” They responded with a helpful explanation. Paraphrased it reads “Some updates aren’t needed for existing installations.” They also offer updates explicitly whenever adding new stuff or security elements.
Thus, I’m learning to be choosy in updating applications. Perfect coverage takes time. I now understand that putting time saved elsewhere has benefits. That’s why I stress that OCD, however compelling, shouldn’t guide one’s update approach — especially mine!