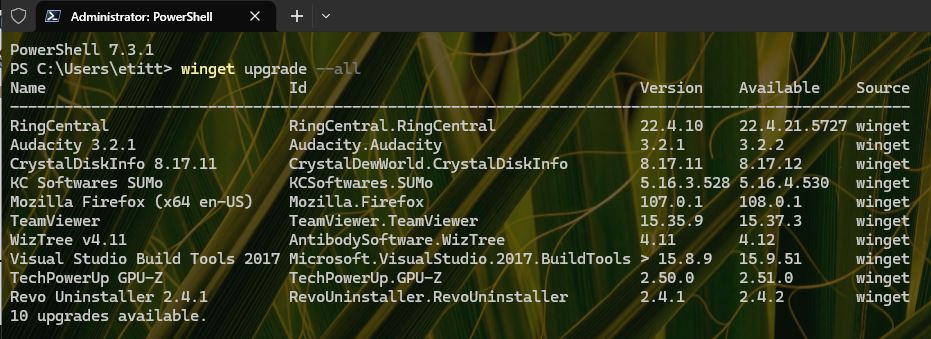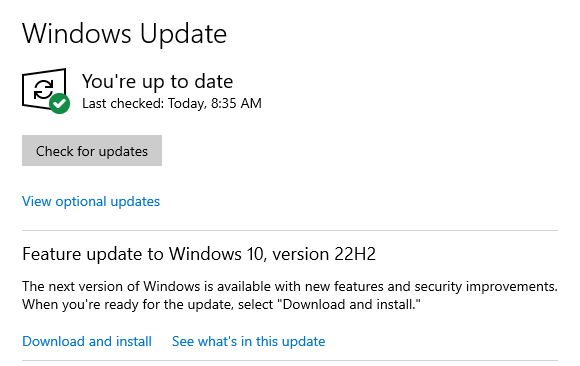
OK then: this morning I decided to check updates on my Windows 10 production desktop. Despite my December 19 contrary prediction, I found over 10 items that needed updates. But I saw my tendency to Windows 10 OCD update stymied by prior experience. Let me explain, first and foremost, that this means I updated what was either necessary or easy. I left the other stuff alone. Deets follow.
How Was Windows 10 OCD Update Stymied?
The list of items in need of update fell into two broad categories:
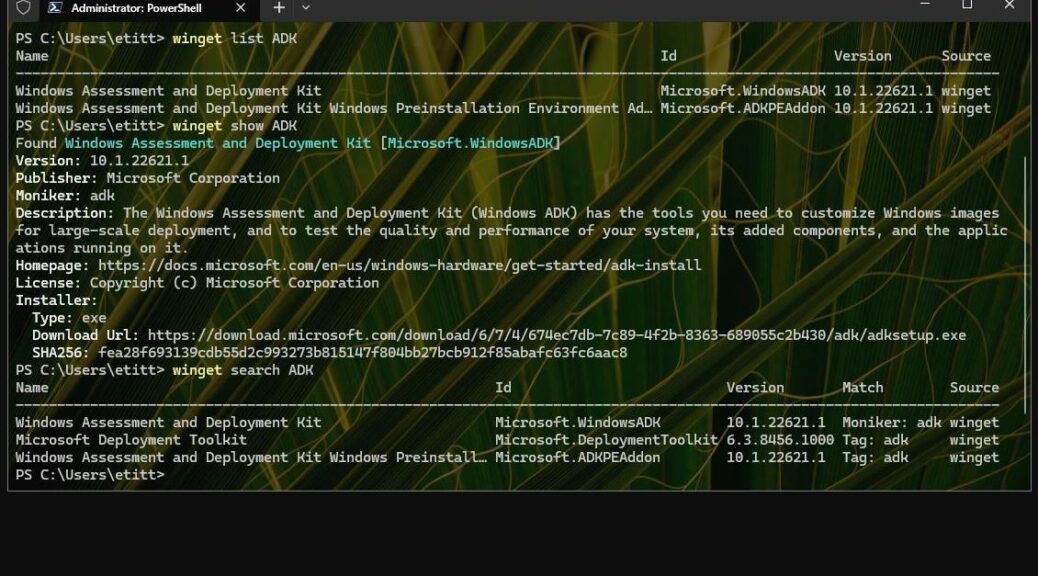
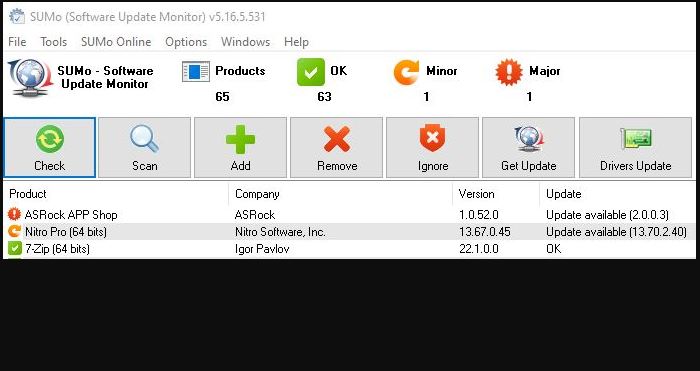
1. Items with automatic, built-in or easy update capabilities. These included: SUMO, Notepad++ and VS BuildTools (winget handled these automatically). Others included: Audacity, CPU-Z, GPU-Z, Intel ProSet and Zoom (these either include built-in updates, offer direct update links, or are easy to find online — e.g. ProSet).
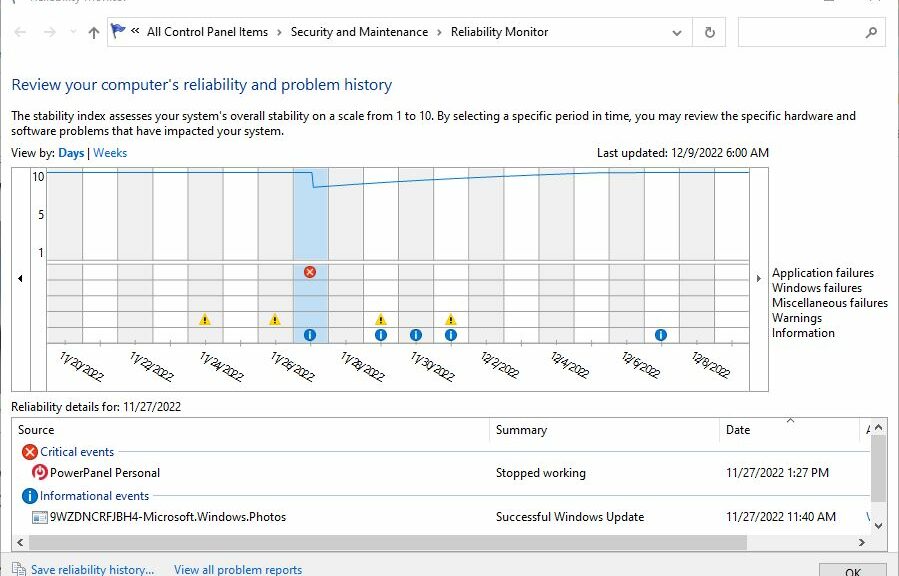
2. Items I’ve learned not to mess with unnecessarily. These appear in the lead-in graphic above. SUMo likes to point me at versions of ASRock utilities (e.g. APP Shop) that don’t work with my 2016 vintage motherboard. Nitro Pro gets updated all the time, but the maker sends update notifications only when relevant security fixes are added. That’s not the case for going from version 13.67.0.45 to 12.709.2.40.
This gives me a nice delineation between what I can or must update, and what I can safely skip. Should some security issue pop up for Asrock App Shop, I’ll simply uninstall it: I don’t use it much anyway. And if a security fix comes along for Nitro Pro, the maker will notify me to upgrade and send a link.
Case Closed? OCD No More…
I wish I could claim that will never happen to me again. I have fallen prey to “It must be perfect” in the past. It could happen again in the future. I am hopeful that I can now tell the difference between what’s good enough and the perfect. I guess we’ll just have to wait and see.