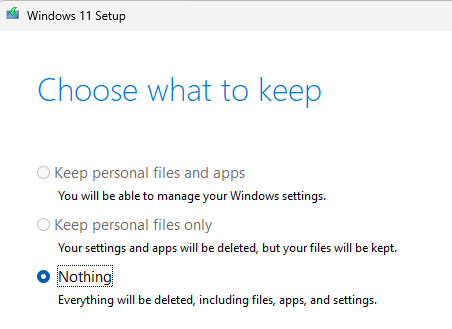
I was just reading a Ghacks story about enabling the Ultimate Performance plan in Power Options. But when I fired up Control Panel > Power Options, I saw that Lenovo had endowed its killer ThinkPad P16 Gen 1 Mobile workstation with exactly one power plan — namely, Balanced. To make sure Power Options gets missing plans, I had to do a little research and some simple PowerShell command magic. Here goes…
Here’s How Power Options Get Missing Plans
The syntax for adding a Power Plan requires a specific powercfg command to add it to a system — namely
powercfg -duplicatescheme GUID
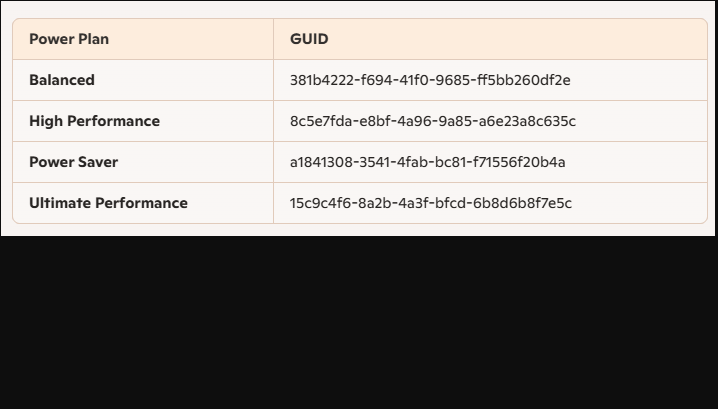
That makes knowing those GUID (globally unique identifiers) important, so you’ll find those values in the table in the lead-in graphic for all the well-known Windows 10 and 11 Power Plans.
Another handy powercfg command lets you choose the Power Plan you wish to run
powercfg -setactive GUID
To save you any contortions you might otherwise need to get those GUIDs from the lead-in screencap, here’s a list of text values. Cut’n’paste them with my blessing…
Balanced 381b4222-f694-41f0-9685-ff5bb260df2e
High Performance 8c5e7fda-e8bf-4a96-9a85-a6e23a8c635c
Power Saver a1841308-3541-4fab-bc81-f71556f20b4a
Ultimate Performance 15c9c4f6-8a2b-4a3f-bfcd-6b8d6b8f7e5c
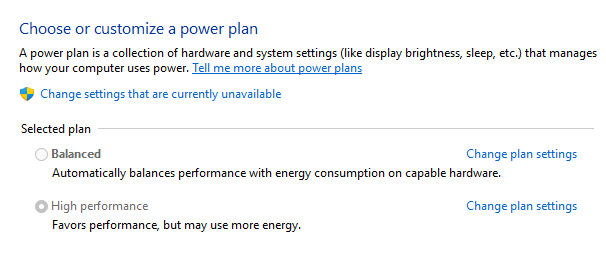
P16 Shows Two — and Only Two — Plans in Power Options
For some odd reason, the P16 Mobile Workstation only shows two Power Plans in Power Options (see screencap below). Of course given that it’s a MOBILE WORKSTATION I simply must run “Ultimate Peformance.” You see the results from that PC next with that peerless Power Plan selected. Basta!
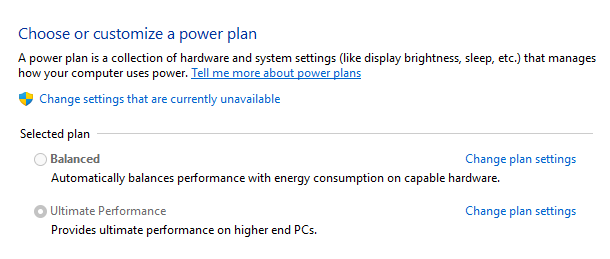
A Mobile Workstation needs Ultimate Performance. Here ’tis!
If I add any plan other than Balanced, it knocks the other one (e.g. High Performance, Power Saver or Ultimate Performance) out of the collection. Indeed powercfg /list only shows the same two that appear in the Power Options screen (like the preceding screencap). Copilot says that’s probably owing to manufacturer overrides (likely), WU items (possible), registry settings (possible), or the presence of modern standby mode (possible).
I now know how to fire up any specific power plan I might want to use, so I’m not inclined to hare off after that range of possibilities. I’ll ask the reviews engineering team at Lenovo about this the next time we chat. If I learn anything useful, I’ll add it to this post. Stay tuned!