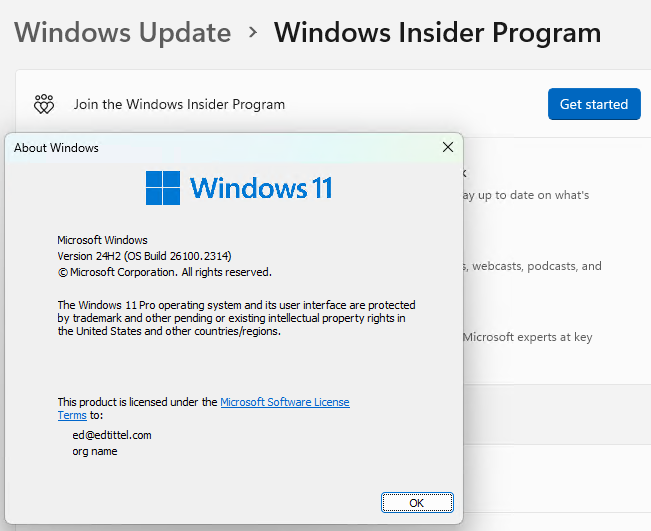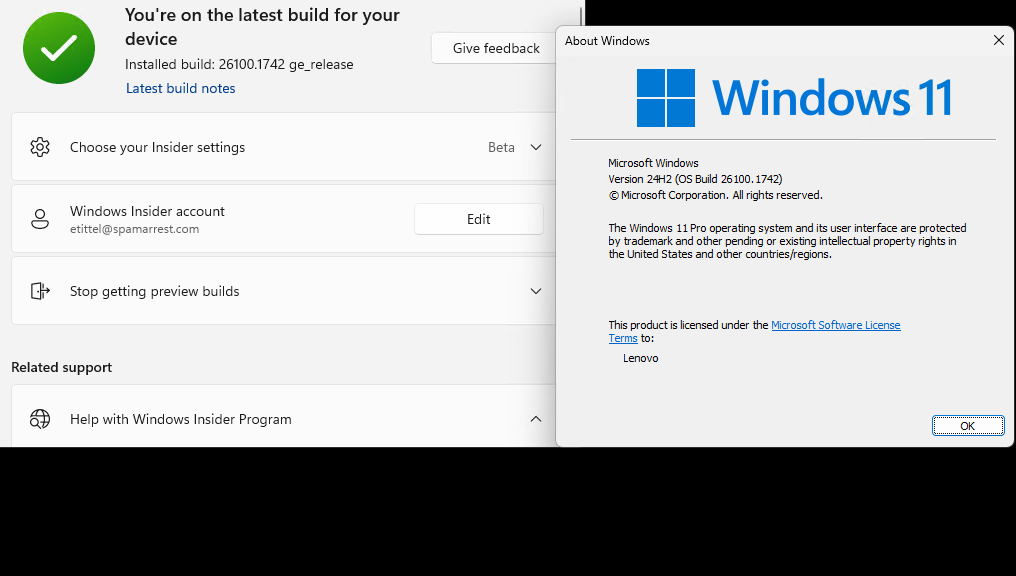
If you look over my blog posts for the past few days, you’ll see I was trying to get the Lenovo ThinkPad X1 Extreme (2018 8th-Gen i7, etc.) from 23H2 to 24H2. I provide a list of links and capsule summaries to those item below. But the reason I’m puzzled is that manually applying KB5046633 took me from Build 22635.4460 (23H2 Beta) after which using the Installation Assistant took me to Build 26100.1742 (24H2 GA/Production). That’s supposed to be impossible. Thus, it’s got me pondering apparent Windows 11 build fork jump that somehow occurred.
Installer Oddity Has Me Pondering Apparent Windows 11 Build Fork Jump
I didn’t think the installer let one jump from Insider Preview versions (Beta Channel, in this case) to GA/Production images. But something I did — I think it’s the manual application of KB5046633 — let that happen. Once I got there, though, I was stuck. I couldn’t repair install my way to either the current GA Build (26100.2314) or its Beta Channel counterpart (22635.4510).
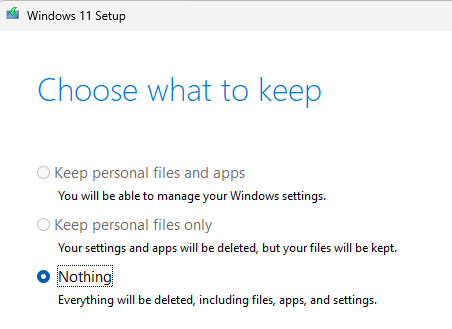
I can only surmise that I somehow slipped a version check. It might have happened when using the afore-linked KB item. Or, it could’ve happened when running the Windows 11 installation assistant after that. Truth to tell, I was relieved when my final repair operation hit a dead end, and the Windows Installer basically forced me to clean install Windows 11 from scratch.
Factor 1: Multi-Version Manual KB Installs
Indeed, KB54046633 works on both 23H2 and 24H2 based Beta Channel versions. The upgrade path from one to the other doesn’t necessarily need the full-blow installer (including the Installation Assistant). Indeed, Copilot tells me that when I applied KB5046633 it could’ve upgraded me from 23H2 to 24H2. But it did not.
Factor 2: Using the Windows 11 Installation Assistant
When I ran the assistant, that’s when the fork jump actually occurred. And again: I didn’t think it was supposed to work at all, let alone the way that it did. That’ s how I found the X1 Extreme enrolled in the Beta Channel but showing a GA/Production Build number.
The moral of this story is to limit yourself to the kinds of upgrade techniques you elect to use. Thank goodness these were all well-backed-up, non-essential machines. This could turn into a real snake pit for those not aware of such potential pitfalls. Me: I enjoy fallling into them, and then figuring out how to get to a better place. Thus, I hope you can learn from my mistakes … errrrr … adventures here in Windows-World.
Here are links to my previous blogs in this series with capsule summaries:
- Nov 12 X1 Extreme Still Gets No 24H2 Offer: explains that this 2019 vintage laptop is still on some kind of update hold
- Nov 13 X1 Extreme 24H2 Beta Pickle: Explains the sequence of updates that got me from a 23H2 Beta Build to a 24H2 GA Build
- Nov 14 MSA Switch Brings Standard 24H2 Aboard: Explains how changing to a non-registered MSA produces only clean install option for 24H2.
Gosh this has been interesting and educational, too.