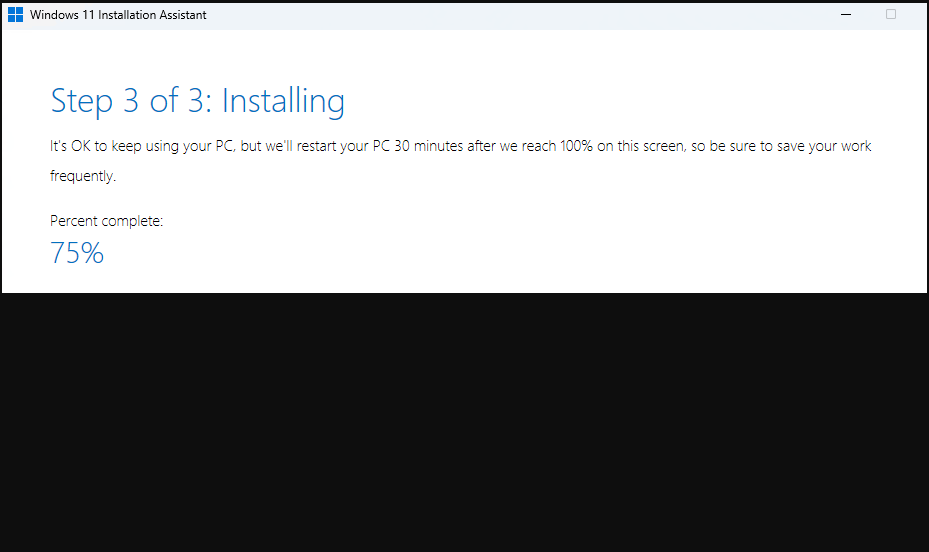
OK, then: I read this morning that MS dropped the “official” 24H2 release yesterday. “This time,” I thought to myself, “I’m taking a different approach.” From the Download Windows 11 page, I grabbed the Installation Assistant. Prosaically enough, it’s named Windows11InstallationAssistant.exe. File properties show today’s date for creation and modification, so I’m hopeful it will get me to 24H2. But I’m still wondering if the assistant handles 24H2 upgrade as expected, or not. Right now it’s going into its initial restart.
Deciding if Assistant Handles 24H2 Upgrade
If you look at the lead-in graphic it shows the Assistant in phase 3 of the upgrade process — namely 75% through installing the new stuff. After this got to 100%, I rebooted that PC (Lenovo ThinkPad P16 Gen 1 Mobile workstation). It’s now 30% through the post-reboot install process (white text, spinning arrow, black background).
…Aaaaaand then, it stayed at 30% long enough for me to finish a round of Backgammon waiting for it to complete. But complete it did, only to drop into the OOBE portion of the install next. A couple of minutes later, I had a Windows 11 desktop. But which version is it? Here’s what winver says:
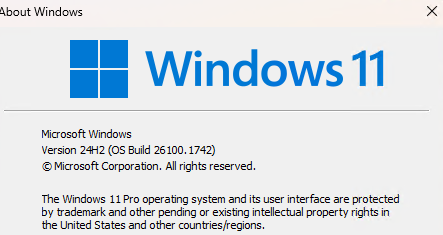 Looks like the Installation Assistant is a workable way to get to 24H2 from 23H2, if you’re of a mind to do that. And it also looks like indeed the upgrade is officially out. I’ll go some exploring and report my findings in tomorrow’s blog post. In the meantime you could try it yourself to see what happens… Cheers!