I read a Windows Latest story yesterday with interest and bemusement. It proclaims that MS is “bringing … Vista-like gadgets to Windows 11…” Of course, these are widgets (not gadgets, per se) and I don’t see them in the same light, either. I’m still happily using Helmut Buhler’s excellent 8GadgetPack, as you can see in the lead-in graphic. For me, these old-school gadgets still rule — as they have done on my desktops since Vista appeared in early 2007 (16 years ago).
Why Old-School Gadgets Still Rule
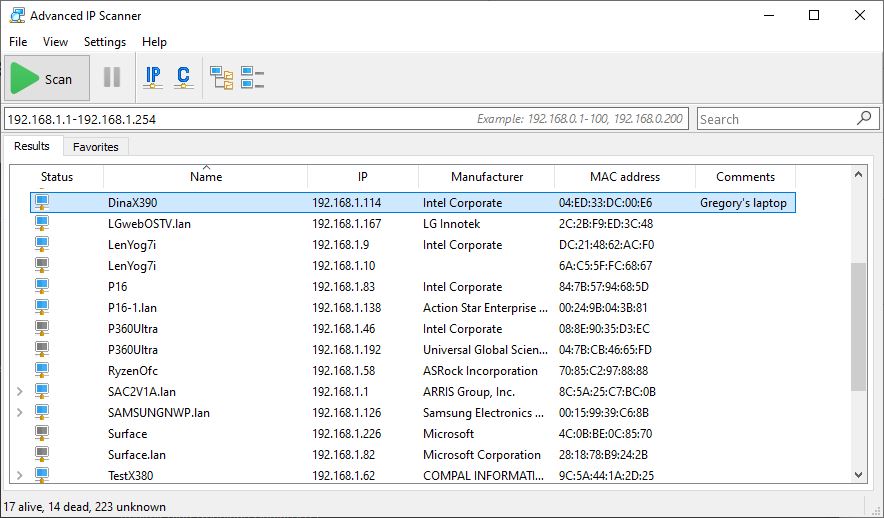
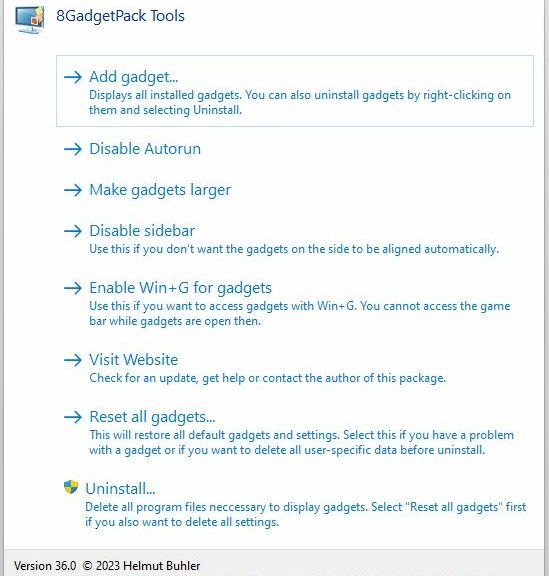
The range of still-available gadgets is large (61 total on the “Add Gadget” display). It offers elements for time, CPU, GPU, storage, and networking status and activity. Lots of pop-ups for news, weather, games, media and other interesting services. There’s more here, in fact, than I want or need on my desktop.
Here are the four elements I use all the time on nearly all of my Windows 10 and 11 PCs and laptops (they appear in-line at the right-hand side of my left-screen’s desktop; here I stack them 2×2):
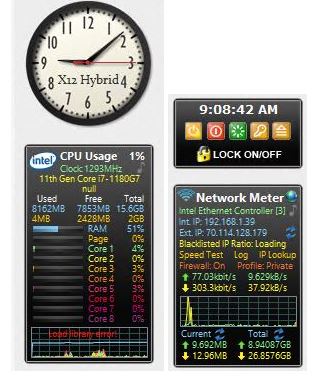 Clockwise from top left, these are:
1. Clock gadget: shows machine name and time (with seconds)
2. Control gadget: provides ready access to shutdown and restart, even in RDP sessions (very handy)
3. Network Meter: shows int/ext IP addresses, in- & out-bound network activity (on graph and numerically)
4. CPU Usage: shows overall CPU and memory consumption, along with per-core activity levels.
So far, I haven’t seen Windows 11 widgets that come close to matching this kind of capability with minimal overhead and effort required for installation and use. I’ll keep my eyes on widgets as they develop and evolve. But so far, the old-school gadget still beats the new-school widget three ways from Sunday. Stay tuned: this may change!