I still use Windows 10 on my production desktop, but I run half-a-dozen instances of Windows 11 right now. Lately, I’ve noticed that with screen size expanded to fit the left-hand monitor — but not maximized — I get a weird full-screen RDP effect. I lose the start menu at the bottom of the screen. As I said: weird!
What Is the Weird Full-Screen RDP Effect?
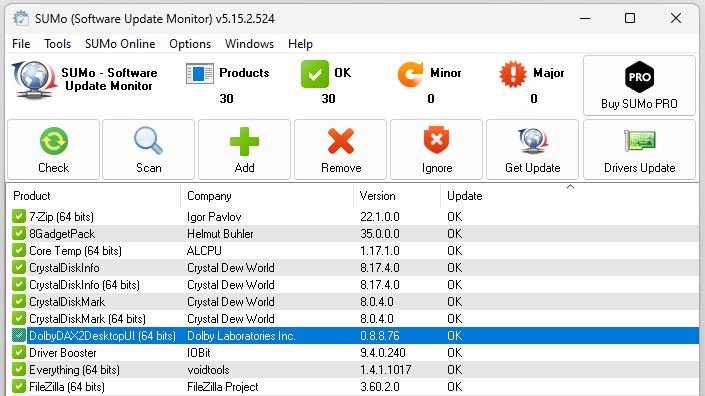
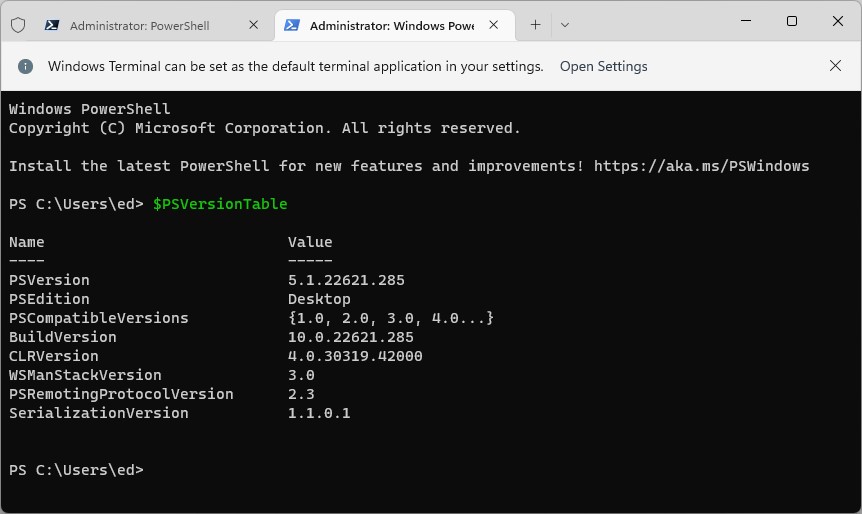
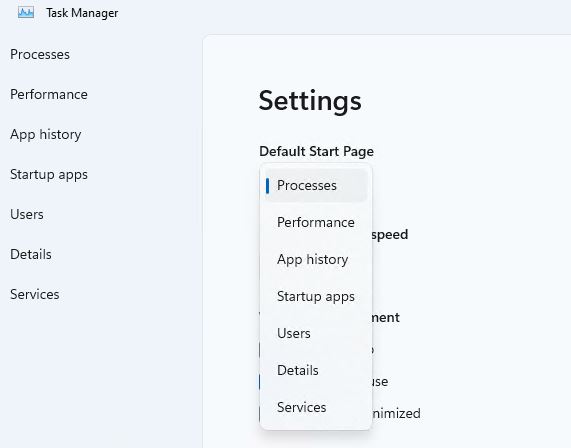
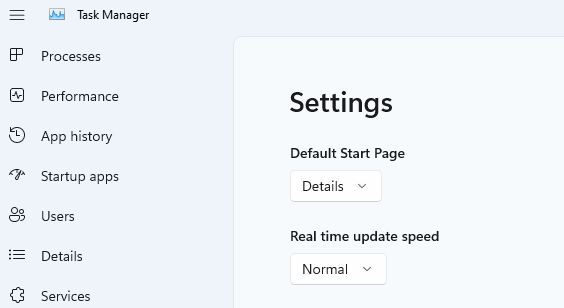
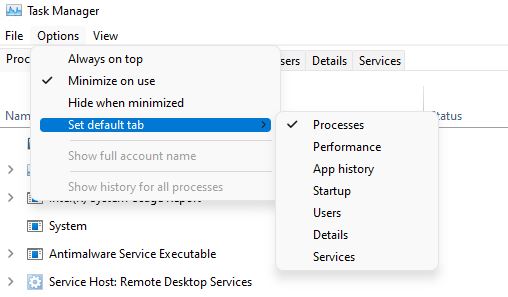
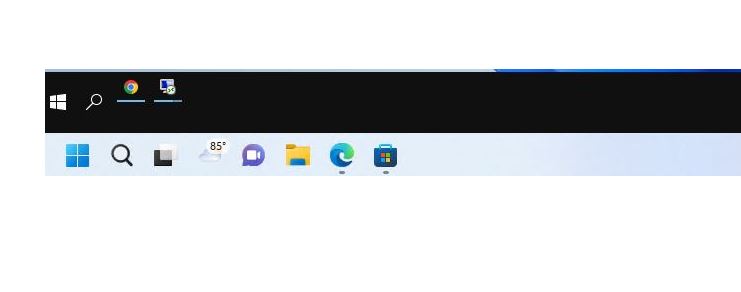
The lead-in graphic for this story shows what I’m talking about from the Start Menu perspective. Up top, we see a Windows 10 Start Menu that surprisingly shows up at the bottom of a “full-screen” Windows 11 RDP window. When I hit the maximize button at upper right, the lower (and normal) Windows 11 start menu appears. (Note: I selected “left” alignment in the Task Manager options to make it show up there for purposes of comparison and contrast).
Needless to say, when I don’t notice this and click on the full-screen Windows 10 menu, it doesn’t do anything to the Windows 11 RDP window above. This is disconcerting, to say the least. At worst, I start thinking I’ve got problems and start unnecessary troubleshooting actions. Sigh.
Why/How Did This Weirdness Present?
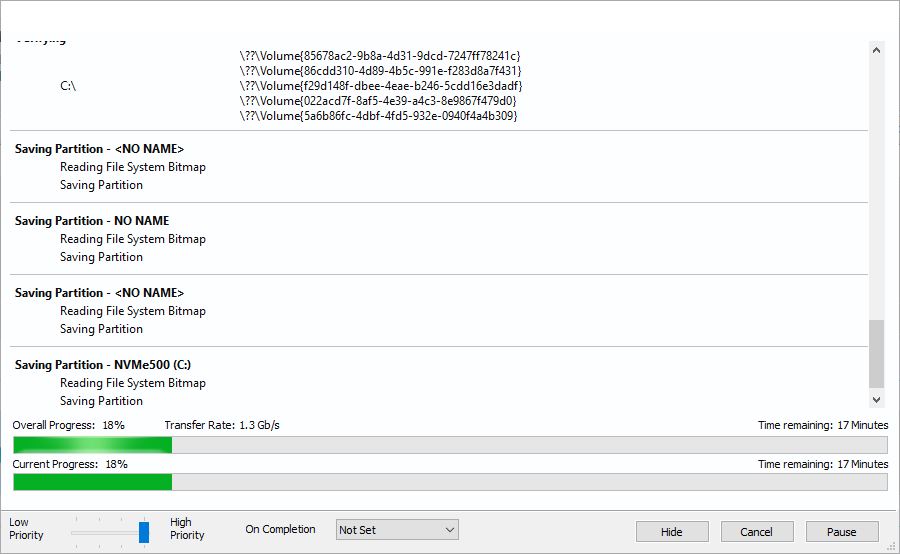
For some reason, this happened to me the last time I updated the Nvidia driver on my production PC. It’s now running version 516.93, installed last week. After the install completed, all the open windows moved to the right-hand (primary) monitor. That’s normal. But what’s different is that maximized RDP windows changed “auto-magically” to full-screen (but not maximized) layouts. That led me to the source of confusion when I dragged those full-screen windows to the secondary (left-hand) monitor.
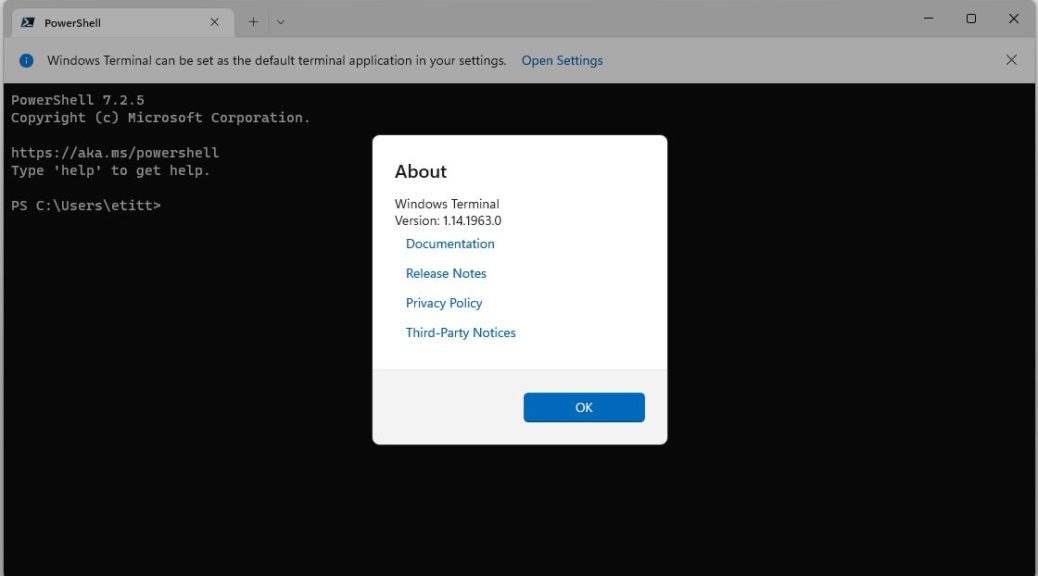
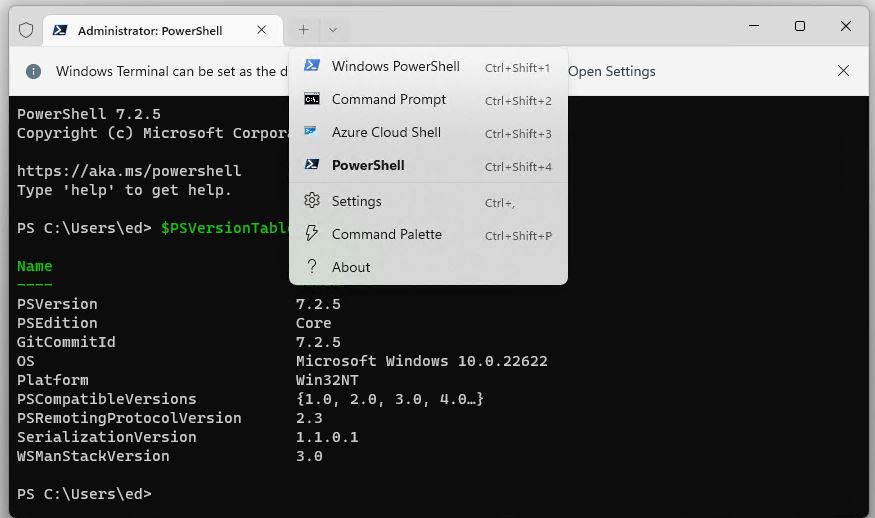
Again: Weird! But by looking very closely at what I was seeing, I eventually figured out what was going on. Now I make sure to click the maximize button when using RDP. That way, I see the maximized RDP session controls at the top of the screen (see below) and know that the start menu at bottom is the start menu I want to work within that window.

And that, dear readers, is how things sometimes go in Windows-world. As JRRT put it “All that glitters is not gold; not all those who wander are lost.” I wandered a bit, but ultimately figured out what was weird and why.