Hmmmm. Yesterday was “Update Tuesday.” As I made the update rounds on my small PC fleet, I noticed something odd as I was downloading updates for my Beta Channel test PC (a Lenovo X380 Yoga). It’s depicted in the lead-in graphic, and led to further, ongoing Build 22531.1972 oddities when all was said and done. Please, let me explain…
Working Through Ongoing Build 22631.1972 Oddities
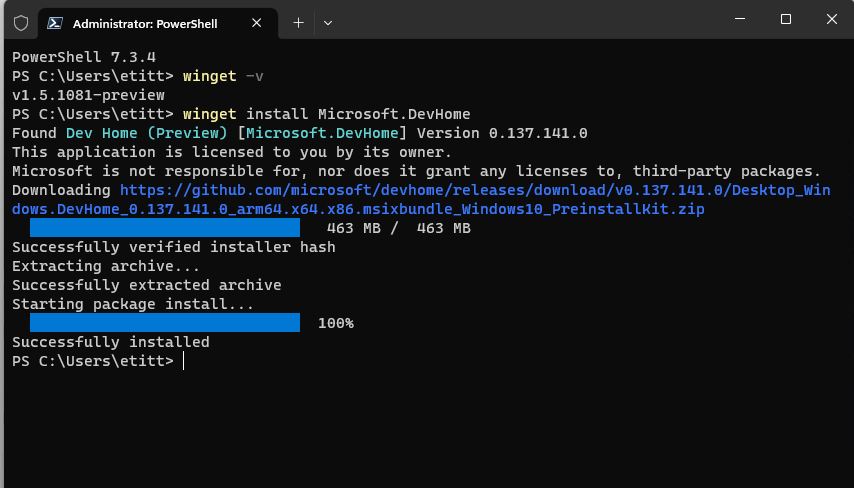
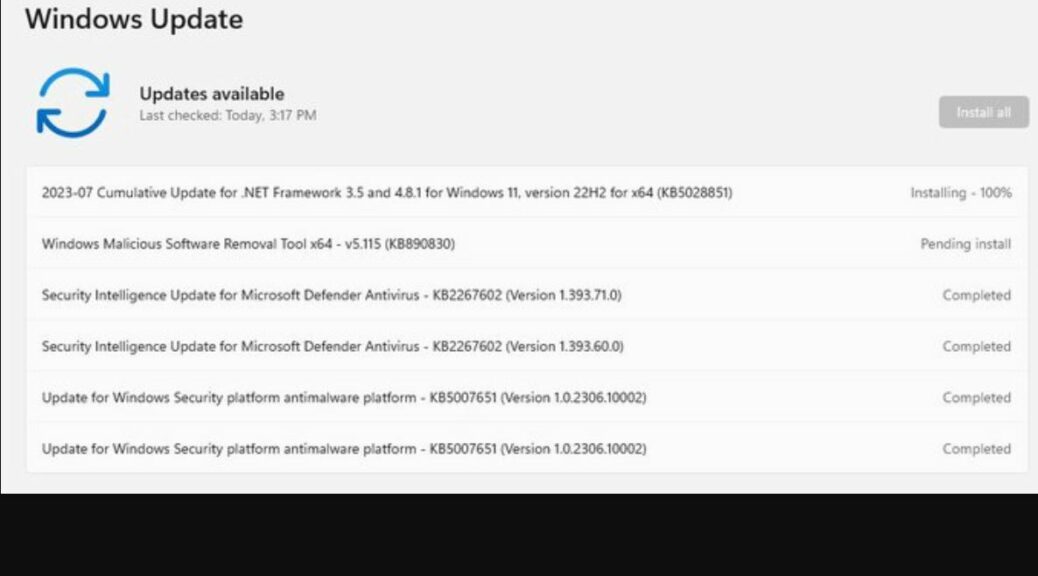
First, take a look at the lead-in graphic. Hint: consternation hits at the bottom of the update list. Note the same update occurs twice, each with “Completed” status — namely KB5007651 (a Defender antimalware platform update). Weird!
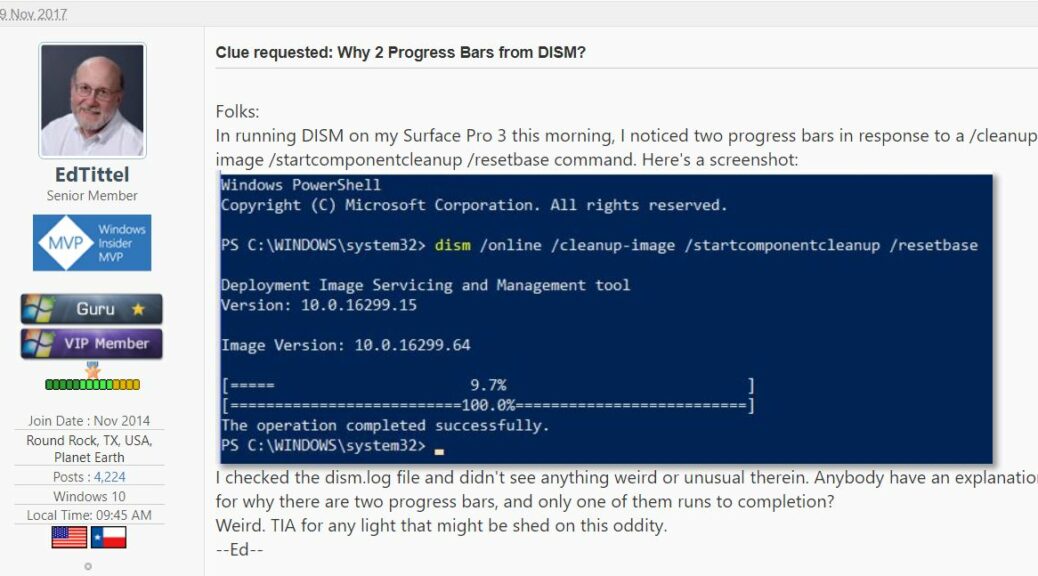
Immediately after, it gets weirder. First, I rebooted once the updates completed (twice, just to be on the safe side). Then I ran DISM … /StartComponentCleanup. I observed the following outcome:
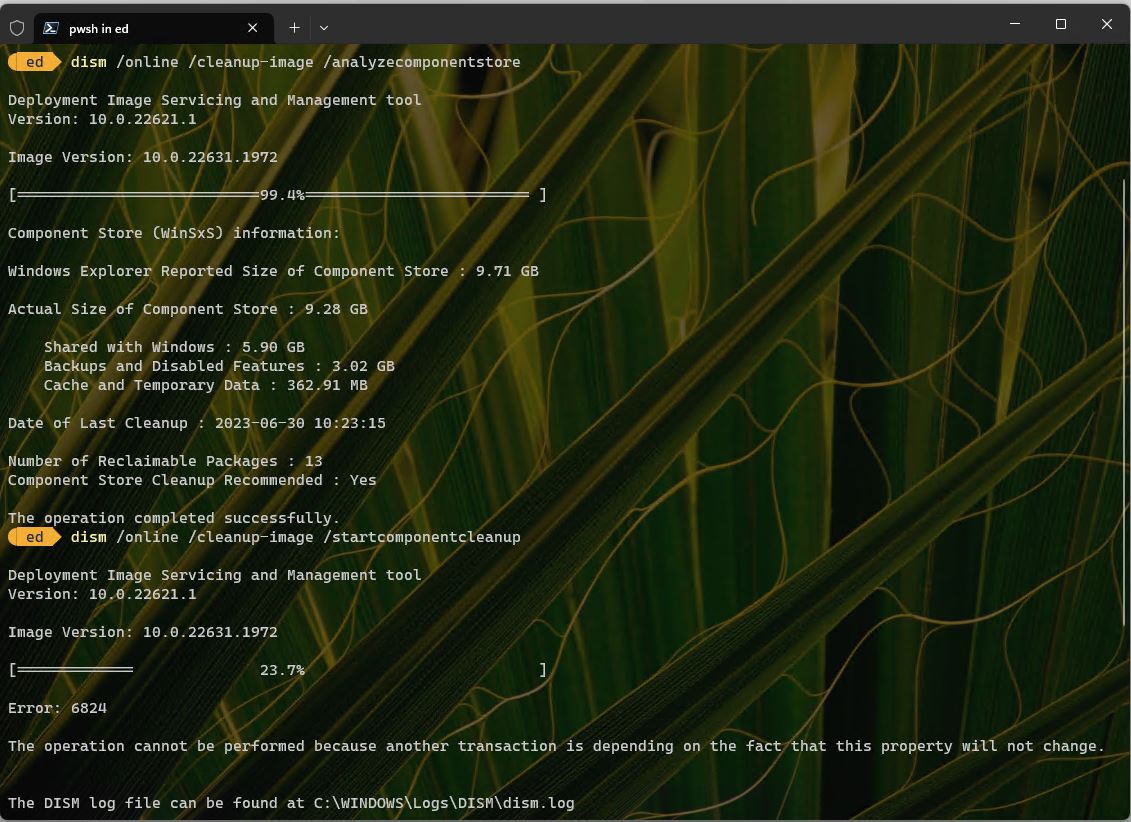
Error 6824 “another …pending transaction” pops up. A first!
[Click image for full-sized view: this one’s hard to read.]
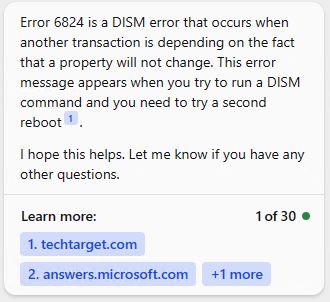
As usual, I went haring off to Google to see what was recommended. Heck, I even tried it out on Bing’s ChatGPT sidebar. Here’s what came back:
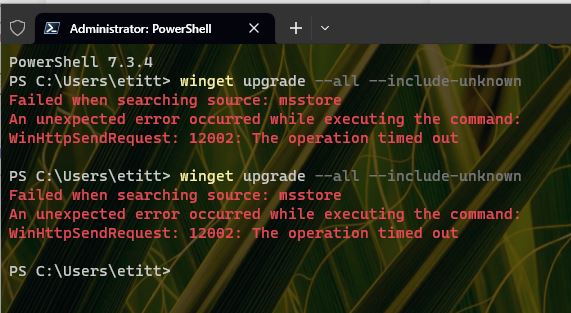
 Alas, a second (and even a third) reboot didn’t clear the error, either. The same condition held upon repeated retries of the afore-cited DISM command — namely:
dism /online /cleanup-image /startcomponentcleanup
I’m thinking it’s time to try an in-place upgrade to repair this Windows installation. It should rebuild the component store which is likely to fix this issue and the strange ongoing presence of 13 spurious items therein in need of (impossible cleanup). I think I’ll visit UUPDump and build an image for 22631.1972. Hopefully, that will do the trick. Stay tuned!