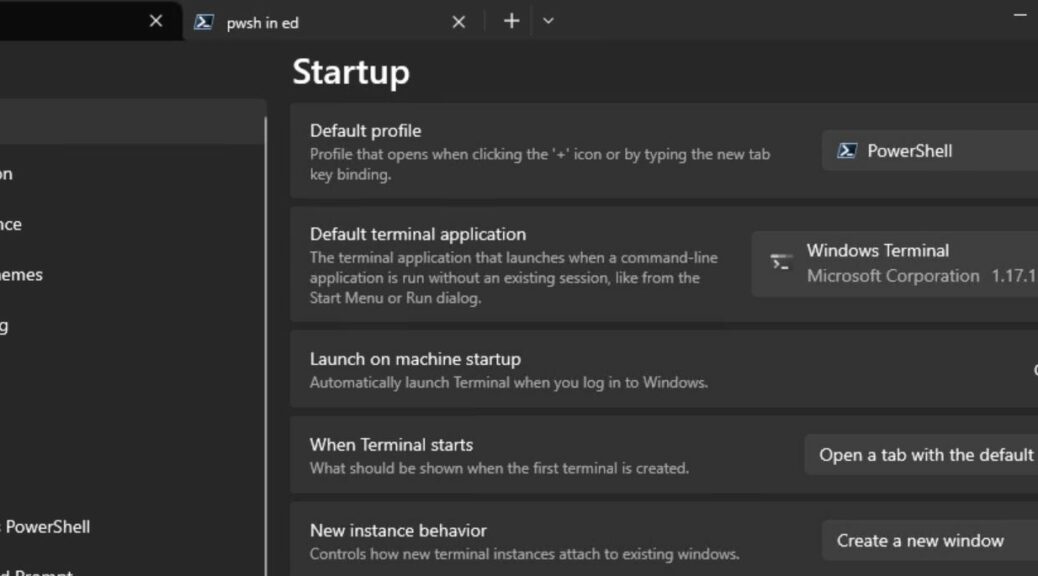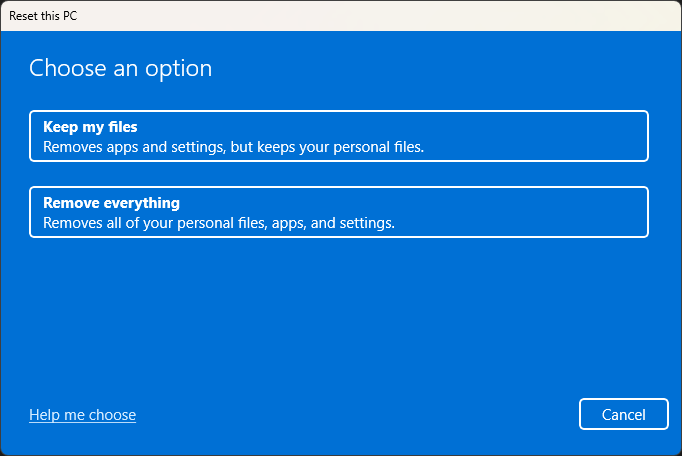
After digging further into Reliability Monitor on the P1 Gen6 ThinkPad, I realized things were unacceptably unstable. As an experiment, reset this PC came to the fore. It’s the option available as Settings → System → Recovery from the “Reset PC” button. The resulting window serves as the lead-in graphic for this story (above).
Why Conduct the Experiment: Reset this PC?
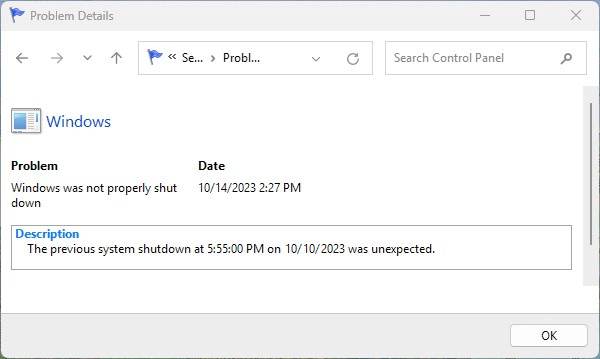
Alas, I had four straight days of error behavior like that shown in the next Reliability Monitor screencap. That is, over a dozen serious Critical events, including:
- Windows stopped working (2)
- Windows was not properly shut down (2)
- Hardware error (2)
- Windows shut down unexpectedly (2)
- Various NVIDIA-related “Stopped working” errors (4)
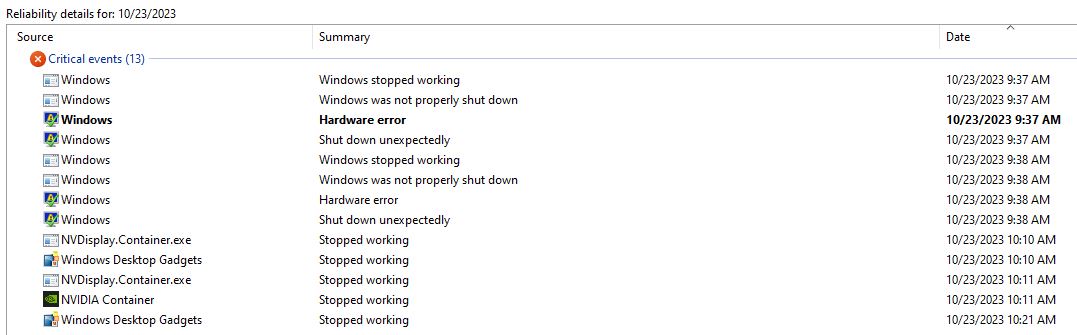
Whoa! That’s a lot of Critical errors for one day…and I had 3 more just like it. [Click image for full-sized view]
In addition, the OS install was showing other odd and unexpected behaviors. For example, I couldn’t get the Edge browser to run. The display was occasionally flashing on and off (probably related to the NVIDIA errors shown). File Explorer was herky-jerkey when traversing the file system. There was probably more, but that was more than enough for me to realize something wicked had already come onto that desktop. Hence, the reset experiment…
Since performing the reset, I’ve experienced exactly one (1) critical error over the past 24 hours. It may still be too early to tell if the reset really fixed things. It might just be having left this PC alone for the last while that’s kept things quiet.
Going through the Reset Process
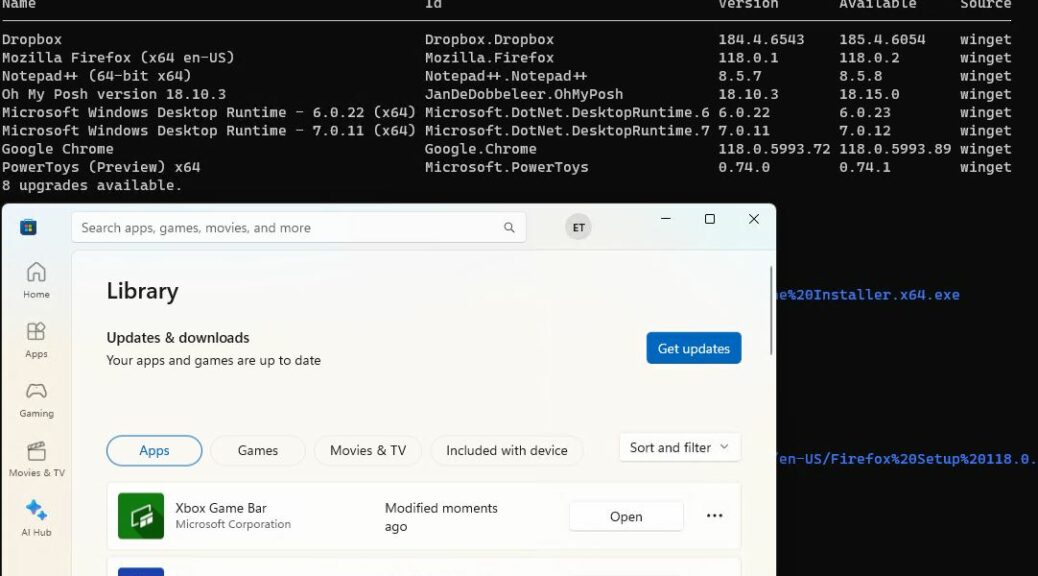
It seems like Reset is an awful lot like an in-place upgrade repair install, except that it wants the end user to reinstall apps and applications one at a time (each had an “Install” entry in the Start menu/All apps after the first reboot). I’m too lazy to do one-offs like that, so I used the bulk installer built into PatchMyPC Home Updater instead. Works like a peach! Alternatively, I could have done most of those installs using winget instead.
I wasn’t sure if the reset function would take the PC back to its fresh-from-the-factory state. No, it didn’t: it simply reinstalled — via a cloud download — the same version of DevChannel Insider Preview already running on this test PC. Good to know!
Stay tuned: I’ll report back if the earlier instability persists. I had attributed it to an Intel firmware update. I’ll end up poking it one way or another over the next days and see if it blows up again.