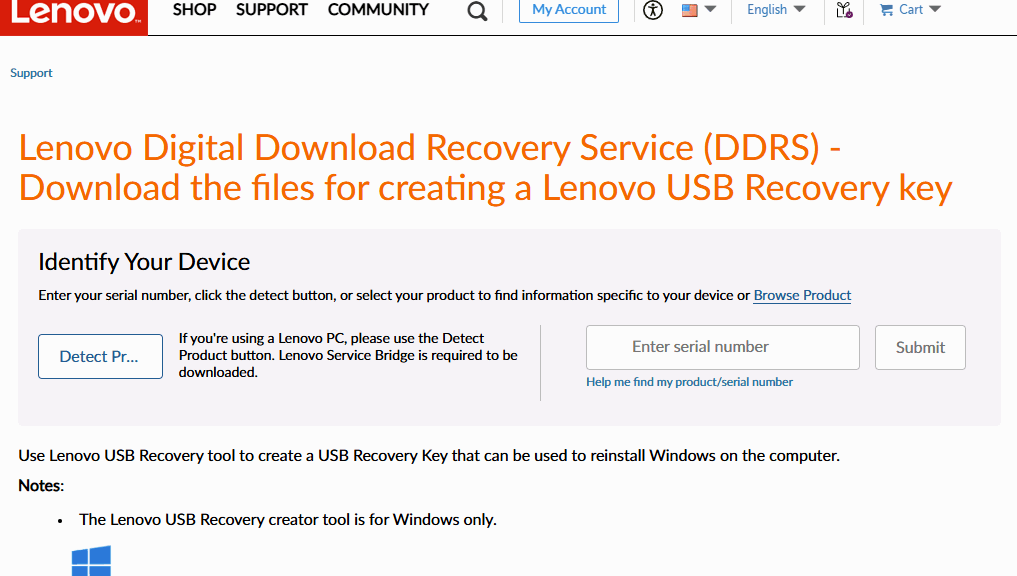
On Monday, I was finally able to interact with the Lenovo Digitial Download Recovery Service (DDRS). I used it, with the company’s USB Recovery Creator tool, to create a UFD to reinstall the factory image onto my munged ThinkPad T14s laptop (ARM-based). Having now used it with amazement and appreciation, I’m digging into DDRS to better understand what it is and how it works.
More about Lenovo Digital Download Recovery Service
About a year ago, I tried to use this tool and got nowhere. One must place a “digital work order” with Lenovo, based on the Serial Number for the affected unit, for it to build a corresponding image that then works with the USB Recovery Creator tool. Earlier, I couldn’t get this to work for some odd reason or another. This time, all went swimmingly.
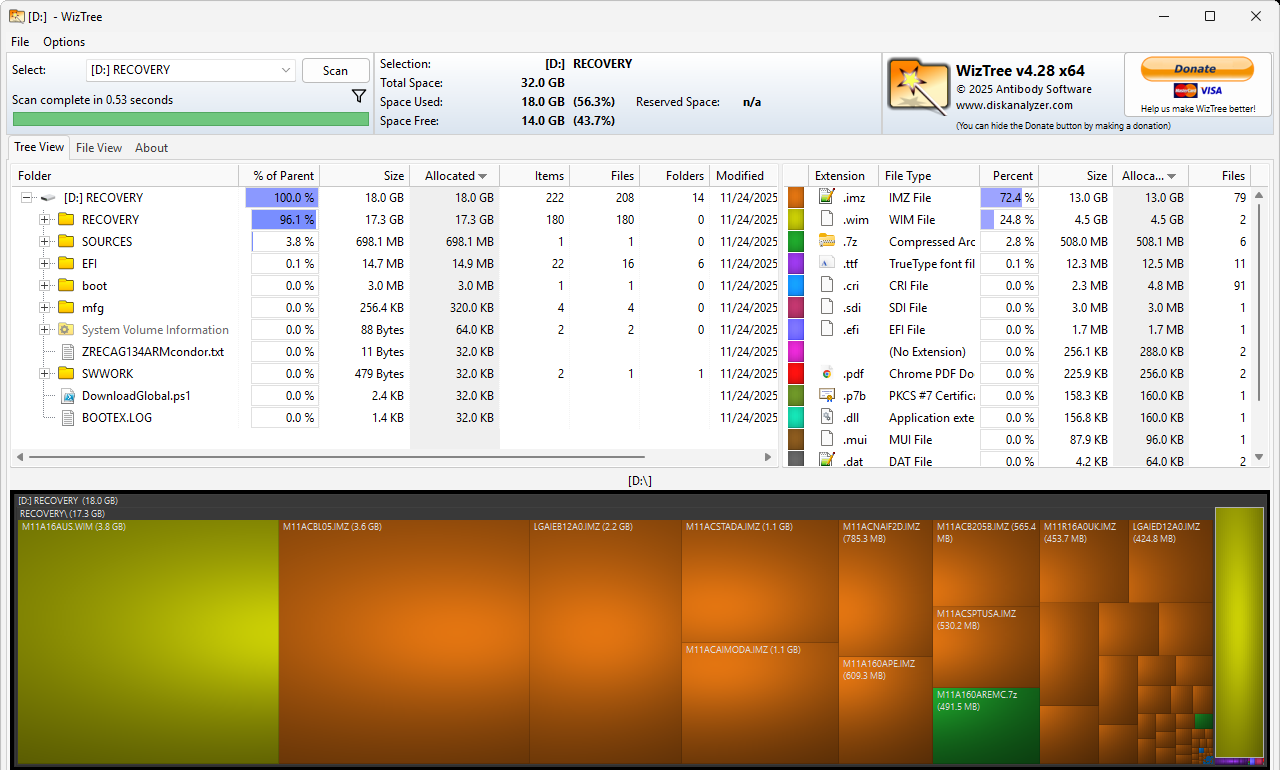
I did have to boot into the UEFI to obtain the system’s serial number. With that string in hand, however, I was able to place my order. Then when I ran the tool, it created the recovery UFD I would use to rebuilt the T14s. That took about 40 minutes to complete. As you can see in the following screenshot (from WizTree) this stuff falls into a 32 GB (FAT32) partition, of which 18 GB is actually occupied
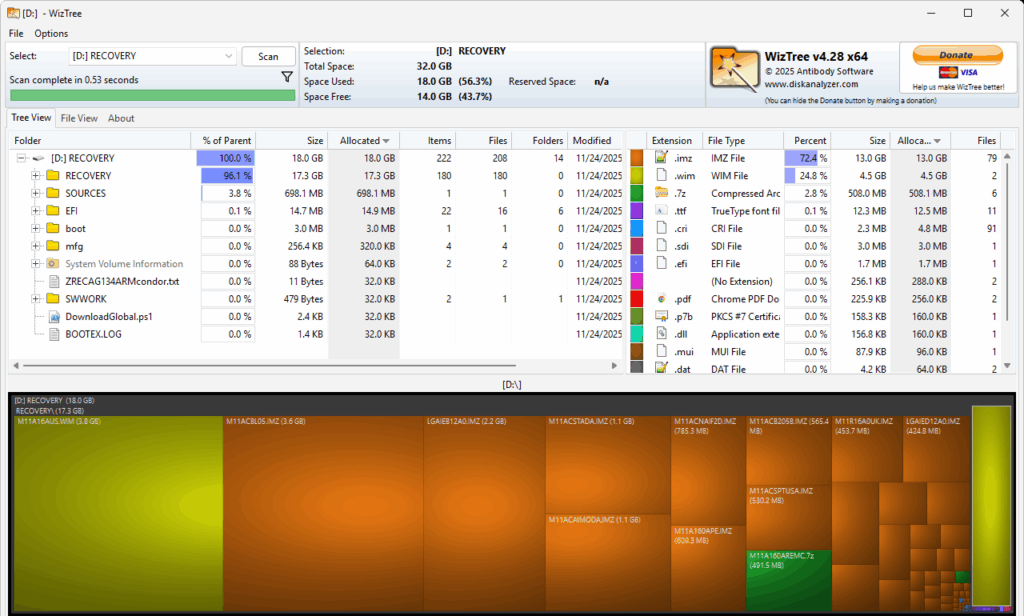
This FAT32 partition contains 18GB of files, mostly image stuff.
[Click screencap for full-sized view]
In the RECOVERY folder, you’ll find an image file named M11A16AUS.WIM (appears at left in preceding screencap). It’s the customized recovery image that the tool will use to reinstall a factory fresh Windows 11 on the laptop. Let’s call it the “factory image.”
But There’s More to Do: Before, During & After
The whole recovery process is built around a massive and complicated set of scripts (mostly PowerShell). Here’s a 10,000-ft view of what happens next, over about a 100 minute time span:
- Download and build media: Lenovo USB Recovery Creator tool downloads around 20 GB of recovery files to a USB drive (I used a modestly speedy full-sized Mushkin 64GB USB 3.0 device).
- Boot from USB: with recovery media inserted, Secure Boot disabled, and F12 run to choose the drive as the boot source, the laptop passes control to the UFD.
- Launch Recovery Environment: system boots into the Lenovo customer recovery shell built around WinPE with a variety of Lenovo tools and utilities further at its disposal. At this stage, the user confirms recovery, which wipes existing C:/boot/system drive contents.
- Reformat and Restore: Recovery tool repartitions the internal (C:) drive, then deploys the factory image, complete with Windows, Lenovo device drivers, and Lenovo apps (e.g. Vantage).
- System Boot and OOBE: The system reboots six times during the previous activities, and shows itself running a complex and convoluted unattend.xml install. After the final reboot, the laptop goes into the out-of-box-experience typical of a clean Windows install, but one based (in this case) on the Lenovo custom image.
Where Windows Wound Up
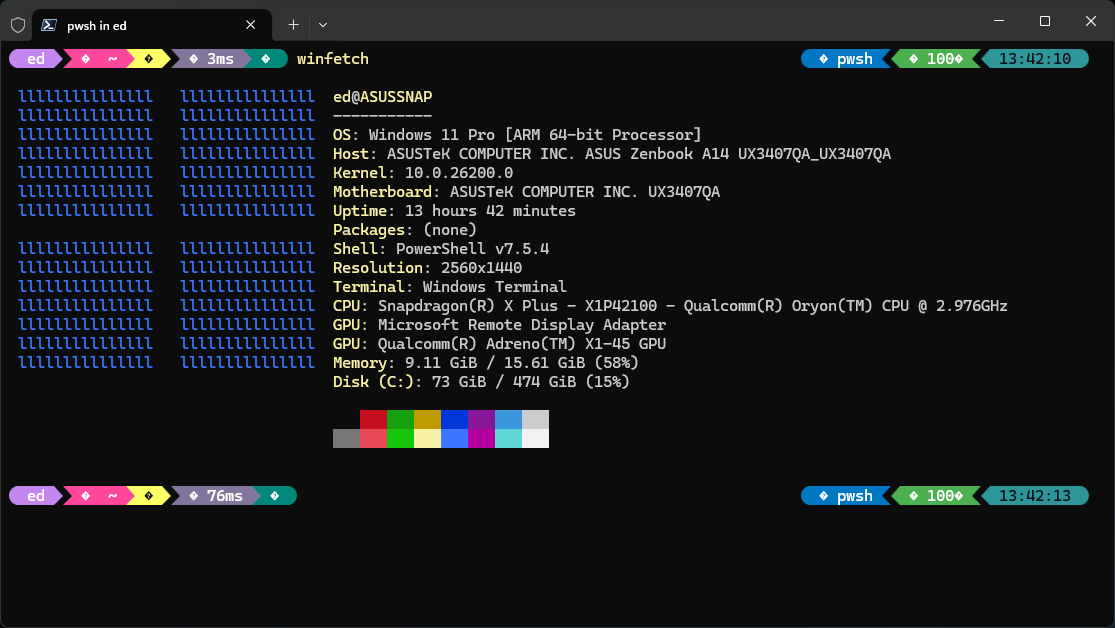
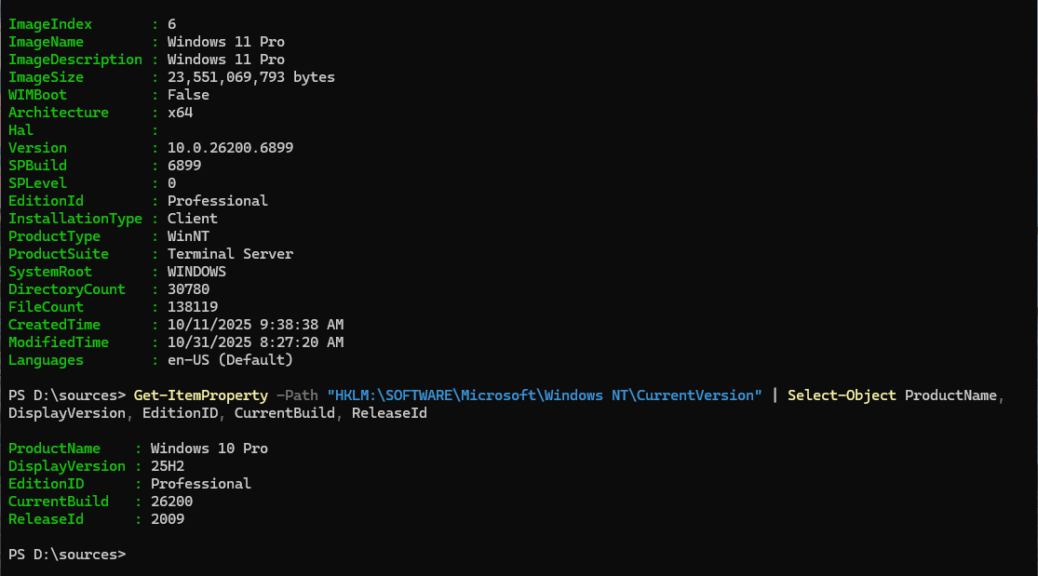
At that point I installed pending WU items and found the machine running Windows 11 25H2 Build 26200.7171. This is actually one build newer (thanks to an intervening Patch Tuesday) than ran on this PC before my ill-fated attempt to upgrade to Insider Preview for the Dev Channel.
Interestingly, Secure Boot and BitLocker are both turned off for the running image. I believe that makes it safe for me to attempt another Insider Preview upgrade to Dev Channel. This time, I’m going to make sure I have a current image backup with working recovery media first. That’s much faster than using the Lenovo Recovery UFD.
Next week, I’ve asked for an interview with the Lenovo engineers who built the DDRS and the Recovery Tool. That should shed further light on this amazing environment and toolset. I’ll share that info in a future blog post. Stay tuned, and Happy Thanksgiving (for those who celebrate same).