I have to chuckle. Working on a Windows 11 revision to a data recovery story yesterday, I ran into “the law of unintended consequences.” In this case, I switched OneDrive backup on to test the Windows Backup app. In so doing, I picked up some unintended OneDrive consequences. You can see them in the lead-in screenshot.
Overcoming Unintended OneDrive Consequences
Blithely, I started using files for my primary MSA from OneDrive on that test PC. (I chose the snappy and powerful ThinkStation P360 Ultra.) Immediately, it picked up Windows Terminal environment settings from the cloud, not the local PC.
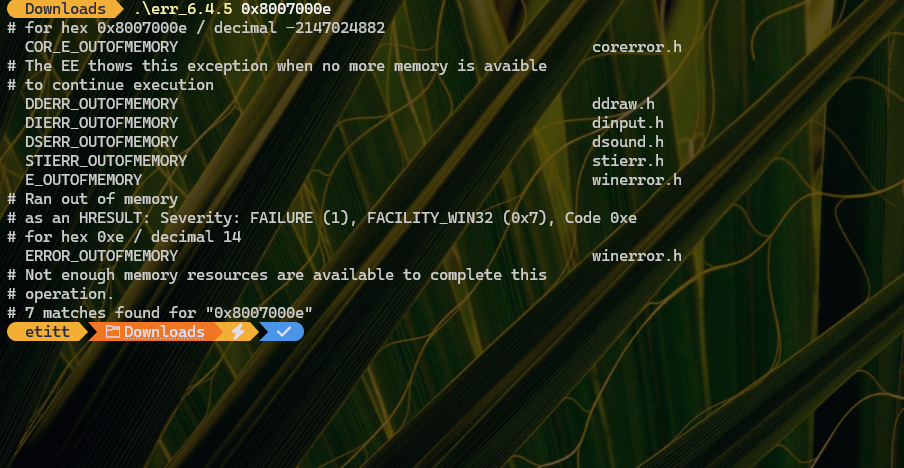
Check the lead-in graphic. The error results from running the cloud-based PowerShell profile. It references supporting infrastructure for the WinGet.CommandNotFound capability. This allows WinGet to suggest a source to install a command that
(a) PowerShell sees as undefined
(b) WinGet recognizes
(c) knows where to find
(d) can install on the user’s behalf
Read the error message beneath the failed import command at Line 8 in that output stream. You’ll see the module named Microsoft.WinGet.Client is not loaded. Translation: that module IS squared away on PC from which OneDrive supplies shared files.If it gets loaded on this machine, the error won’t recur.
Putting the (Right) Pieces in Place
The next screencap shows what I did to fix this. I looked up the instructions to get Microsoft.Winget.Client loaded. It requires two back-to-back PowerShell commands. The first handles install, the the second import:
Install-Module -Name Microsoft.WinGet.Client
Import-Module -Name Microsoft.WinGet.Client
I ran those commands on the P350 Ultra. Where requested, I provided permission to access the module gallery for the client module. Next, PowerShell said”Restart Windows Terminal.” After I did that everything worked OK. Here’s visual proof:
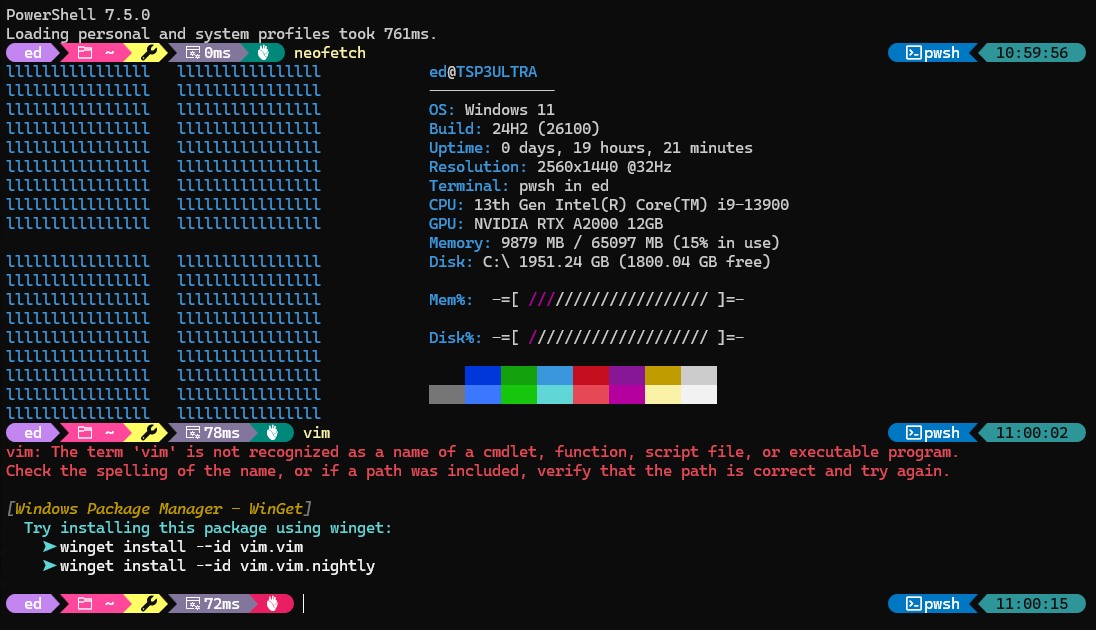
What you see is that PowerShell opens normally, with no error messages. Next, you see NeoFetch which shows system and OS info for some nice eye candy. But that last part is proof that unknown command handling is working as it should. I typed ‘vim‘ in at the command line (it’s a well-known text editor popular in UNIX and Linux circles, not installed by default in PowerShell). And you see the results of the Microsoft.CommandNotFound module suggesting WinGet syntax for how to install this tool if wanted.
Problem solved!