I’ve got two test machines on the Beta Channel release right now. The older of the pair — a 2014 vintage Surface Pro 3 — is stuck on KB5000842 and keeps throwing install errors. Others reporting into the TenForums thread on this update have had success using the terrific UUPdump tool to build a customized image to install 19043.906. So that’s what I’m trying, too. In general, my strategy is “When WU repairs fail try UUPDump” next anyway. Glad to see others use that strategy, too.

A couple of failures, including a complete WU reset, means it’s time to change update strategies.
[Click image for full-sized view.]
Why Say: When WU Repairs Fail Try UUPDump?
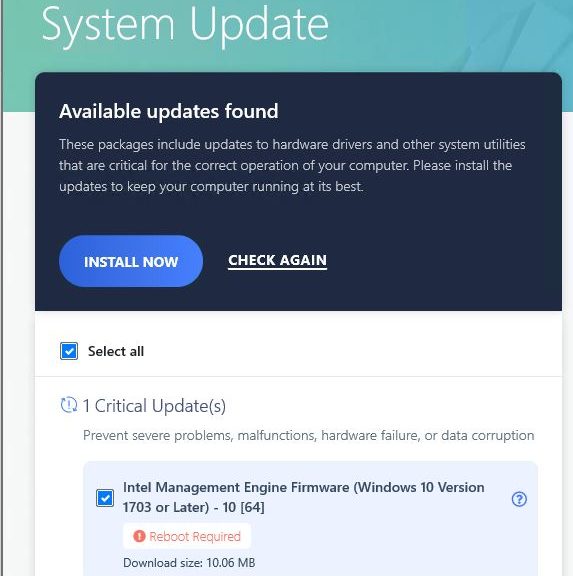
The update installs fail each time with an error code of 0x800F081F. This is interesting, and a bit strange, because the error is often associated with the Windows Update Assistant nowhere present in this situation. It can also pop up when items are missing from the download packages that WU delivers to the desktop.
That latter reason explains why a switchover to UUPDump makes sense. It grabs the ISO-based image for the base OS version from MS servers (19043 aka 21H1 in this case). Then, it uses DISM to apply all newer updates packages up to and including the problematic KB5000842 item that’s throwing the error here. It’s perfectly safe because it uses only Microsoft Servers as the source for its OS and update files.
Building the 19043.906 ISO File
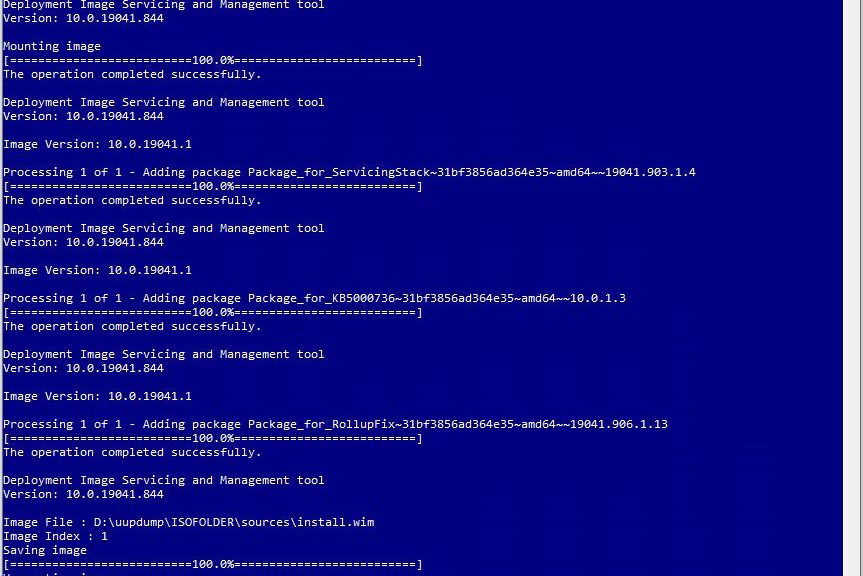
Running UUPDump to build an ISO for a patched OS takes some time because of the many and various steps involved. For the SP3 PC, it took over an hour before it got stuck mounting the image for Build 19041.1. That’s when I realized it makes sense to run UUPdump batch files on the fastest PC around.
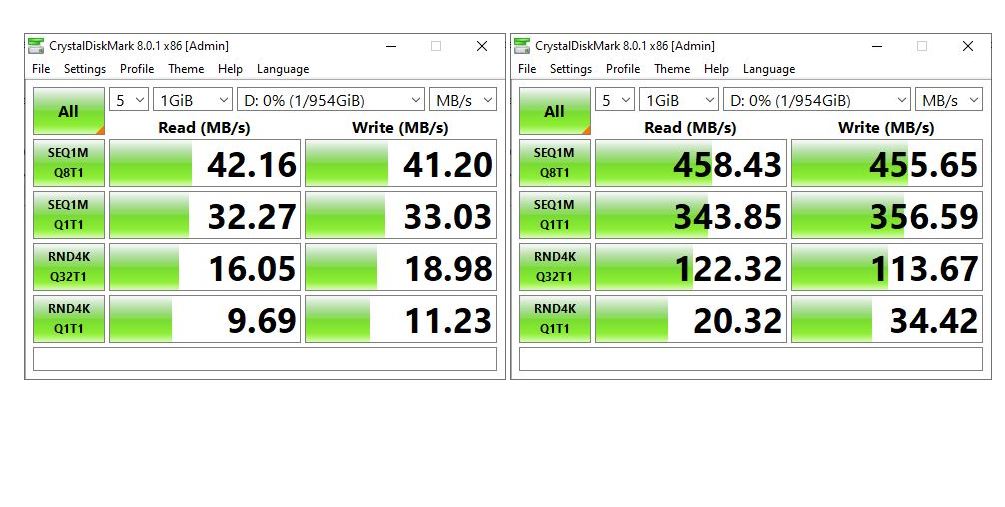
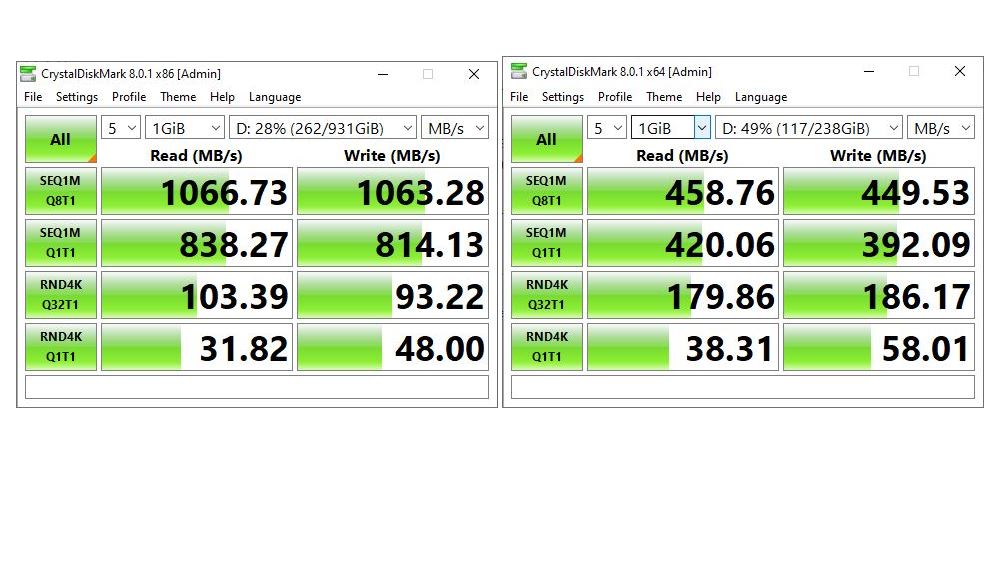
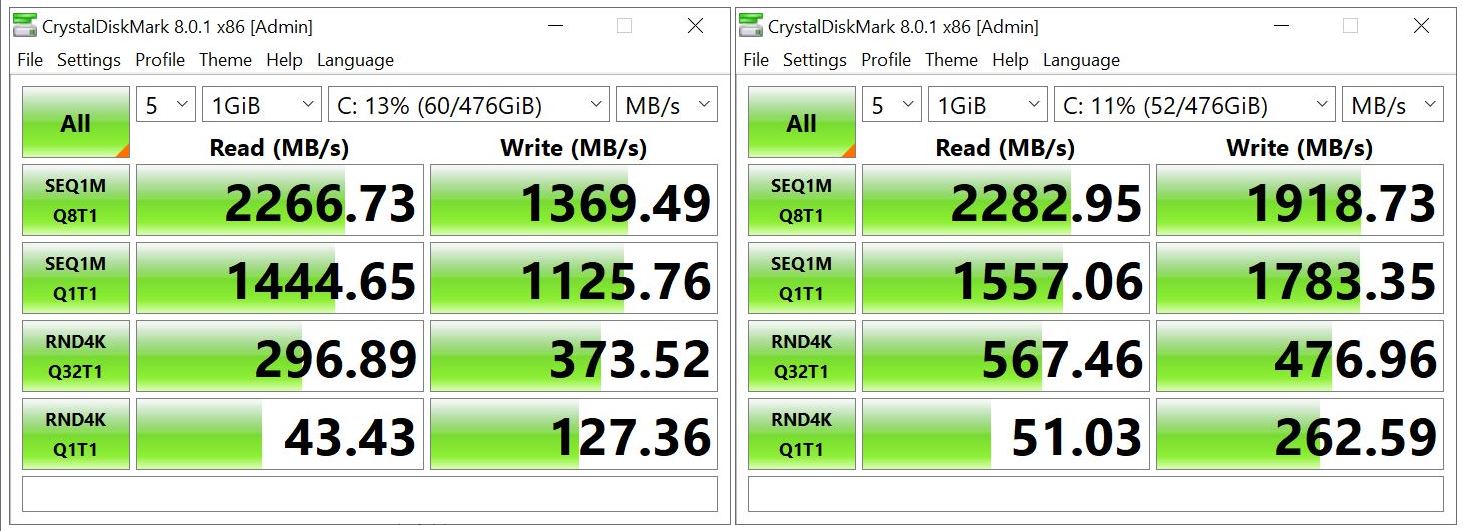
Thus, I ran the same job on my Lenovo X1 Extreme, with its 6-core i7-8850H CPU. Given more threads and a faster CPU and much faster Samsung OEM PCIe x3 SSDs, it ran noticeably faster, though the KB5000842 cab file update still took 5 minutes to complete (click “view image” inside the lead-in graphic for this story). The whole thing still took 35 minutes from start to finish.
And it went that fast only because we have fast (nominal GbE, actual 900 Mbps or so) Internet service here at Chez Tittel. What takes the real time, however, is bringing the windows image (.wim) file up from base level Build 19043.844 to the current/highest level Build 19043.906. This takes several steps, each one involving mounting the image, adding packages, the dismounting the image, and continuing forward. There’s some mucking around with a WinRE.wim file along the way, too.
Performing the In-Place Repair Install
This is the easy part: mount the image, run setup.exe and let the installer do its thing. This takes a while, too — considerably longer than applying the update would (checking the PC, agreeing to the EULA, checking for updates, and so forth; then finally into OS installation). This entire process took another hour or so to complete. But here’s the end result, straight from winver.exe:
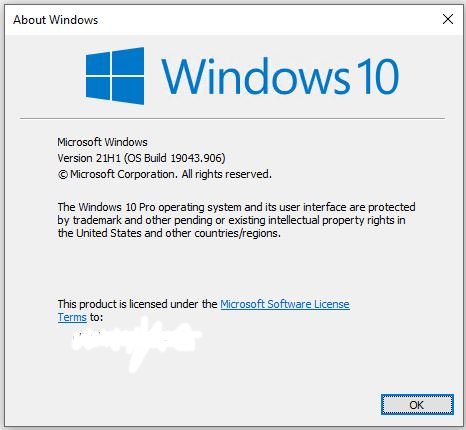
All’s well that ends well: here’s Build info from the upgraded SP3, right where I want it to be
More About UUPDump
I’ve written about UUPDump for numerous other sites, including TechTarget and Win10.Guru, both for my Windows Enterprise Desktop blog. Here are some links, if you’d like to learn more:
- UUPDump Invaluable Resource (TechTarget)
- A Peek Inside UUPDump (Win10.Guru) includes a brief interview with its developer who goes by the handle “Whatever”
- UUPDump Outdoes Windows Update (Win10.Guru)
Cheers!