Whoa! I finally hit paydirt yesterday. I’ve been checking for updated drivers for my Realtek® Audio (UAD) device for some time now. As I’ve just calculated, there’s been a 16 month pause between audio updates on my production PC. Undoubtedly that’s because it’s an i7 Skylake (Intel Gen 6) CPU that made its debut in 2016. Could this be another sign that it’s time to retire this PC? Probably!
Why a 16 Month Pause Between Audio Updates?
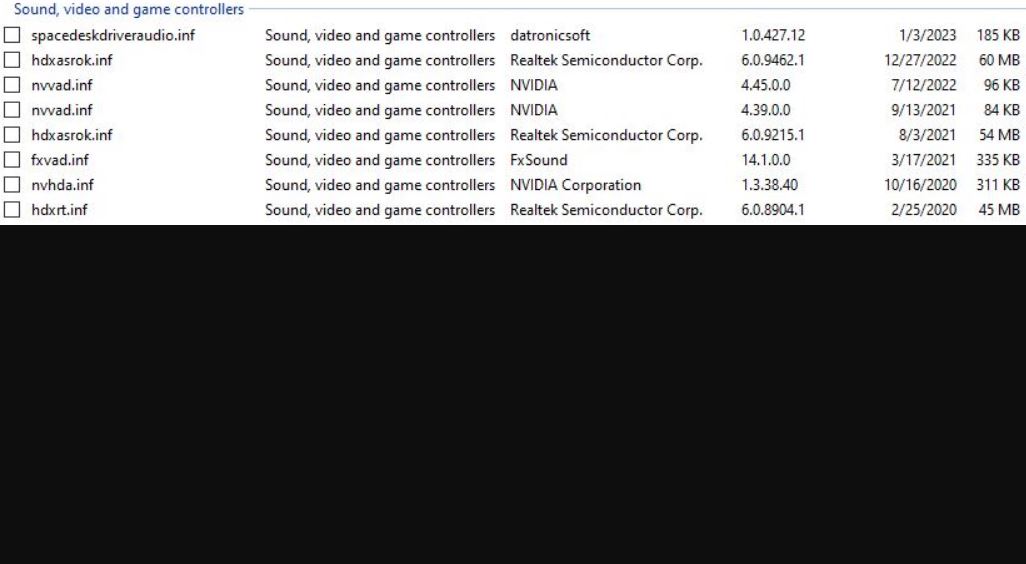
Please look at the intro graphic. Because I just updated the ASRock Realktek audio driver yesterday, you can see two versions of the corresponding setup information (INF) file, hdxasrok.inf. Note the dates: the newer one reads 12/27/2022 while the older reads 8/3/2021. Do the math, and that’s 16 months plus over 3 weeks. Wow!
I’d been visiting the ASRock Support website and my favorite alternate driver source — namely station-drivers.com— for a long, long time before I finally struck gold. Before I dug into this ZIP file and realized it covered my audio chipset, the vast majority of recent updates were for Nahimic audio chips, not the plain-vanilla Realtek chips in my now-aging motherboard.
Frankly, I don’t know why it took so long to find a newer version. My best guess is that older motherboards (and chipsets) don’t get the same love and attention that newer ones do. I have to guess that’s because driver updates require time and effort to create, and older stuff is less likely to be in demand than newer stuff. The just the way of Windows-World: older hardware eventually gets no love at all. Mine is pushing that envelope, clearly.
Thanks Again, RAPR!
The Driver Store Explorer (aka RAPR.exe) once again comes in handy for inspecting driver status on my Windows 10 production PC. It’s the source of the screencap at the head of this story. It does a stellar job of showing Windows drivers, including their number and status on targeted PCs. This search proved an excellent stimulus for me to update RAPR itself, too. Thus, I’m now running v0.11.92 (uploaded to GitHub on 1/6/2023). Previously, I’d been running v0.10.58 (internal file date: 4/10/2020).
Thus, the need to upgrade one thing (the Realtek driver) also reminded me to upgrade another (RAPR). Now, I’ll need to distribute this around my entire PC fleet. Good stuff!