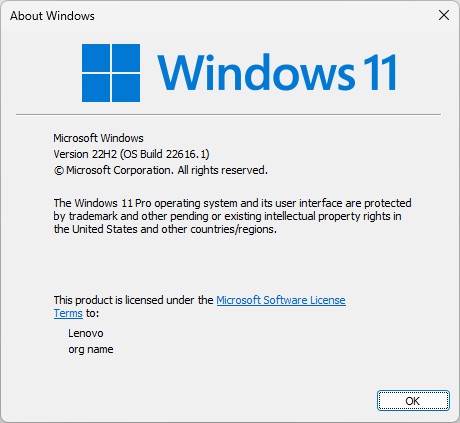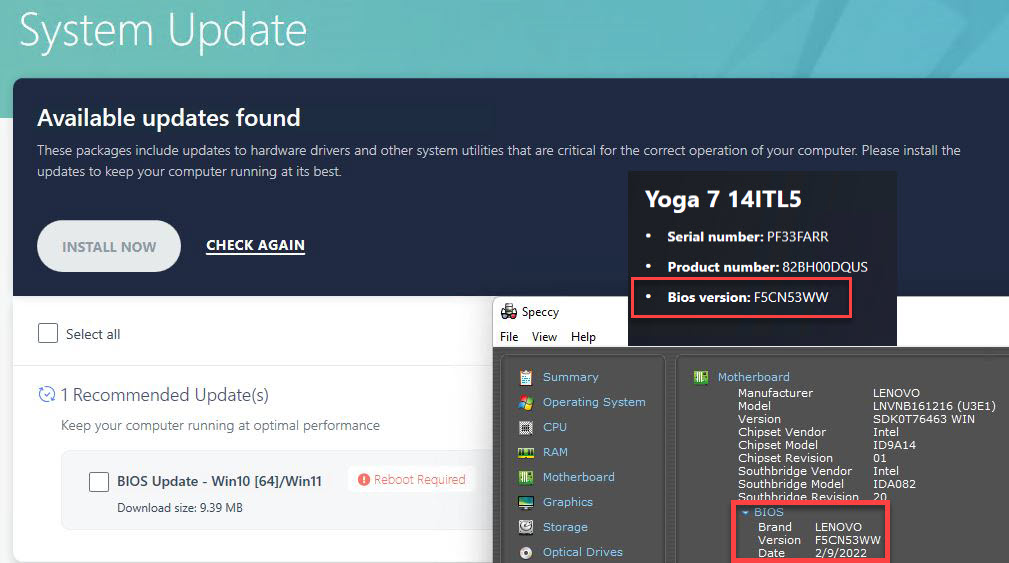
Here’s an interesting bit of administrivia. Upon reading at OnMSFT that MS had snazzed up its Dev Channel dialog box for Windows 11, I went looking for same. That proved a bit more challenging than I initially expected. But I eventually got past finding new Windows 11 Shutdown dialog box, and made it appear. It serves, in fact, as the lead-in graphic for this very story (see above).
It Was Tricky, Finding New Windows 11 Shutdown Dialog Box
The usual method is to employ the Alt+F4 keyboard shortcut. But on my Lenovo X12 hybrid tablet PC that did precisely nothing. Then I found a source with something like this tell-tale sentence:
On some laptops it may also be necessary to press the Function (Fn) Key as well.
That turned out to be just the trick I needed to get the keyboard shortcut to work. Indeed, it’s what allowed me to produce — and then screen capture — the lead-in image for this story.
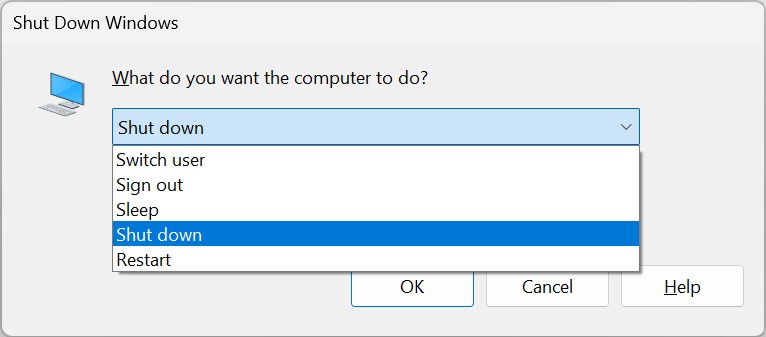
What IS New in Dev Channel Shutdown Dialog Box?
It’s kind of hard to tell just from the screenshot what’s new. For comparison, here’s what the Windows 10 version looks like:
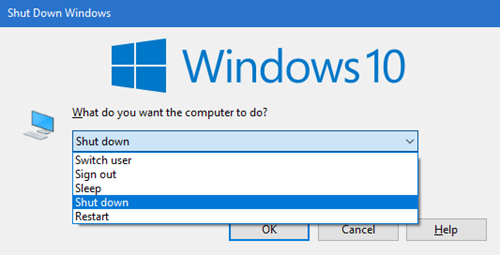 Notice it prominently features the Windows 10 logo at the top of the dialog box. Notice also its corners are squared, not rounded. AFAIK that’s about it for what’s new.
That said, in keeping with a sparer and more spacious UI in Windows 11, it’s a bit easier on the eyes. IMO it’s also a bit easier to read and understand. For me, the learning came from producing the dialog box more than its contents. But hey, that’s why I have so much fun messing around with Windows. Cheers!