I use a collection of tools to keep my Windows fleet updated. These include winget (in PowerShell), plus KC Softwares’ Software Update Monitor (SUMo) and PatchMyPC Home Updater. Occasionally one or more of these tools will throw a “false positive” — that is, report an update that doesn’t exist. When that happens I have my way of foiling false upgrade positives to prevent wasting time. Let me explain…
About Foiling False Upgrade Positives
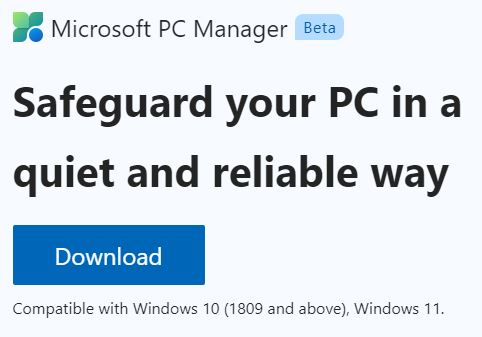
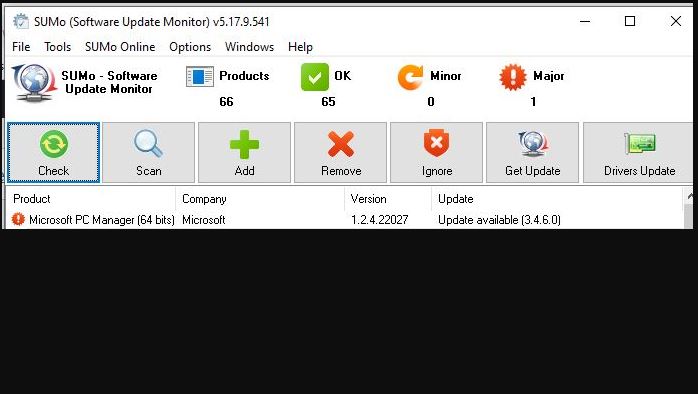
This is a case where one tool can occasionally backstop another, so that one tool’s claim of an existing upgrade can be challenged successfully. Case in point: the item SUMo reported this morning, which refers to a new version of Microsoft PC Manager numbered 3.4.6.0 — look at the lower right in the lead-in image above. A quick hop to the home page for Microsoft PC Manager (Beta), a download (you’ll find two buttons there), and display of Properties details from that download shows: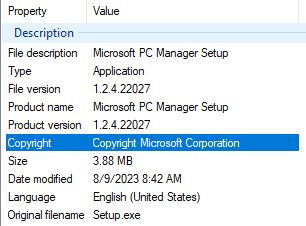
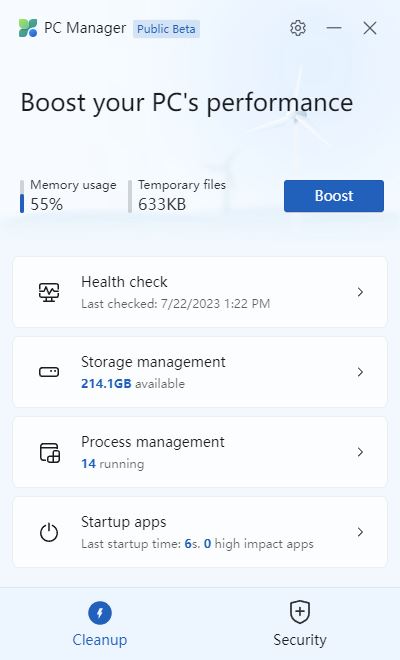
Notice the version number reads 1.2.4.22027. Compare that to the “Version” column in SUMo: same!
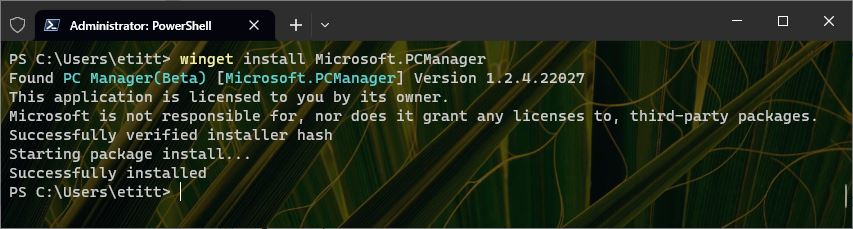
Likewise, when I turn to winget inside PowerShell, I use its “list” command to show me what’s on my machine, then use its “show” command to show me the latest manifest in its public database. Again, both agree. That tells me pretty unequivocally that the latest version is indeed 1.2.4.22027 — and that’s the one I’ve already got. SUMo, in asserting that version 3.4.6.0 is the most current, is somewhere off the beaten track.
What Now, Young Jedi?
I’ve got Kyle Katarn’s email and twitter feed at my disposal. So when something like this happens with SUMo I send him a message saying what SUMo reports and what the software maker (MS in this case) tells me. He’s usually very quick about fixing false positives (on a same-day basis, in fact). Ditto for issues with winget (I likewise interact with Demitrius Nelon, Winget Team Lead at MS). He is also responsive to feedback, and often provides same-day fixes as well. So far, I’ve not yet had a false positive experience with PatchMyPC (but it covers far fewer software items than SUMo’s 400+ and winget’s 2000+ manifests).
Good stuff!
Note Added August 9 Afternoon
At 4:15 PM Central (-05:00 GMT) Mr. Katarn sent me a message this item had been fixed. Ran SUMo again, and sure enough: the false positive is gone. THAT’s what I call customer service…