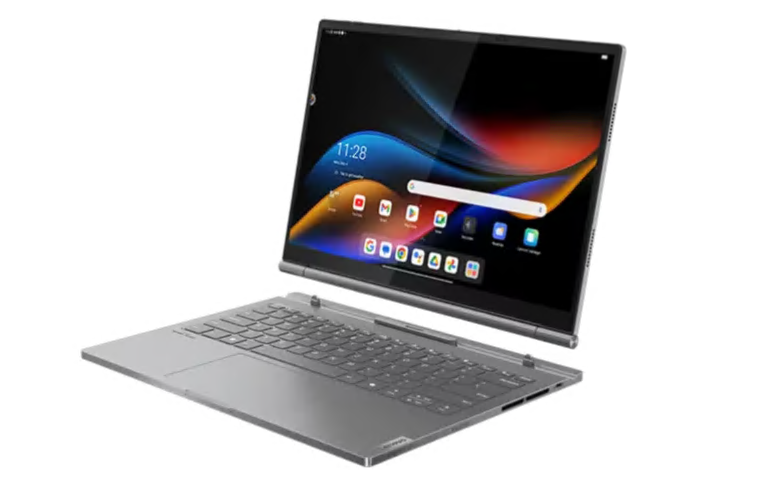
Now that I’ve had — and used — the hybrid ThinkBook Plus 5G (TB5G) for 8 weeks or so, I’m ready to close out my eval and send it back to Lenovo. That said, my final thoughts are: the ThinkBook Plus 5G Android connection is what makes (or breaks) a buying decision. Those with Android phones they’d like to integrate will find that link-up much more convivial and useful than those with iPhone devices. Alas, I’m a member of the latter club, so I’m coming down on the “won’t buy” side of the equation. I like the PC, but not enough to buy this particular dream.
The ThinkBook Plus 5G Android Connection Is Vital
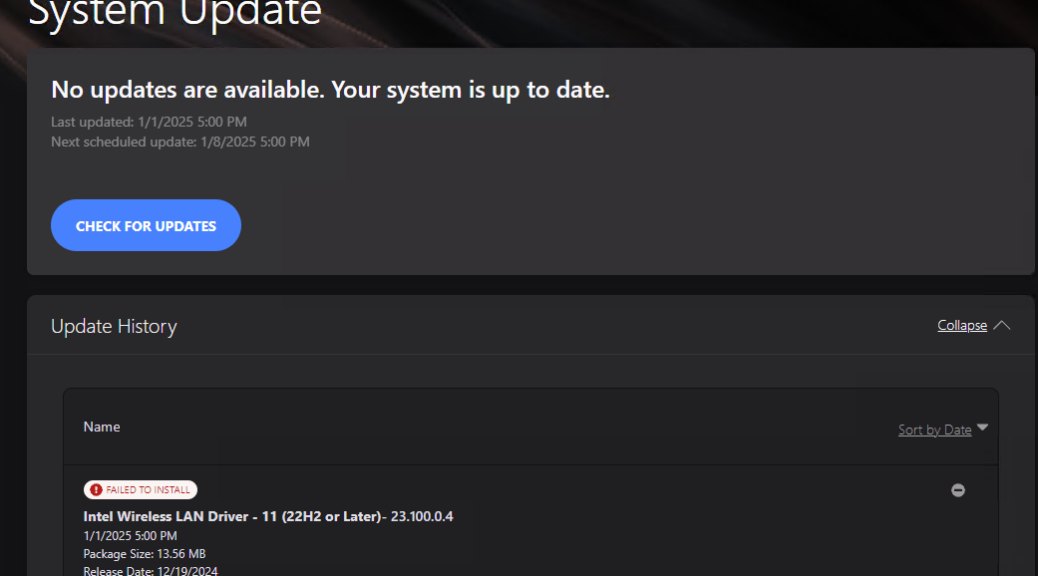
As is often true for hybrid devices, I also found the TB5G configuration somewhat brittle. I ran into initial difficulties upgrading the device from 23H2 (as shipped) to 24H2 (once WU started offering that version). It did succeed on a later try, so MS obviously took steps to accommodate its hybrid storage. It creates a shared “exchange zone” between the Android tablet/display and the Wintel Core Ultra 7 155H-based keyboard deck. Obviously, it also requires special handling during Windows install and upgrade.
This also went by the wayside when, as an experiment, I let Snappy SDIO loose on the device’s drivers with a doomed across-the-board upgrade. That experiment goes in the “major fail” column, as it left the PC without working cursor, keyboard or touch display upon completion. That fail was severe enough, in fact, that I had to use the “reboot three times” method to get into WinRE and reset the PC from the cloud to restore it to working condition. After that, in fact, it took an upgrade to “Hybrid Center” to bring the Hybrid Folder (A:) back to the desktop…

A Large But Likable Beast
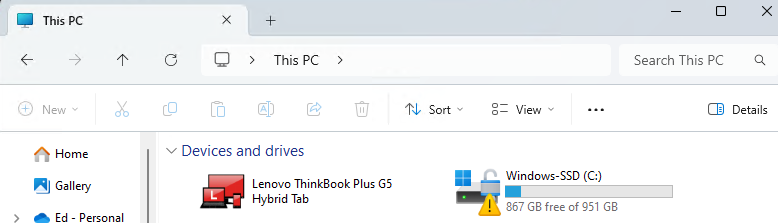
Overall, the unit behaved well, and did what I asked it to do during the eval process. It’s heavier than most ThinkPads, though, and I found it harder to lug than most other Lenovos I’ve tried out in the past 4-5 years (3.9lbs/1.77kg: 2.14lbs/0.97kg base; 1.73lbs/.80kb tablet-display). If I have the price right (my 32 GB, 1 TB SSD, 155H configuration appears to cost around US$2K) it’s a bit pricey, but offers good performance and interesting capabilities.
In the end, it comes down to whether or not you’ve bought into Android or iPhone telephony. It integrated well with my aging Motorola Razr Android phone. With my iPhone 12, not much differentiated it from other Windows laptops. That’s why I’m making the Android call on “who’s most interested” where this device is concerned.
For my money, the lack of Copilot+ PC capability outweighs the “ooh” factor in a laptop with a detachable, independently usable display. I’m ordinarily a sucker for such devices — and have owned models from Dell, Fujitsu, Microsoft, and Lenovo in this category. But lacking the right NPU configuration, this device doesn’t make that grade. Back it goes…