Microsoft has added a year to the expiration date for its Windows 10 Extended Security Updates (ESU) program. This gives consumers, businesses and organizations another year of critical security patches on their Windows 10 devices. In turn, that provides much-needed breathing room for transitioning to Windows 11 or newer platforms, ensuring users remain protected against emerging threats. As Windows 10 ESU gets another year of life, those running Windows 10 get another year to figure out “What’s next?”
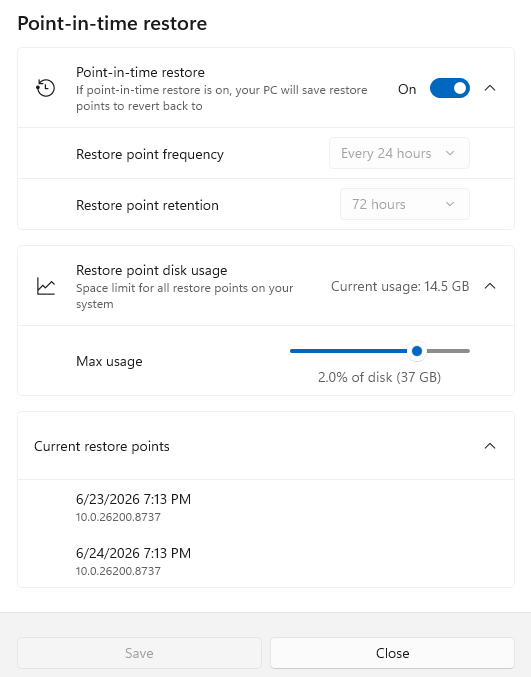
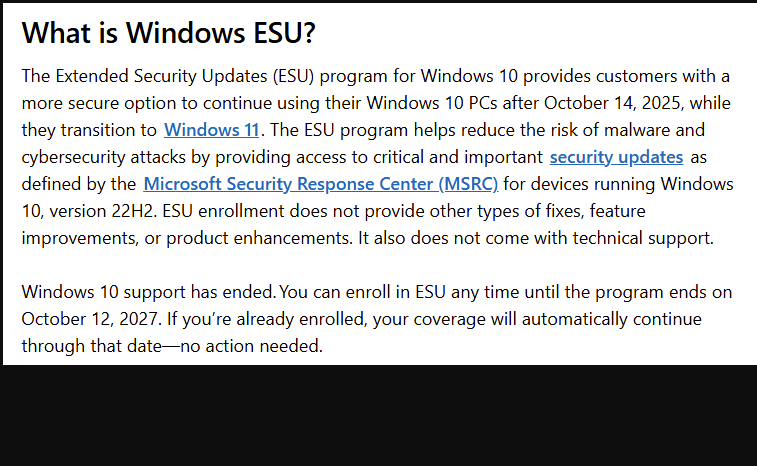
The lead-in graphic for this post shows the MS ESU Explainer that pops up inside that OS when you visit Settings > Update & Security, then click the link that reads “Learn more about Extended Security Updates.” As far as I can tell, MS just extended that date this week. FWIW, other published sources (e.g. WinAero, Windows Latest, Windows Central, etc.) agree.
What Windows 10 ESU Gets Another Year Means
Extended Security Updates (ESU) is a program Microsoft offers to organizations that need to keep Windows 10 systems secure beyond the official end-of-support date. Officially, Windows 10 support ended on October 14, 2025. Even so, ESU allows customers to receive critical and important security updates for some time after that date. This “expiration date” just got extended, as you can see in the lead-in screencap.
This program is especially valuable for businesses with legacy applications or hardware that are not yet compatible with Windows 11. It helps them avoid security risks while they plan and execute their migration strategies.
Why the Extension Matters
The extension of Windows 10 ESU for another year reflects the reality that many organizations face challenges upgrading their infrastructure. Whether due to budget constraints, application compatibility issues, or operational complexities, migrating to a new operating system is rarely straightforward.
By extending ESU, Microsoft acknowledges these hurdles and offers a safety net. This additional year of support means organizations can continue receiving vital security patches, reducing the risk of vulnerabilities that could be exploited by cyber attackers.
What’s Included in the Extended Support?
The ESU program focuses on delivering security updates classified as critical or important by Microsoft. These updates address vulnerabilities that could allow remote code execution, privilege escalation, or denial of service attacks.
However, ESU does not include feature updates or non-security fixes. Organizations still need to plan for a full upgrade to a supported operating system to benefit from new features and improvements.
How to Get Windows 10 ESU
Eligible customers can purchase ESU licenses through Microsoft’s Volume Licensing programs or authorized resellers. The pricing typically increases each year, reflecting the diminishing support window. Individual users may also qualify for ESU, either by activating Windows Backup to sync files and settings via OneDrive, or by redeeming 1,000 MS Reward points.
To activate ESU, organizations must install specific activation keys and ensure their systems are up to date with the latest servicing stack updates. Microsoft provides detailed guidance and tools to help with this process. Individual users typically upgrade directly through WU, without having to reactivate Windows 10 licenses.
Planning Your Migration
While the ESU extension offers more time, it’s not a permanent solution. Users should use this period to accelerate their migration plans to Windows 11 or other supported platforms.
For IT-driven organizations, key steps include:
- Assessing Compatibility: Evaluate applications and hardware for Windows 11 readiness.
- Testing: Pilot Windows 11 deployments in controlled environments.
- Training: Prepare IT staff and end-users for the new operating system.
- Deployment: Roll out Windows 11 in phases to minimize disruption.
For SOHO and individual users, migration will usually mean disposing of older PCs not able to meet Windows 11 hardware requirements. Replacing those typically involves purchasing a new or used PC or laptop with Windows 11 pre-installed. Optionally, they may (or may not) use a program such as PC Mover to transfer their apps, files, and settings to the new OS.
One Year Adds Time, But Cures No Ills
The additional year for Windows 10 ESU is a welcome relief for many organizations still navigating the complexities of OS migration. It ensures continued protection against security threats while providing a buffer to plan and execute a smooth transition.
However, relying on ESU indefinitely is not advisable. The best strategy is to leverage this extension as a bridge toward a fully supported and modern operating system environment.
By staying informed and proactive, IT teams can safeguard their infrastructure and keep their organizations secure in an ever-evolving threat landscape. Individual consumers gain time to save up for a new PC or laptop, and plan their migration strategy, too.