Last Friday, I learned about a new Beta Windows utility from Microsoft called “PC Manager.” It’s available for download and use right now on both Windows 10 and 11. There’s just one problem: I couldn’t get it to install from the download for either OS. But since I’m introducing Microsoft PC Manager here and now, you know I’ve figured out a workaround. Yep: there’s a Winget package for this tool, and it installs through that approach just fine.
Still Introducing Microsoft PC Manager, Despite Installer Fail
If you run the download file named MSPCManagerSetup.exe it simply hangs, even when you agree to its terms and conditions. It just sits there, doing nothing, like so:
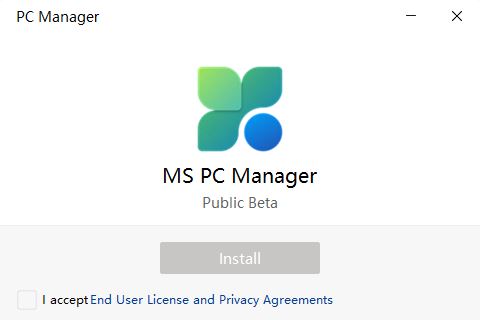
Even after agreeing to the terms, the installer presents no option to actually install the tool. Stuck!
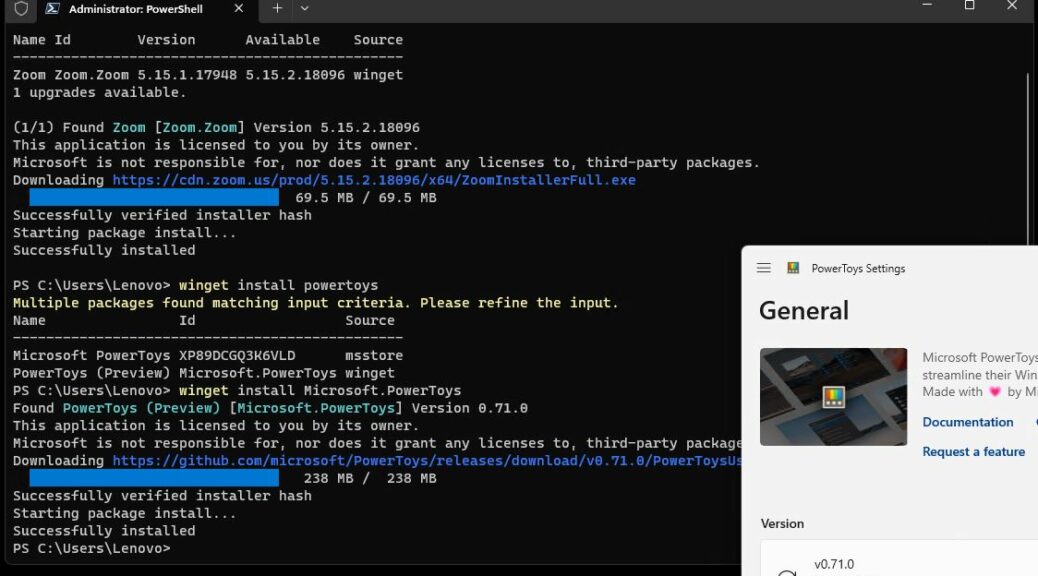
I figured there might be a winget package manifest for this tool, seeing as how it’s a Microsoft thing. I was right. It took a bit of poking around, but I eventually hit paydirt on the string “PCManager.” Here’s a screencap with the right install syntax (and a successful installation).
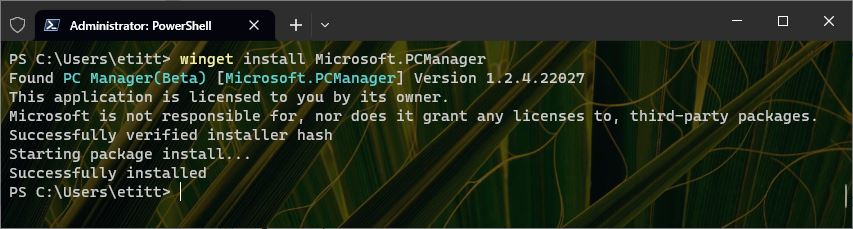
Winget install Microsoft.PCManager does the trick!
Again: Introducing MS PC Manager
Here’s what the startup window from the application looks like. It provides information into PC health, storage, processes and startup apps, as well as cleanup and security stuff.
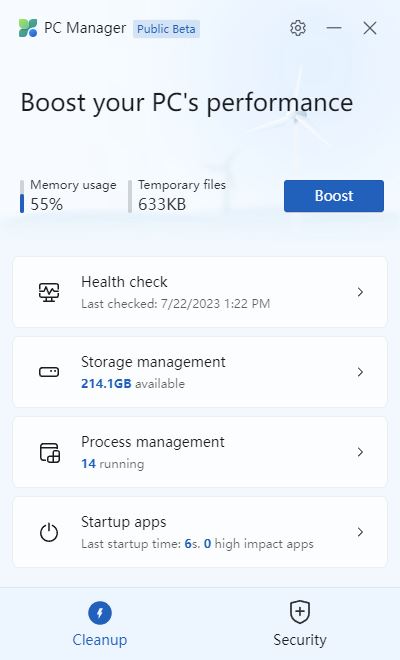
OK then: here’s the home window for the Microsoft PC Manager (Beta) utility.
Health check takes a couple of minutes to run, and found excess files and baggage, as well as numerous startup items to cancel out. Storage Manger offers options for deep cleanup, large file management, app management and storage sense. Deep cleanup found and removed another 3.6 GB of “stuff” on my PC; large files created a single-pane display of all files over 100 MB on my system (you can set thresholds at 10, 50 and 100 MB, and 1 GB: pretty handy). Manage apps simply moves you to Settings → Apps → Apps & features, where you can review and manage what you’ve got. Storage Sense does likewise for Settings → System → Storage → Configure Storage Sense or run it now. All pretty handy, and worth fooling around with. Check it out!
In a future blog post, I’ll dig further into the Security button at the lower right. It has at least one interesting capability that I’ll also be writing about in an updated story for ComputerWorld soon (I hope).