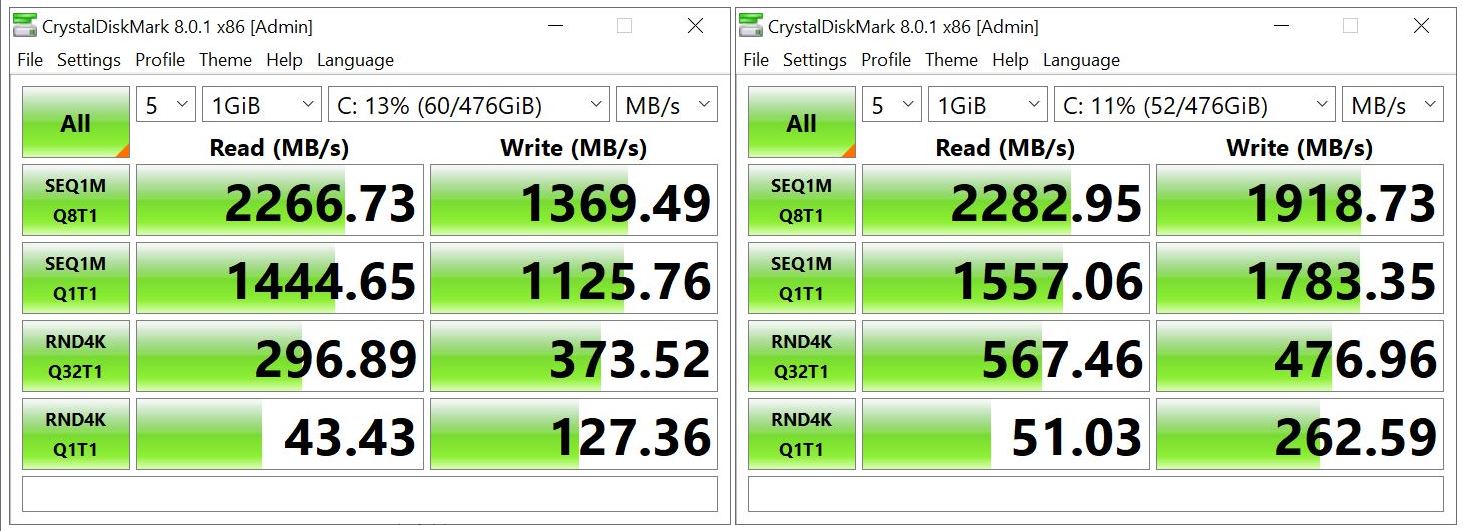
Last Friday, I blogged about swapping out my review unit Lenovo Thinkpad X1 Nano SSD. I purchased a US$150 Sabrent Rocket Nano (Model SB-1342 1 TB). It replaced a Samsung OEM 512 GB SSD (NVMe PCIe 3.0 x4). Check the Friday post for details on performance, installation and so forth. Today, I’m writing about the strange Sabrent Rocket adventures I’ve had since taking that device out of the laptop. Frankly, it’s a continuing and wild ride.
Strange Sabrent Rocket Adventures: Drive MIA
First, I used Macrium Reflect to clone the original Samsung drive. Then, I made the swap, ran some tests and replaced the Sabrent with the original SSD. Things got intersting after I plugged the drive back into the Sabrent NVMe drive enclosure (EC-NVME). The drive was MIA: it showed up as 0 bytes in size and generated a “fatal device error” if I tried to access it. Ouch! I immediately reached out to vendor tech support.
Sabrent Tech Support quickly coughed up a link to a terrific tool, though. The name of the tool is lowvel.exe, and it performs a complete low-level format of the drive, zero-filling all locations as it goes. That turned out to be just what I needed and put the Rocket Nano back into shape where DiskMgmt.msc could manipulate it once again.
Then, I initialized the drive as GPT, and set it up as one large NTFS volume. For the next 12-14 hours, I was convinced this was a final fix. But my troubles are not yet over, it seems.
More Strange Rocket Adventures
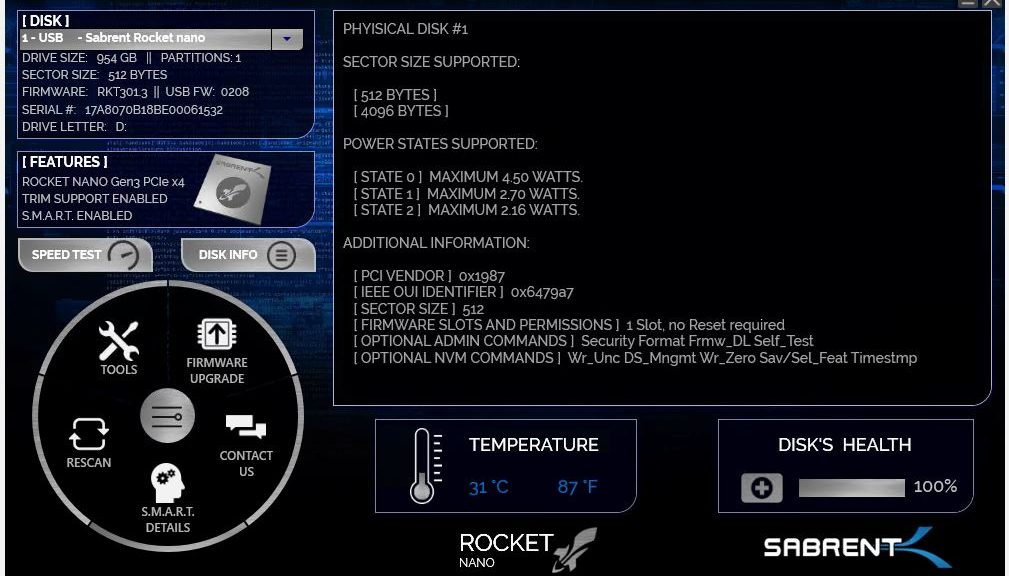
The next morning, having left the device plugged in overnight, I sat down at my desk to see it blinking continuously. When I tried to access the device, it was inaccessible. It’s not throwing hardware errors to Reliability Monitor, but I have to unplug the device and plug it back in, to restore it to working order. Something is still weird. Temps seem normal and the Sabrent Rocket Control Panel utility (shown in this story’s lead-in graphic) gives the device a clean bill of health.
I’ve got an intermittent failure of some kind. I need more data to figure this one out. I’m leaving the Control Panel running on the test laptop where the Rocket Nano is plugged in. We’ll see if I can suss this one out further. It’s not inconceivable I’ll be going back to Sabrent Tech Support and asking for a replacement — but only if I can prove and show something definite and tangible. Sigh.
Info Added March 25: All Is Quiet
Who’d have thought a Sabrent NVMe enclosure and a Sabrent NVMe drive might be ill-fitted together? Apparently, that’s what ended up causing my intermittent failures. On a whim, I bought the cheapest NVMe enclosure I could find — a US$26 FIDECO USB 3.1 Gen 2 device — into which I inserted the Sabrent Nano SSD. It’s now run without issue, pause, hitch, or glitch for a week. I did not insert the device pad that normally sits between the case and the device (already present in the Sabrent enclosure). I’m inclined to blame some kind of heat buildup or connectivity issue resulting from an overly tight fit in the Sabrent enclosure, which I may have avoided in its FIDECO replacement. At any rate, it’s working fine right now. Case closed, I hope!