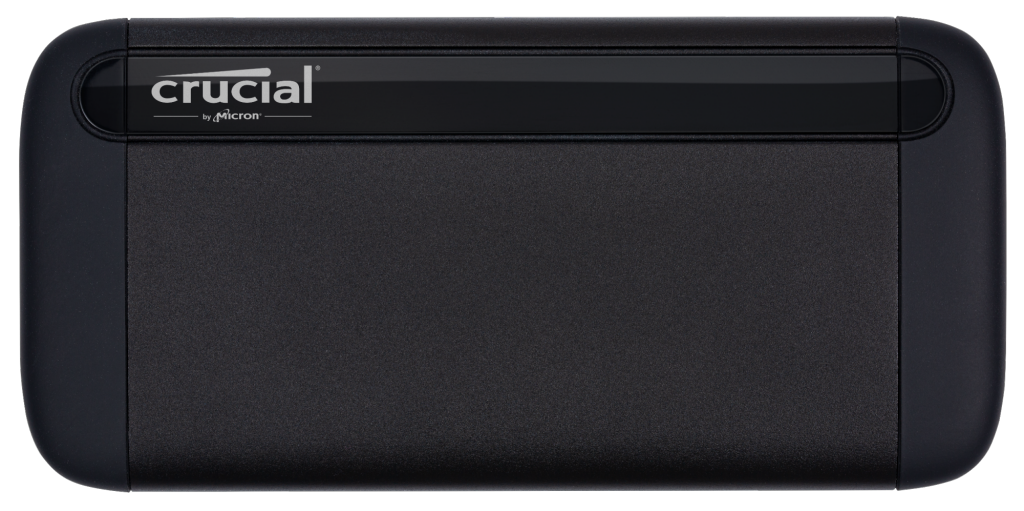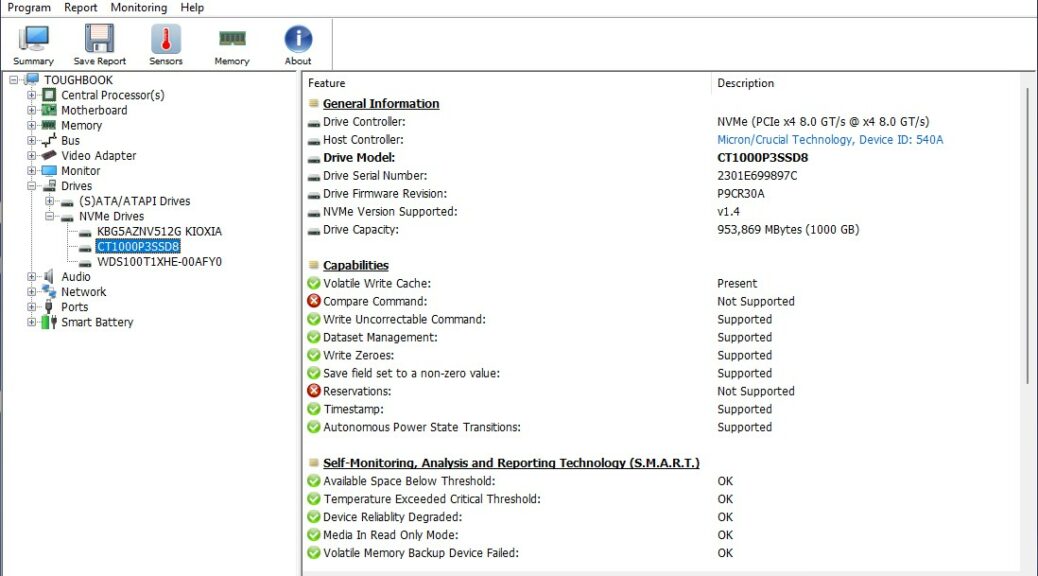
I just learned something very interesting. Most of it comes courtesy of the GitHub HWiNFO project. Use it to garner system information and diagnostics in Windows. The lead-in graphic shows a Thunder-bolt 4 NVMe enclosure plugged into a Panasonic Toughbook FZ-55. There (upper right) it appears as a Crucial NVMe SSD with PCIe x4 controller. For reasons I am about to reveal, I believe HWiNFO bestows USB4 insight into the USB-C connection in use.
What HWiNFO Bestows USB4 Insight Means
That insight comes from the full text of the Drive Controller info. It reads “NVMe (PCIe x4 8.0 GT/s @x4 8.0 GT/s). That means the PC sees the external drive, plugged in through a USB-C port on the FZ-55 as a PCIe x4 device capable of up to 8 giga-transfers per second (that latter part is what 8.0 GT/s means).
Basically, rating throughput in GT/s gives drive makers a way to account for encoding overhead in the PCIe protocol. Note: 8 GT/s translates into 7.877 Gbps with overhead backed out. Indeed, what this really means is the connection clocks half the maximum speed per PCIe x4 lane (16 GT/s). To me that indicates this connection tops out at a nominal 10 Gbps ( aka USB 3.2 Gen 2×1).
Where USB4 Comes Into Play
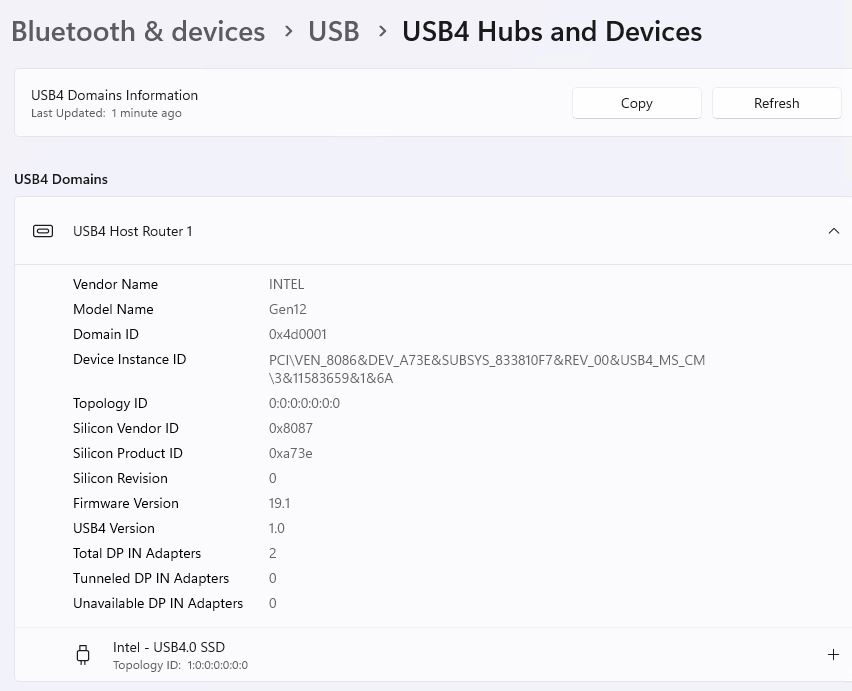
This is where I finally get to see a feature in Windows 11 I’ve read about but hasn’t manifested on PCs in my possession. The Toughbook FZ-553 delivered just before Christmas displays a USB option labeled “USB4 Hubs and Devices” (see below).
If I hadn’t seen the PCIe x4 stuff in HWiNFO, I’d never have looked for this!
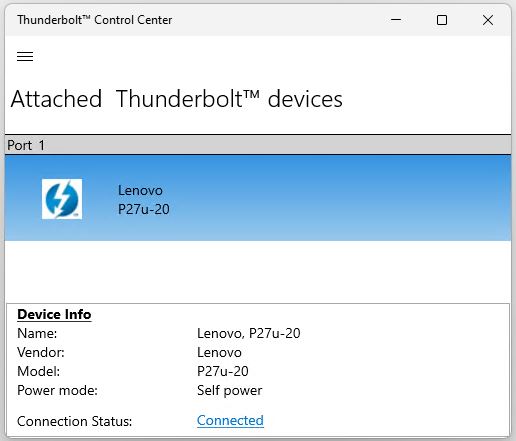
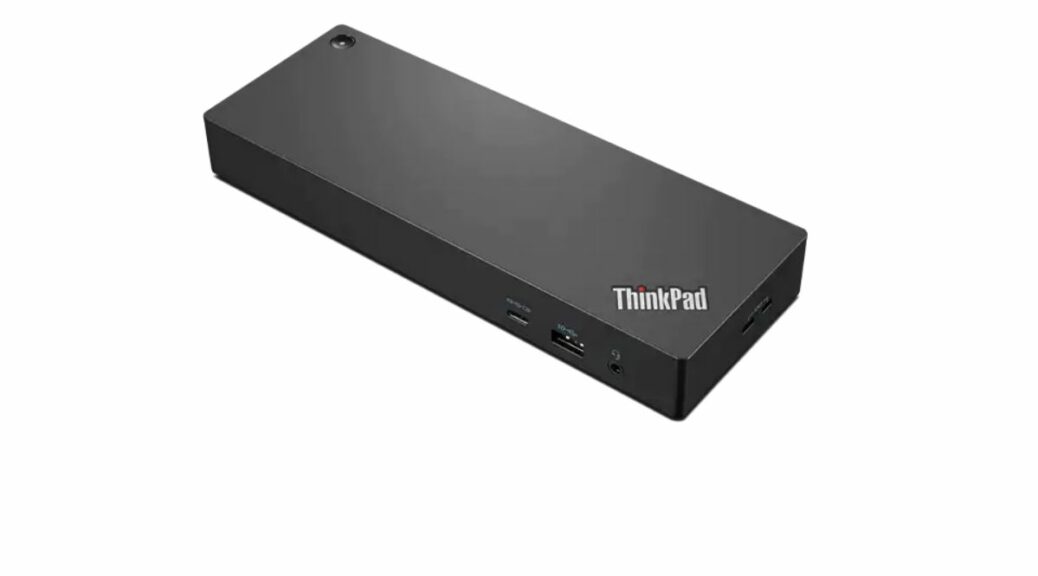
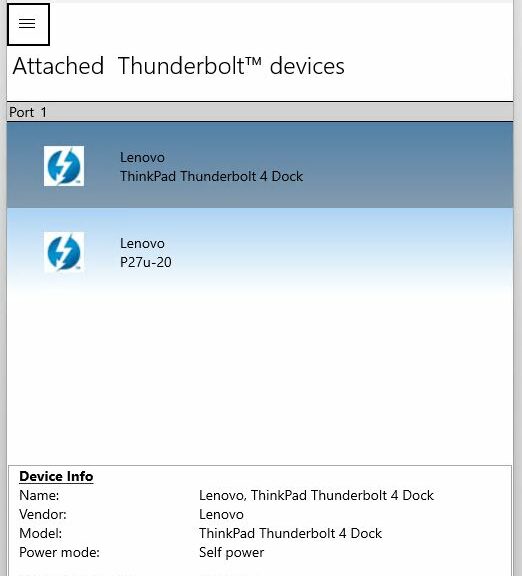
Indeed, it was seeing the mention of a visible NVMe controller and its PCIe x4 details in HWiNFO that led me to start wondering about USB4 and related Thunderbolt support. On other (older) PCs, I’ve only been able to access info about USB4 and Thunderbolt devices through the Intel Thunderbolt Control Center app. That’s been present by default on those other PCs with high-speed USB-C ports. On the FZ-55, Thunderbolt Control Center is absent. It doesn’t even come up in the Store (though it shows up clearly as a search string).
OK, NOW I get it: the Intel USB4 Host Router does on newer PCs what the Intel Thunderbolt Control Center does on older ones. It makes USB4 storage devices visible and accessible. Good to know!
Thankfully, HWiNFO shows more about the device, including the NVMe maker, controller, and drive model (a 1TB PCIe x4 Crucial NVMe drive). Likewise good to know; more insight, too!