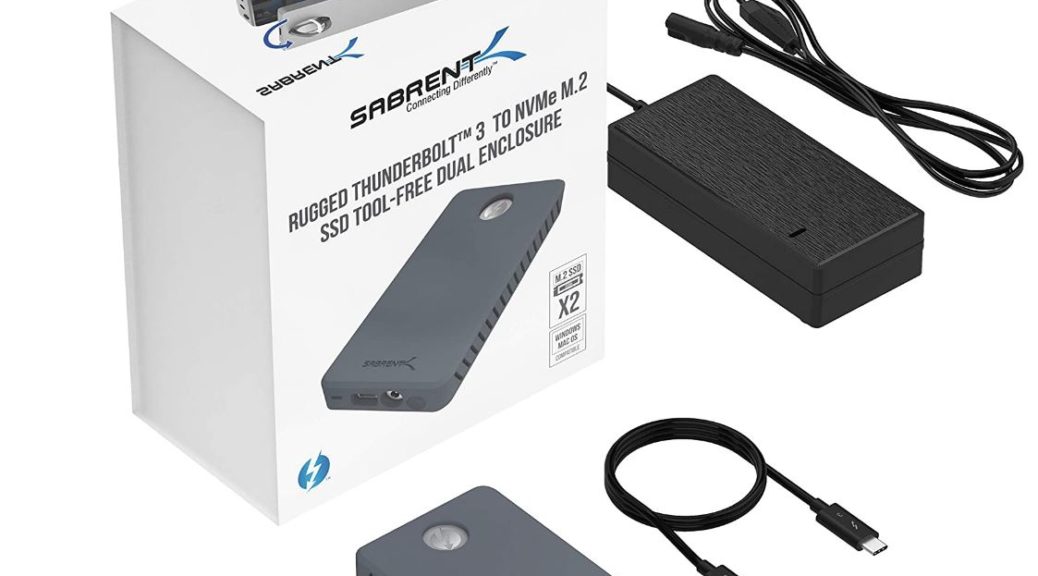
Whoever built this product clearly saw me coming. After upgrading both of my older desktops, I find myself looking for ways to use their now-idled NVMe drives. One is a Samsung OEM 512GB NVMe from the 2014 vintage PC, and the other is a Samsung 950 EVO 1TB NVMe from the 2016 model. As it happens, Sabrent has an offering for just that. In fact, its dual NVMe enclosure supports RAID, too.
What Dual NVMe Enclosure Supports RAID Means
Thanks to built-in RAID support, this enclosure offers faster throughput than a single-drive configuration. It even handles Thunderbolt, so I can use it in my newer docks and on my newer laptops and desktops. At a list price of US$249 my initial though was: “Ummm. No!” But after I visited the Amazon page and saw it was marked down to US$149 (about double the price of two phantom-powered Sabrent Thunderbolt 3 NVMe enclosures) that response changed to “Ummm. Yes…”
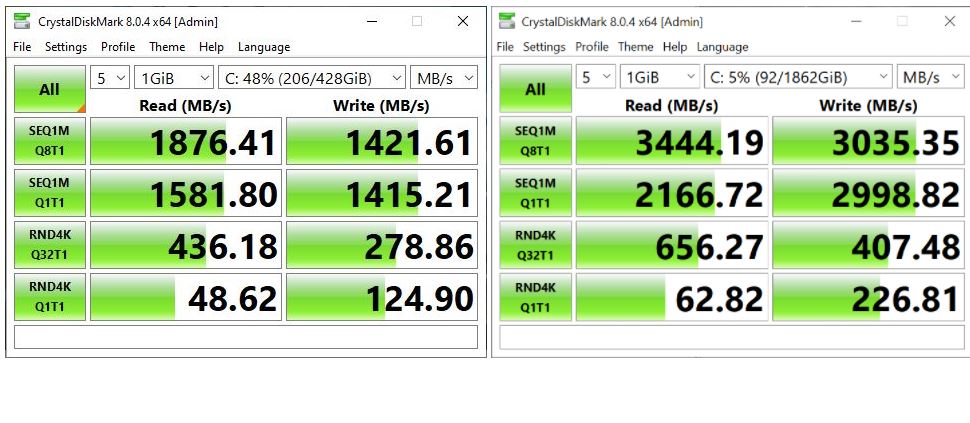
The specs claim speeds up to 1,500 MB for single drives, but up to 2,500 MB for drives in RAID configurations (I’m guessing that means striped or mirrored, rather than JBOD). Watching some of the videos that Sabrent provides on how to set things up, my guess is confirmed.
Should I Take the Plunge?
Now, I have to decide if I want to further raid the exchequer to cover an additional US$149 outlay, on top of the ~US$1,300 I’ve already spend to get my production desktop hardware refresh funded. I’ll have to chew on this for a little while, and perhaps ask “the Boss” for permission. Should I indeed buy into this device, I’ll review it in a future blog post.
In the meantime, I must consider how deeply I feel like digging into available funds right now. That’s a perennial problem for hardware junkies like myself, and one I’ve wrested with before. Stay tuned: I’ll keep you posted.