I guess it was inevitable. As part of my Microsoft MVP award benefits I get a license for Office 2024 for Home and Business. Turns out it’s a single-use (single device) license. I had installed it on a test machine last year, and returned same without uninstalling that software. When I tried to install it again on my nearly-complete replacement desktop, I couldn’t activate my valid license because it was already in use. I knew what I had to do — put a call into Microsoft. But to my great surprise and delight, MS Support eases Office 2024 transfer. I did it all via online chat, too.
How MS Support Eases Office 2024 Transfer
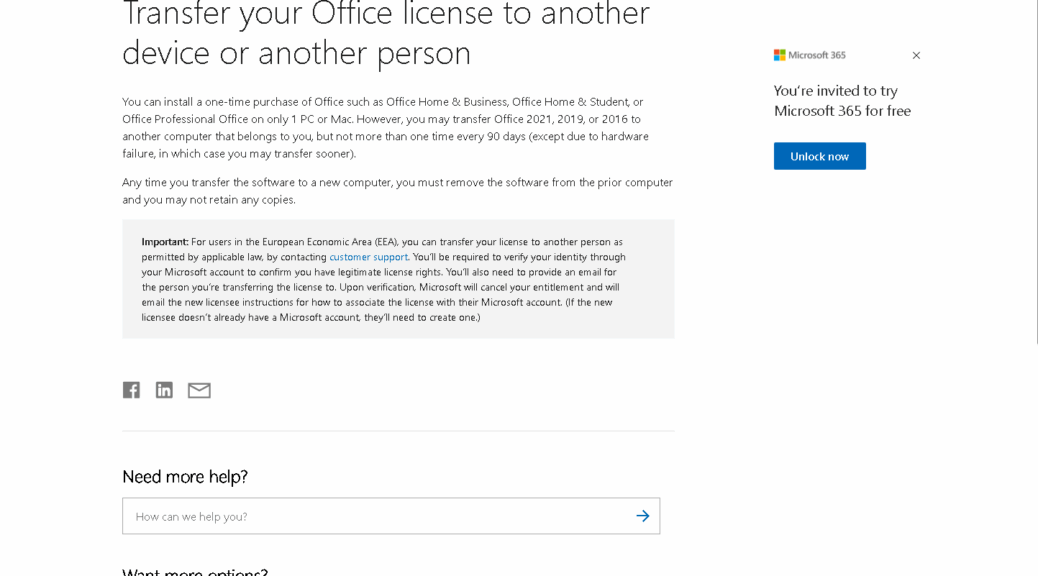
Here’s how the process went. I followed a license transfer link on the MS Support pages (depicted as the lead-in graphic). Then, I logged into that page using the same MSA tied to that license. Next. I entered “transfer license” into the Need more help? field, and selected the resulting “Transfer your Office license…” at the top of the options list. Then I clicked “Contact Us,” and started an online chat with MS support rep Kath (screen name “Kathleen”).
I’ve been on the phone with MS Support dozens of times in my 3-plus decades of working with Windows and Office. This call went as smooth as glass. Interestingly, Kath sent me an image (.img) file to use as my Office installer (that’s a first for me). But I knew enough to mount that file as I would an ISO and run the installer from there. The install went through without a hitch, and when I fired Word off for a first run, it prompted me for the license key. And this time, because Kath had unbound the license from its previous device, the key was authenticated and activated. I’m in business!
The Vexing Climb to Working Outlook
I futzed around with the Outlook app for a while, but wasn’t able to get it to work. That’s because my email provider uses a non-standard domain name for its outgoing SMTP mail server, not the standard default (smtp.mailchannels.net). The Outlook (classic) client provides the facility to override that default, but I couldn’t figure out how to make that happen in the app.
Long story short: I’ve got nearly everything I need to transition from the old i7Skylake desktop (working on it right now) to the new Flo6 desktop (running an RDP session into it right now). I’ll run both systems in parallel for a while, but switch Flo6 into service on my actual desk Monday, and move i7Skylake to a monitor on the next desk over in my office. That way, as I transition from the old machine to the new, I’ll retain easy access to the old to grab anything I realize I’m missing on the new machine from its predecessor.
This turned out to be a great way to get over the Outlook hump yesteday, in fact. When I couldn’t get the Outlook auto-configure to work, I was able to open the old client, examine its configuration in detail, and see the default-vs-actual domain name issue for outgoing mail. Very handy! I’m sure I’ll be doing that again in the next week, probably several times.
What’s Left, Transition-Wise?
I’ve still got to set up and customize PowerShell (install OhMyPosh, switch to a compatible font, add bunches of tools and utilities, etc.). I will also check over what’s running on i7Skylake and decide what I want to move from old to new PC. At a minimum that will include MS Solitaire, some kind of PDF client, Amazon Kindle, Audacity, possibly a new Corel PaintShop version, Jabra Direct (for my awesome headset), Powerchute Serial Shutdown, UniGetUI, VS Enterprise, and Zoom workplace.
That should — and probaby will — take a while. I’ve been using my current desktop since 2016 more or less daily, so it’s still going to be something of a shock to switch. Stay tuned. I’ll keep writing about this, as it remains a major preoccupation for me coming up.