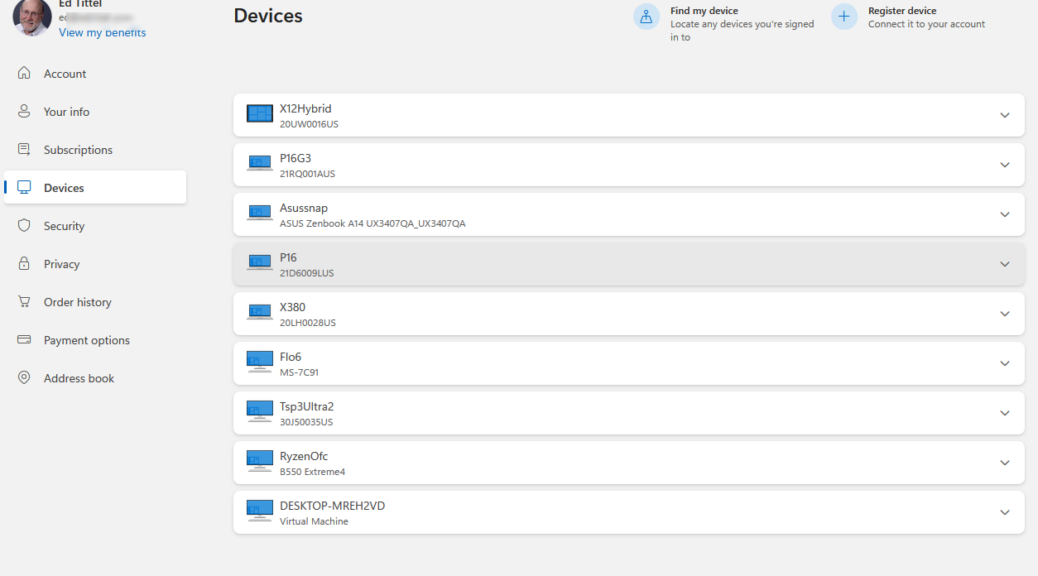
One week ago Tuesay, Fed-Ex dropped a nifty new Lenovo Yoga Slim 7X Gen 11 at my door. That’s why it’s named Yog7X2 on my network, for “Yoga Slim 7X, Snapdragon X2 model.” TLDR version of my recent experience using it as a daily driver is: “It’s a peach.” Indeed this piece of review text about Yog7X2 revisited, 10 days into my experience is no mere first look. It reflects my experience on this laptop, chewing through deadlines, long-running scripting sessions, video calls and teleconferences, and extended Copilot sessions. My report is almost entirely positive, with only a few minor nits to pick.
Re-Speccing Yog7X2 Revisited, 10 Days In
Just for the record, here’s a quick overview of what Yog7X2 brings to the party. The 7X Gen 11 runs on Qualcomm’s Snapdragon X2 Elite (X2E-88-100) — that’s second-generation Snapdragon X Elite silicon, not a rebadge of the 2024 parts. That distinction matters more than the spec sheet suggests. The first wave of Copilot+ PCs was impressive hardware wrapped around a compatibility story with certain gotchas. Two years on, most of that has quietly sorted itself out. My daily toolchain — Edge, Word, PowerShell, a handful of Win32 utilities — runs natively or transparently through emulation without me having to think about it. That’s exactly how it should be.
The review configuration I’ve been running ships with 32GB of RAM and a 1TB SSD, paired with an 8-bit 1920×1200 OLED display. Lenovo’s configurator puts that at $1,650-1,750, depending on timing and promotions. The base model starts at $1,099. For what you get here, the price-to-capability ratio is genuinely competitive — but we’ll get to that.
The Battery Story
I want to be precise about this, because I won’t throw superlatives around lightly. I’ve been using laptops as my primary work machines since the early 1990s. In that entire span — Intel machines, AMD machines, ultrabooks, workstation-class slabs, every category you can name — I have never gotten genuine all-day battery life. Not once. There was always a charger within arm’s reach by mid-afternoon, if not sooner.
My normal workload is not gentle. On any given workday I’m running Edge with more tabs open than I care to admit, writing in Word, banging out blog drafts, running PowerShell scripts, diving into Windows event logs, and doing the kind of system tuning and troubleshooting that keeps the lights on around here. Not gaming. Not video rendering. But not exactly browsing cat photos either.
On the Yoga Slim 7X Gen 11, I routinely close out a full working day — eight-plus hours of active use — with battery to spare. I’ve stopped automatically reaching for the charger when I sit down to work. That is genuinely new behavior for me, and I’m not entirely sure I trust it yet. But nearly two weeks in, it keeps happening.
The published benchmarks back this up. PCMag measured 20 hours 16 minutes in their battery rundown test. CNET’s reviewer reported nearly 24 hours under their methodology. Real-world mixed-workload numbers will always differ from a controlled rundown script at 150 nits, but even my demanding day falls comfortably within the machine’s range. The math works.
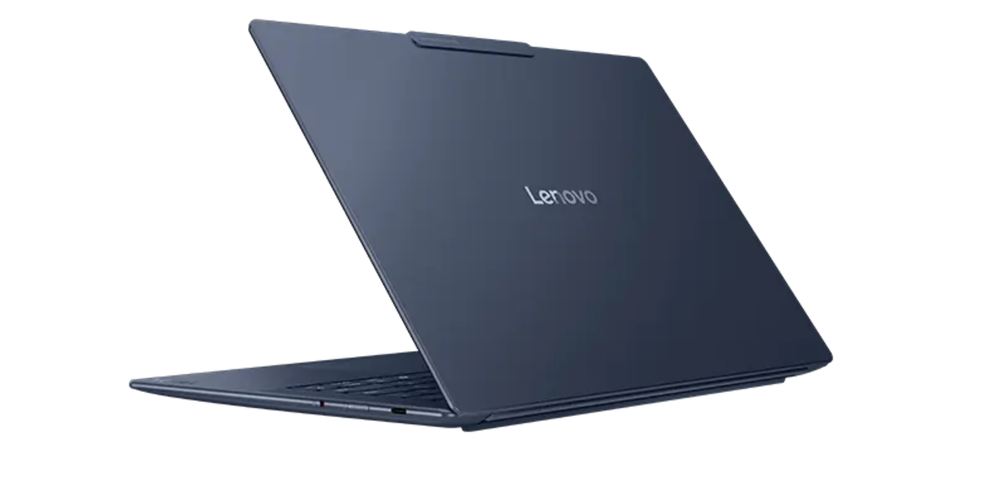
The credit goes to Qualcomm’s Oryon v3 CPU architecture. These cores are built around aggressive power-gating and efficiency in a way that x86 designs still struggle to match at this thermal envelope — and remember, this is a machine that is 0.51 inches thin and weighs 2.9 lbs. There is no magic here, just a fundamentally different approach to how the chip uses (or doesn’t use) its power budget.
I’ve been doing this long enough to know not to take marketing claims about battery life at face value. This one’s different.
Display and Keyboard: Lenovo Keeps It Up!
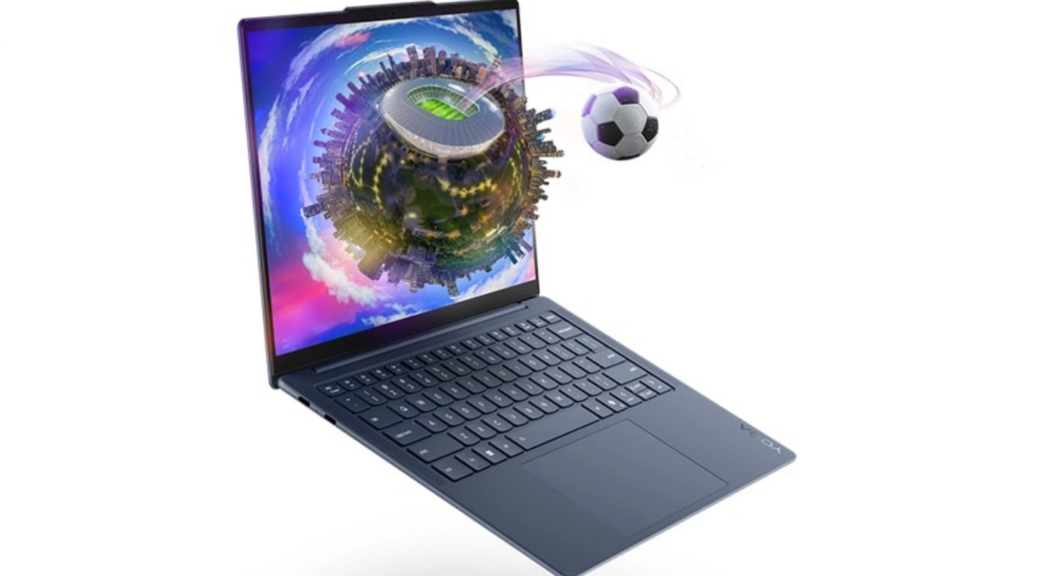
The OLED panel — 1920×1200 resolution, 120Hz refresh rate, Dolby Vision certified, DisplayHDR True Black 1000 rated — is the kind of display that makes you look at everything twice. Laptop Mag measured it at 155% of the DCI-P3 color gamut. At 162 PPI on a 14-inch screen, text is sharp enough that I’ve caught myself checking whether anti-aliasing is doing anything at all. Blacks are genuinely black, not “dark grey in a dim room” black. It’s glossy, which means reflections are a real consideration in bright environments, but for document work and long writing sessions, it’s stunning.
The keyboard is excellent, and I say that as someone who has spent years on ThinkPads. Yoga Slim models skip the TrackPoint eraser puck that ThinkPad loyalists — myself included, some days — know and love. But they bring everything else. Key travel is satisfying, the layout is sensible, the function-row behavior is configurable, and the spacebar has never missed a beat. XDA Developers and Android Headlines both called it one of the best keyboards on any Windows ultraportable. Two weeks of heavy typing confirms that verdict.
The touchpad is large, accurate, and well-tuned. Lenovo’s touchpad calibration remains class-leading on the Windows side — no complaints there. One honest caveat: the keyboard deck does have a very slight flex under hard typing pressure. Not a dealbreaker, and honestly easy to forget about after the first day. But if you press down firmly in the middle of the deck, you’ll feel it. Worth knowing before you spend $1,600 or more…
Windows Hello Does the Job
The Yoga Slim 7X Gen 11 ships with a 9MP IR webcam — native resolution of 3840×2400 — which puts it in a completely different class from the pedestrian 1080p cameras most Windows laptops still ship with in 2026. The gap between “has Windows Hello” and “has Windows Hello that actually works well” is wider than most people realize until they use the real thing.
My experience: the face recognition fires quickly after lid open. No perceptible delay, no “hold still for a moment” pause, no second attempt. It just authenticates. More to the point, it recognizes me both with and without my reading glasses, without any hesitation either way. That is not trivially true of all Windows Hello IR cameras — I’ve owned machines where swapping eyewear or changing room lighting was enough to trip the thing up and send me to the PIN fallback. Not here.
The IR sensor handles varied ambient lighting without complaint. LED overhead lighting in my home office, dimmer evening conditions — it doesn’t care. It just works. The 9MP sensor also means video calls look genuinely good, not just “acceptable for a laptop camera.” The webcam supports up to 1440p video output, and on a call it shows. Touch screen support is pretty great, too. I miss that on the Zenbook A14 so I appreciate it even more here on the Yog7X2.
Windows Hello has been part of the Windows story since 2015. It has taken this long — and a camera this capable — to make the feature feel fully baked. Better late than never, I suppose.
Performance: Good for Any Laptop, Full Stop
The Snapdragon X2 Elite (X2E-88-100) delivers performance that I would describe as genuinely competitive with any thin-and-light laptop on the market. Not “impressive for ARM” — impressive, full stop. My daily workload of PowerShell scripting, multi-tab Edge browsing, Word, event log analysis, and general system tuning runs without stutter, lag, or hesitation. App launch times are snappy. The machine never feels like it’s working hard, even when I’m throwing a lot at it simultaneously.
Windows on ARM compatibility is no longer the obstacle it once was. The overwhelming majority of my tools run natively on Snapdragon. The few that still go through emulation do so transparently — no perceptible performance penalty, no workflow interruption. That was emphatically not the story two years ago, and it’s worth saying plainly: the platform has matured.
The machine handles all of this inside a 0.51-inch, 2.9-pound chassis, and it does it silently. Under my normal load, the fans are simply not a factor. That used to be the price of admission for real performance in this class — fan noise as a constant companion. Not here. Two weeks in, I’ve yet to find a workload that makes it flinch.
Net-Net: Nice-Nice
Two weeks in, the Yoga Slim 7X Gen 11 has done something rare: it has exceeded expectations on exactly the things that matter most to how I actually work. The battery life is the headline, full stop. The display and keyboard are the supporting cast that make every hour in front of the machine a pleasure. And Windows Hello, of all things, turns out to be the pleasant surprise that keeps on giving.
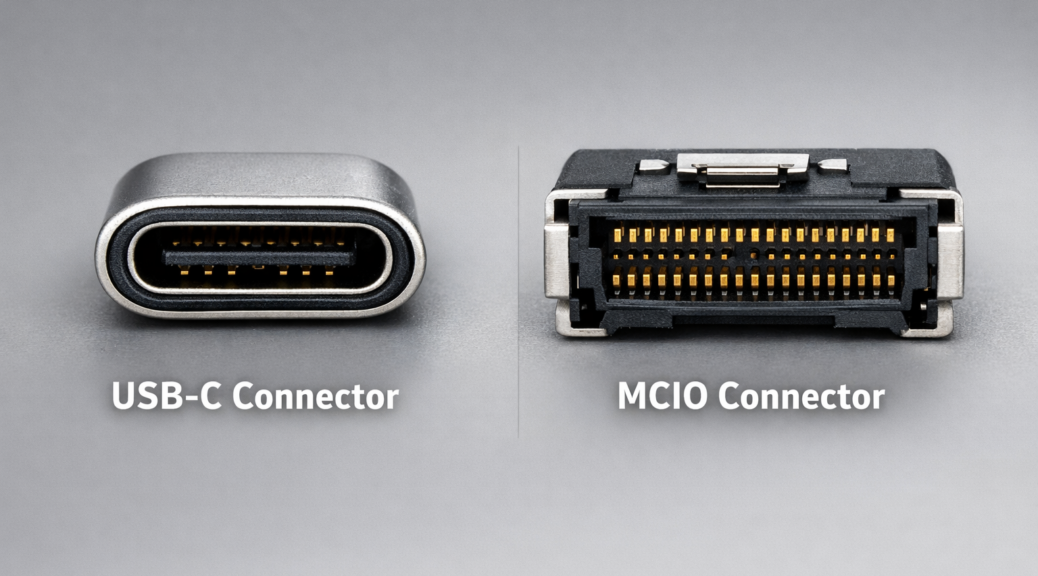
My only nits to pick are minor. My review unit shipped with Windows Home, which I immediately upgraded to Pro for remote access and Hyper-V support. Keyboard flex does occur in the middle. Surprisingly, there’s no headphone jack and the external speakers are noticeably mid-level in clarity and tone. Though it does have USB-C ports on both sides (2 left, 1 right) it has no USB-A nor HDMI. For me, none of these is a deal-killer. I’ve learned to like this laptop quite a bit, in fact.
I’ll have more to say about Windows on ARM compatibility and the Snapdragon X2 Elite’s full performance story in a follow-up post. There’s real depth there worth unpacking, and it deserves its own space. Stay tuned.