Here’s an interesting winget puzzle. Over the past couple of days, I noticed winget was reporting success in upgrading a Visual C++ Redistributable from version 14.36.32532 to 14.38.31919.0. Yet, each time I ran winget after that the same thing would reappear. Good thing I know what’s up with that: it means the new install doesn’t remove the old, now obsolete version. Thus, that extra C++ Redistributable must go.
Accomplishing Extra C++ Redistributable Must Go
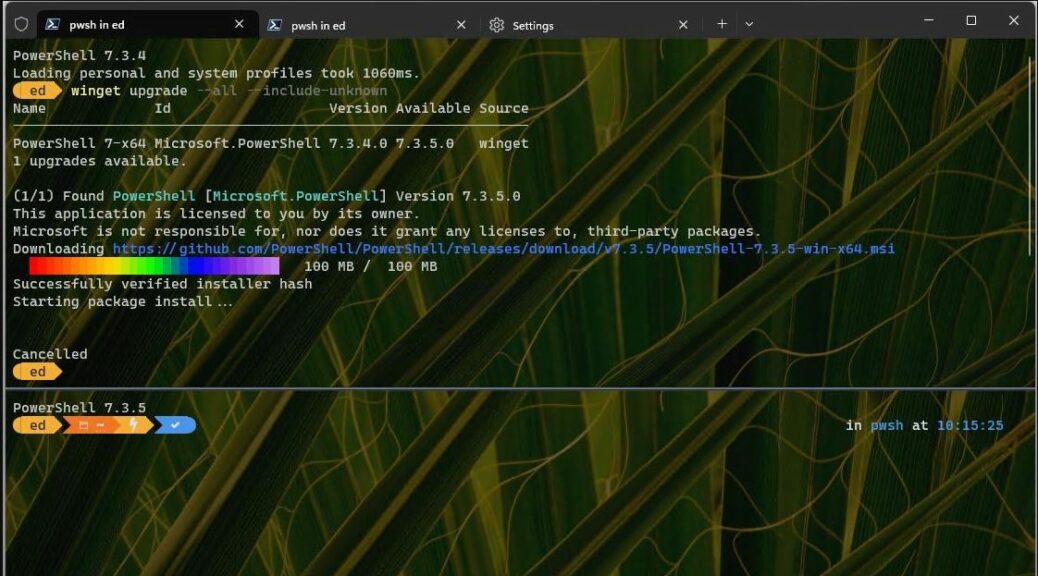
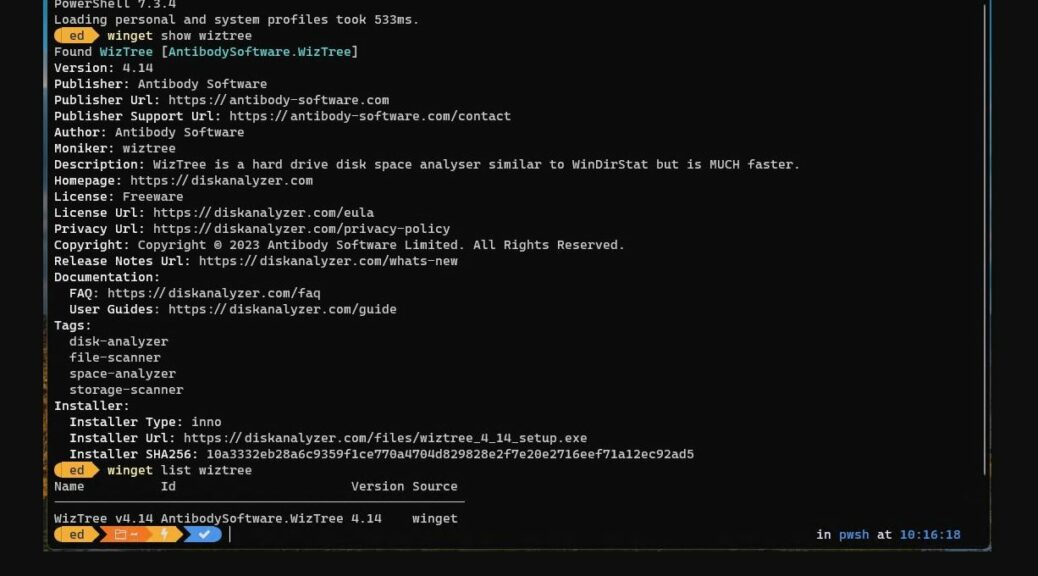
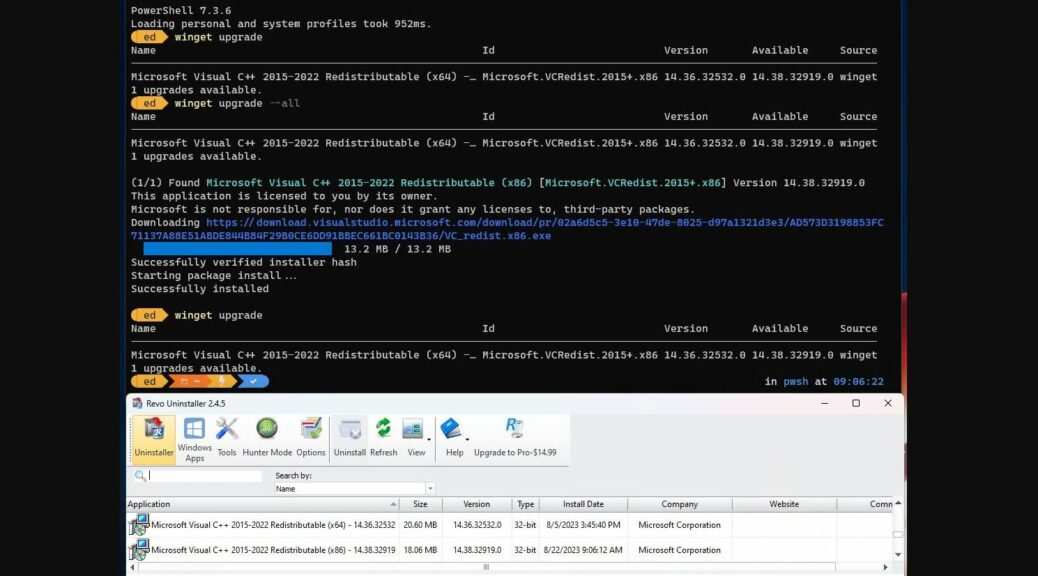
In the lead-in graphic I show the two versions side by side inside Revo (bottom of image). I used that same tool to uninstall the other one manually. If you look at the sequence of commands therein, you’ll see I check upgrades. It shows me a new Visual C++ version to install. I install it, and check again: oops! Same old version of the redistributable still needs an update.
Or does it? Actually, it needs to be uninstalled. I could’ve done it with the winget syntax:
winget uninstall Microsoft.VCRedist.2015+.x86 -v 14.36.32532.0
But instead because I had Revo already open I simply right clicked the old version, chose uninstall, and let it do its thing. Gone!
What Happened Next?
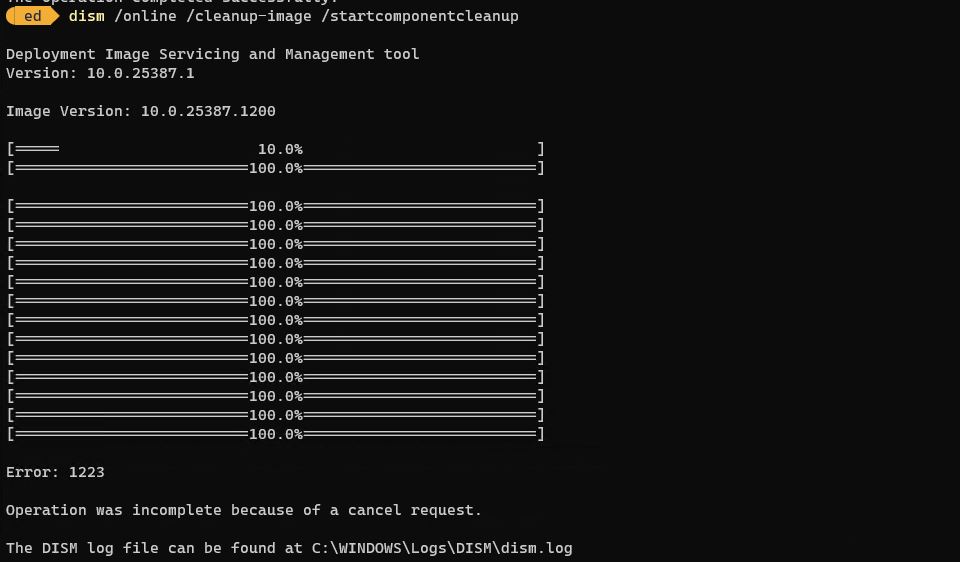
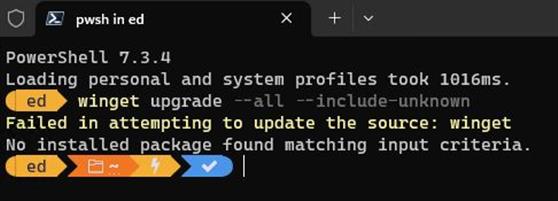
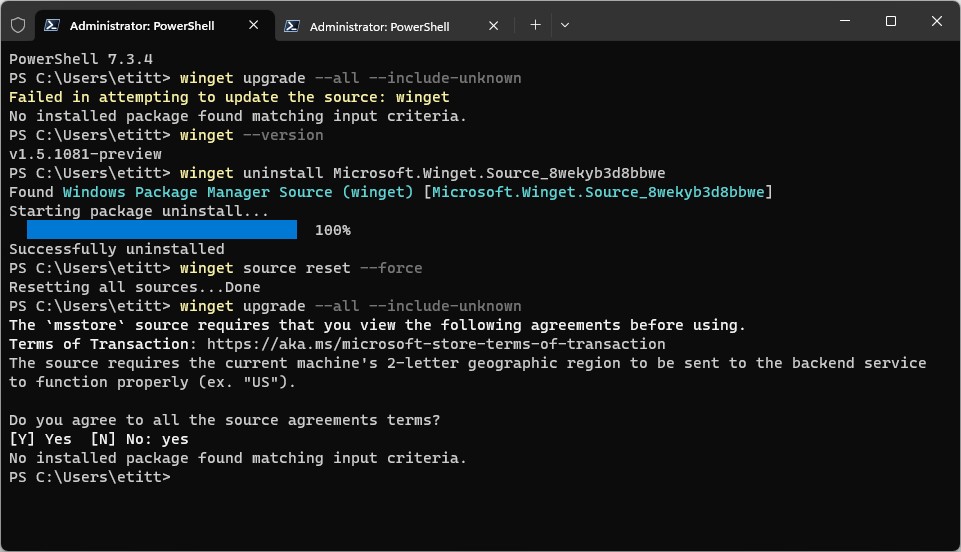
As expected, the next time I ran winget upgrade to see if any updates remained pending I got back this mysterious but welcome message. “No installed package found matching input criteria.” In winget-speak, that means it didn’t find anything that needed an update. In other words: removing the obsolete Visual C++ Redistributable took care of my previously persistent version 14.36.32532.0.
Good-oh! Glad I’ve seen this kind of thing before. It told me that I probably had to kill the old version manually, to keep it from provoking a reminder to upgrade to the new. Even though it was present already…