Here is a puzzle that took me longer than I care to admit to fully unpack. I built a recovery USB — clean DISM export, proper bootloader, everything by the book — set it first in the UEFI boot order, and rebooted an ASUS A14 Zenbook expecting to land in a familiar Windows Recovery Environment. Instead, I got the ASUS recovery stub. Every single time. I moved the USB higher in the boot order. I tried the firmware boot menu. I watched the machine apparently select the USB and then, silently and without apology, drop me into ASUS’s own mini-recovery UI anyway. The drive was not defective. The boot order was correct. The machine just did not care. This is my reason for saying: ASUS Snapdragon shows odd boot anomaly.
Getting Past ASUS Snapdragon Shows Odd Boot Anomaly
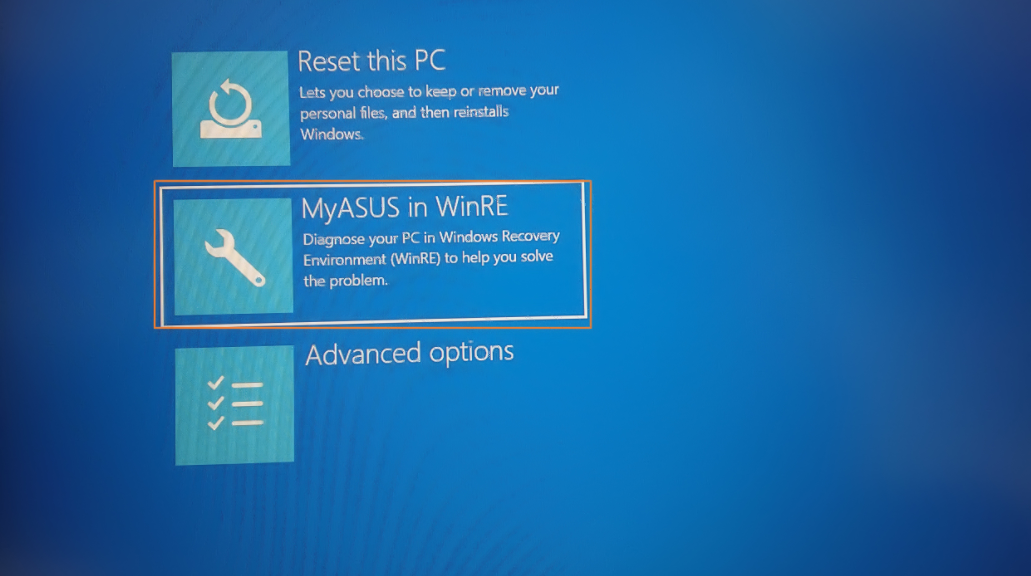
What I kept landing in was not Microsoft’s WinRE. It was ASUS’s recovery stub from firmware. It’s a minimal launcher, typically just a few hundred megabytes, that presents three or four tiles: Reset this PC, ASUS Recovery, and Advanced options. It looks vaguely like WinRE. It shares some ancestry with winre.wim. But it is ASUS’s gatekeeper, not Microsoft’s recovery environment, and it exists specifically to intercept the boot process before you can get anywhere else.
Here is the mechanism. ASUS, like most Tier-1 OEMs, configures its UEFI firmware with a hardcoded recovery boot path that fires during the BDS (Boot Device Selection) phase. It hits before the standard UEFI boot manager even looks at the user’s boot order. The firmware scans the internal NVMe for a partition stamped with a specific GPT partition type GUID — not the ordinary Microsoft Basic Data GUID, but a dedicated Recovery GUID or a custom OEM namespace. When it finds that partition, it hands control to the stub immediately. Your carefully ordered boot menu is consulted afterward, if at all. The USB was never really in the running.
Secure Boot adds a second layer of obstruction. Let’s say your hand-built USB carries an unsigned or self-signed bootloader (common with DISM-assembled media not signed against Microsoft’s KEK). Then, the firmware rejects it silently and falls through to the next trusted entry in its internal list. That entry is the ASUS stub. So even when the BDS phase does get as far as examining external media, an unsigned USB is invisible. The machine looks like it’s ignoring you. It is, technically, but for a specific cryptographic reason (yes, really).
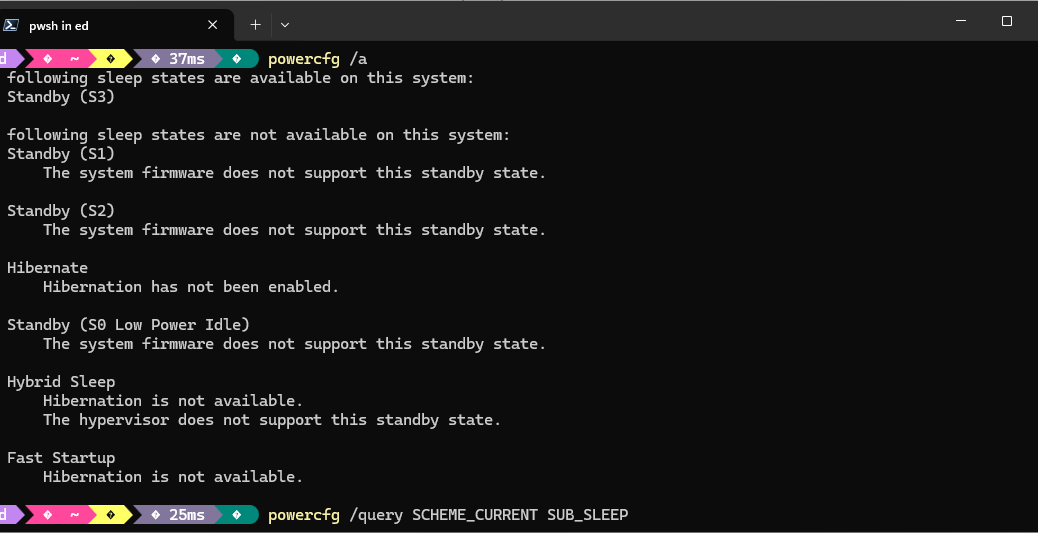
The WIM Recompression Tax
Once you understand why your DIY USB is being locked out, it helps to understand what the OEM actually ships in its place. It also explains why making a genuine ASUS recovery drive takes the better part of an hour. It starts with WIM compression. Microsoft’s stock winre.wim uses LZX compression and typically lands somewhere between 500 MB and 1 GB on disk. Manageable. Sensible. But ASUS’s customised image, once you add the recovery launcher, platform drivers, UI payloads, and potentially a full factory image, can balloon to several gigabytes of uncompressed data before anyone has touched the compression knob.
When you kick off the “Create ASUS Recovery Drive” process in MyASUS, what actually happens under the hood is a DISM /Export-Image /Compress:max operation (or its functional equivalent) applied to an enormous source WIM. Maximum LZX compression, and on newer builds you may even see solid-block LZMS compression, which squeezes harder but runs even slower.
Here’s the critical detail: WIM compression in DISM is largely single-threaded. It reads every file, applies the compression algorithm, writes the output, and verifies integrity as it goes, all on one logical core (yes, really). On an otherwise fast NVMe-equipped laptop, that process still takes 40 to 55 minutes, not because the machine is slow, but because the algorithm is doing an enormous amount of intense, serialised work. The hardware isn’t at fault; the workload is.
Getting to USB-Based (Alternate) Boot
Here’s where the rubber meets the road. Getting external media to boot on an ASUS machine requires working around the firmware, not just the boot order. There are two reliable paths. First: disable Secure Boot in UEFI setup (DEL at POST, not F8 — more on that distinction in a moment). With Secure Boot off, unsigned bootloaders no longer get silently rejected. Second: on older platforms with CSM support, enabling CSM forces a legacy BIOS boot path that bypasses the UEFI BDS handoff to the stub.
The Bottom Line: Build Custom Recovery Media
Whether you use the MS supplied “Create a recovery drive” facility, or turn to the MyASUS toolbox to do likewise, the best way to protect an ASUS Zenbook A14 is to build recovery media from that PC. As I learned through a series of failed recovery attempts with other, supposedly generic, all-purpose recovery media, that stuff doesn’t fly inside the Zenbook’s firmware envelope.
Learn from my mistake, and follow this advice as soon as you can. Otherwise, you too, will fumble around until you find the MyASUS in WinRE tool that does cloud-based image reconstruction instead. If all you want is WinRE running a command prompt, that’s not a good alternative. Do it now: don’t delay!
The Secure Boot Perspective (2 Days Later)
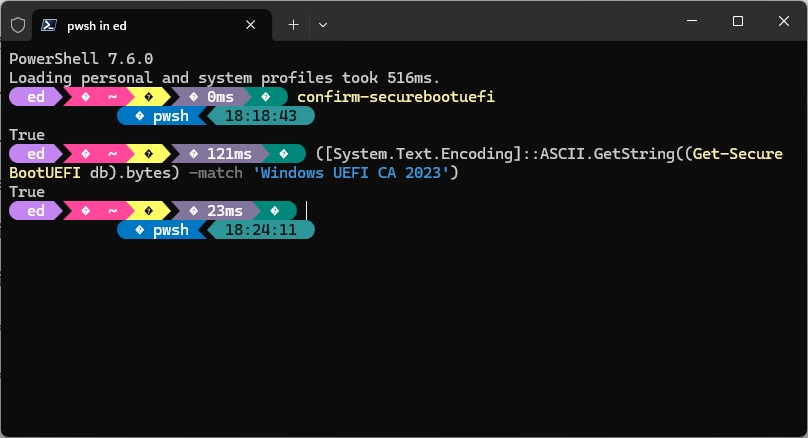
I just ran the Garlin scripts on the recently rebuilt ASUS Zenbook A14. Looks like one benefit of a constantly updated cloud-based restore is the ability to slipstream new stuff in (or replace older, outdated images with newer, current ones). The concluding status report from that check script is pretty telling: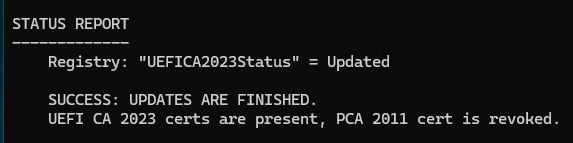 Shoot! They’ve even revoked the CA-2011 certificate. Good stuff!!!