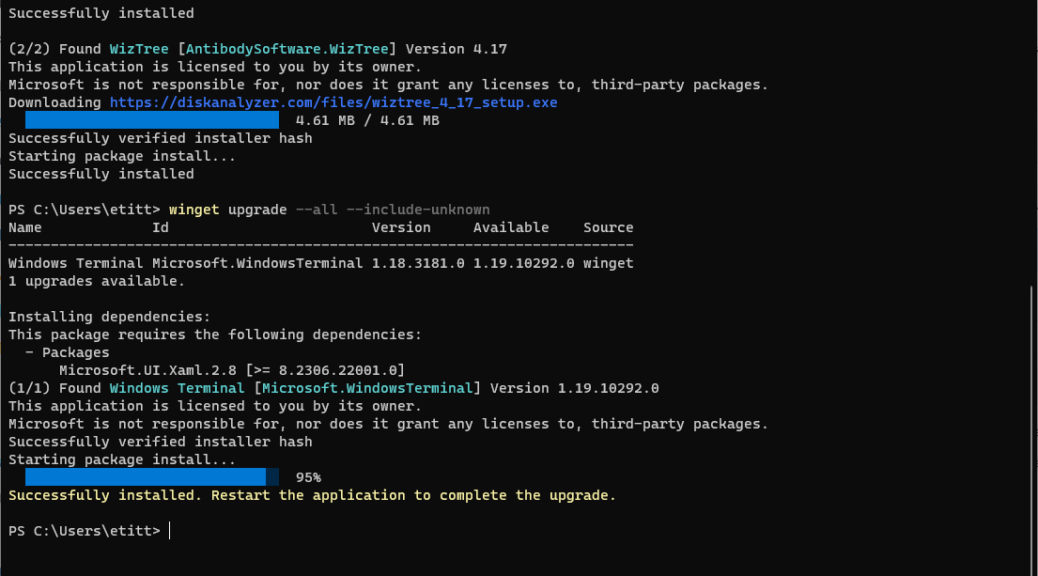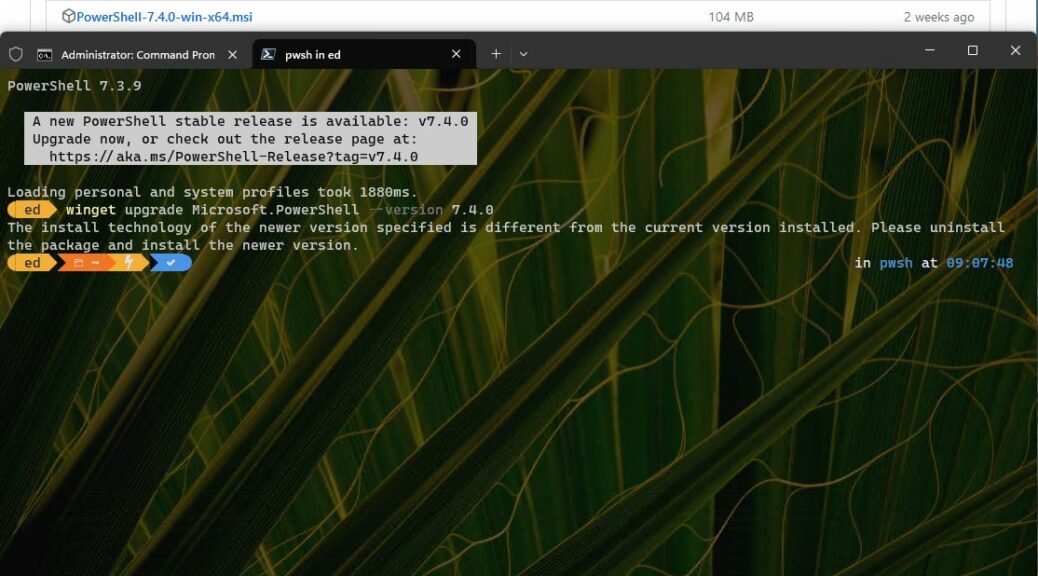
Here’s an interesting one. I’ve noticed recently that when PowerShell gets an update, the next time it launches PowerToys “Command Not Found” (CNF) drops an error message. Hence this post’s title: PS Update Orphans PowerToys CNF.
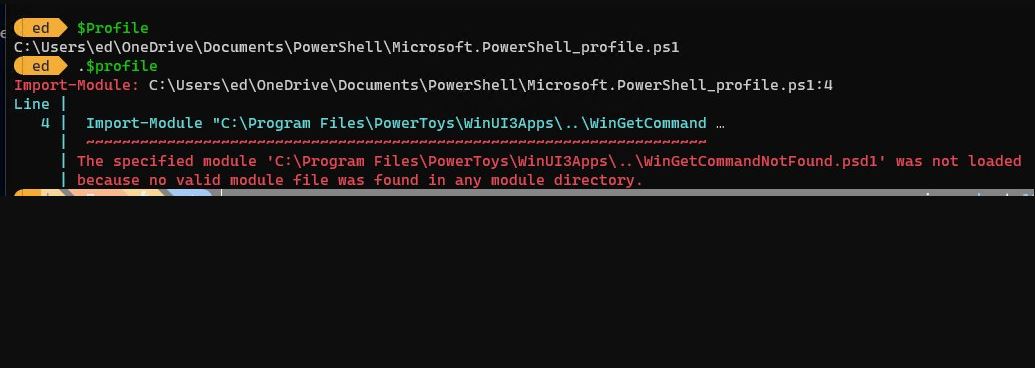
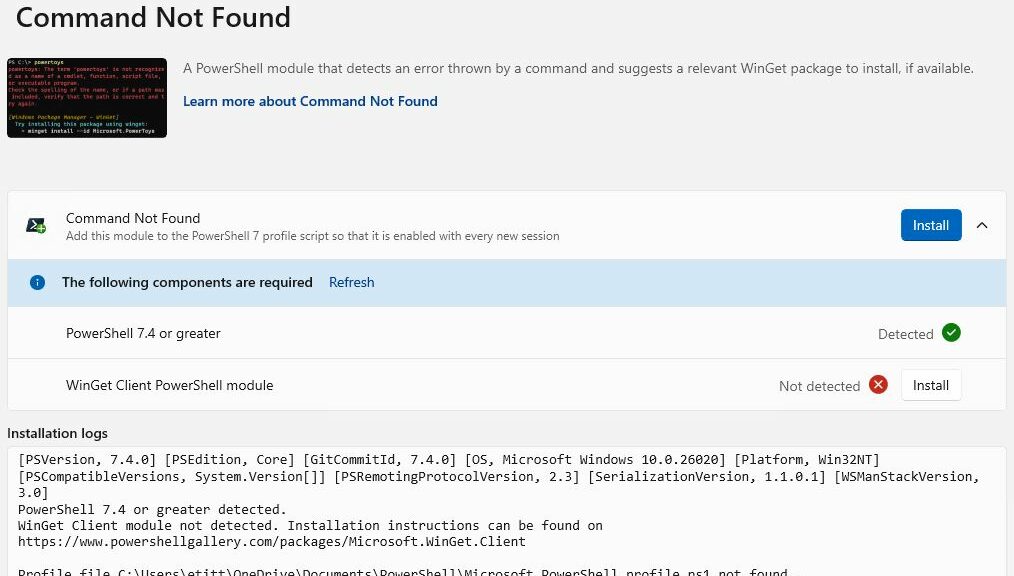
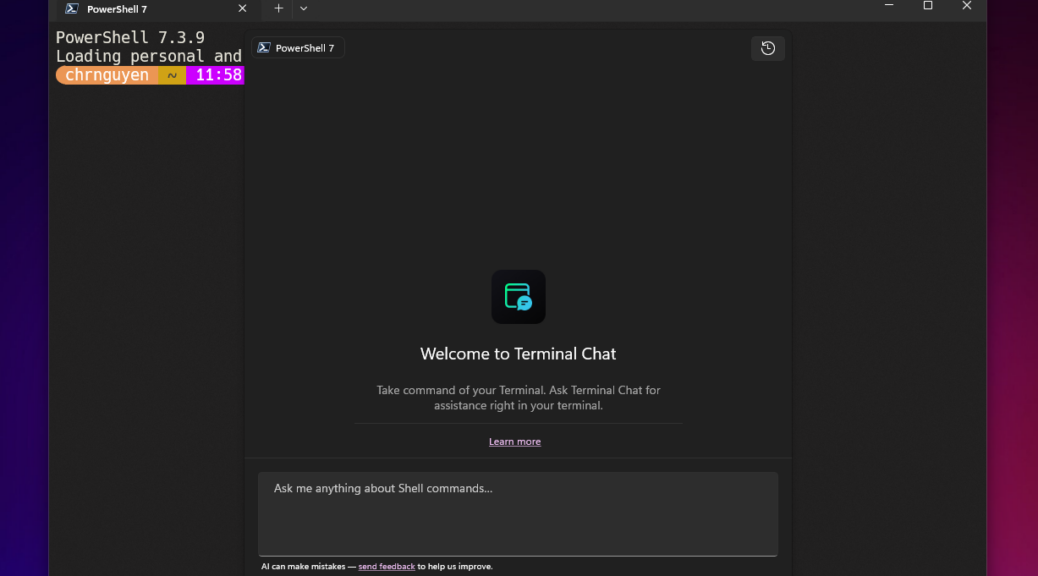
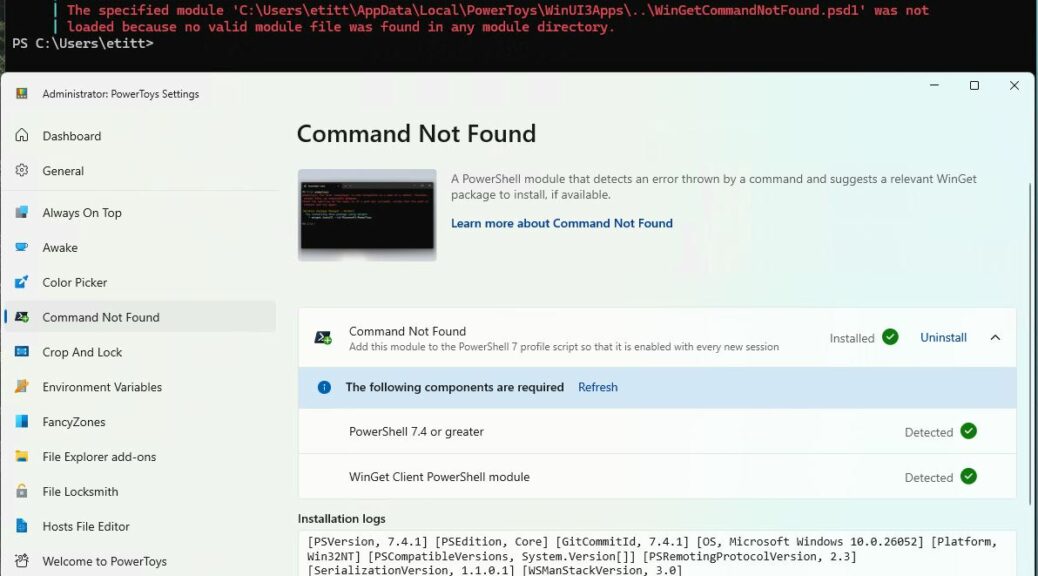
You can see how this story starts in the lead-in graphic. It shows the error message that CNF.psd1 did not load “because no valid file was found in any module directory.” Seems like an impasse, don’t it?
NOTE Added February 15: It’s the profile not the PowerShell!!! The following observations are correct — the profile and the reference to CNF are indeed mismatched — but it’s NOT PowerShell’s fault. It’s because I’m backing up my profile stuff in OneDrive and the location in the profile is incorrect. Uinstall/reinstall fixes that issue until the next time OneDrive replaces the (correct) local profile copy with the (incorrect) cloud-based one. Sigh. I’ll write about this on Monday, Feb 19, after I’ve had time to figure all the angles!
PS Update Orphans PowerToys CNF Easily Fixed
I superimposed the CNF panel from PowerToys Settings for a reason, though. Even though its status messages and detections all show green, it turns out the real problem is that PowerShell itself can’t find the CNF module.
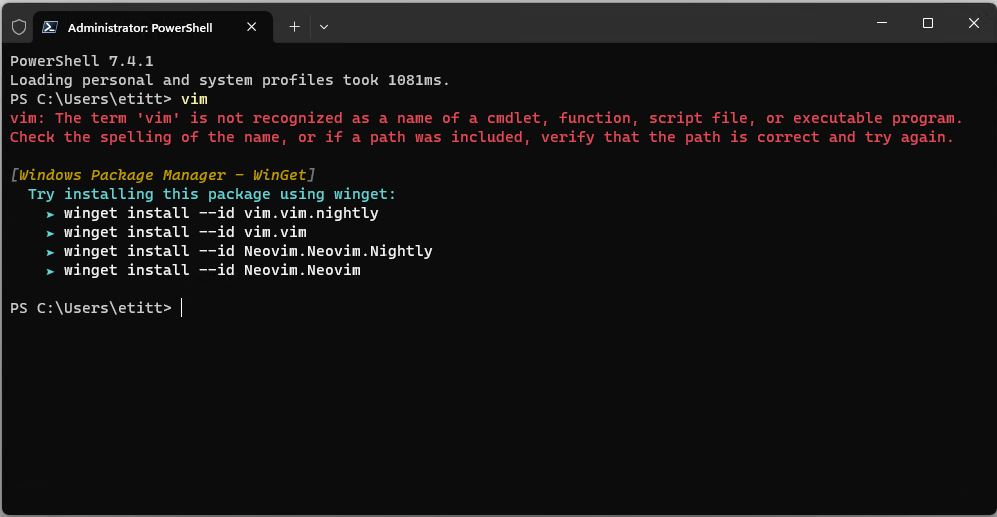
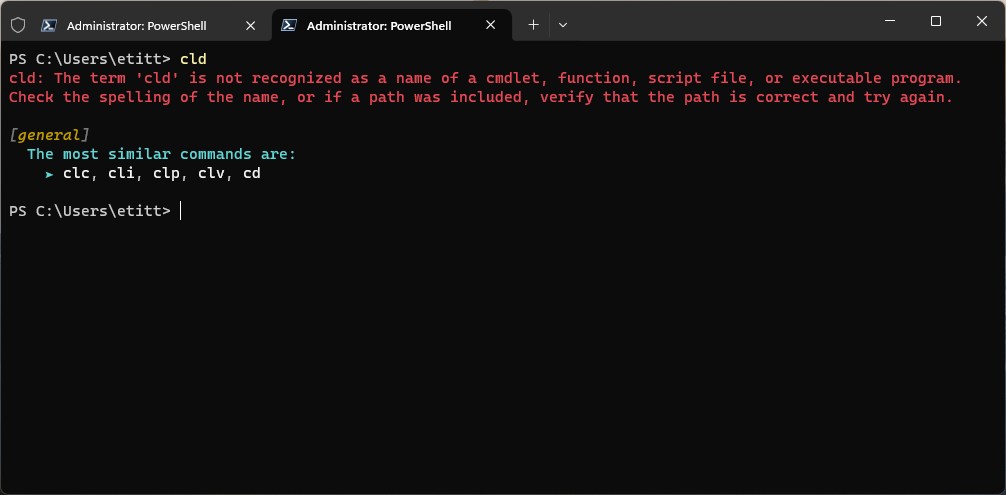
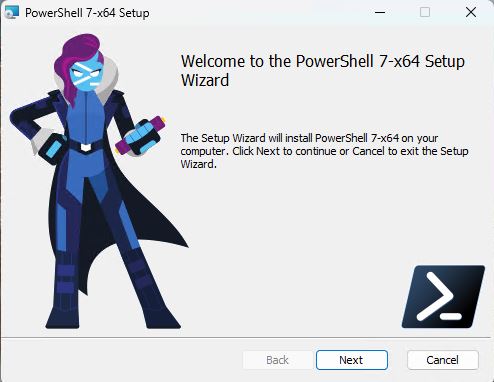
Here’s the easy fix. Uninstall CNF (click the Uninstall button at center right). Then it changes to an Install button. Now, click that and CNF gets reinstalled. Now, the next time you open PowerShell everything is copacetic, with CNF back at work, as shown in response to my now-standard “vim” test string:
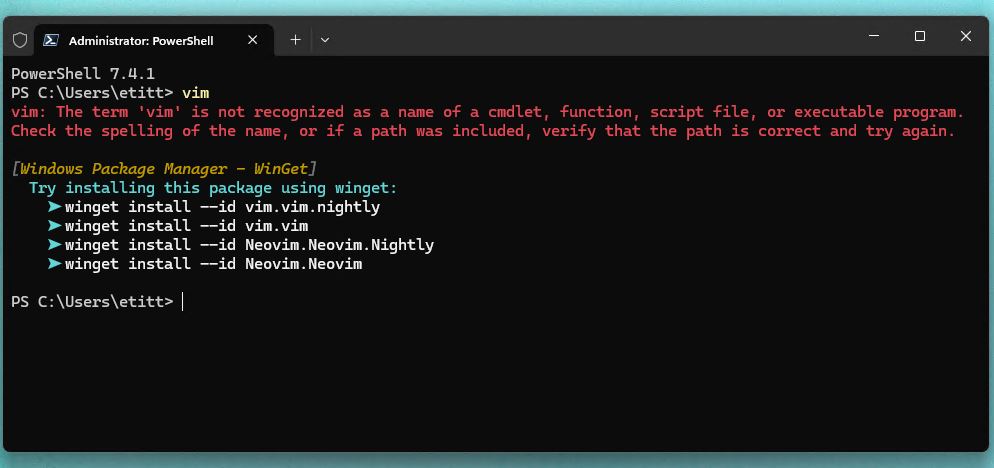
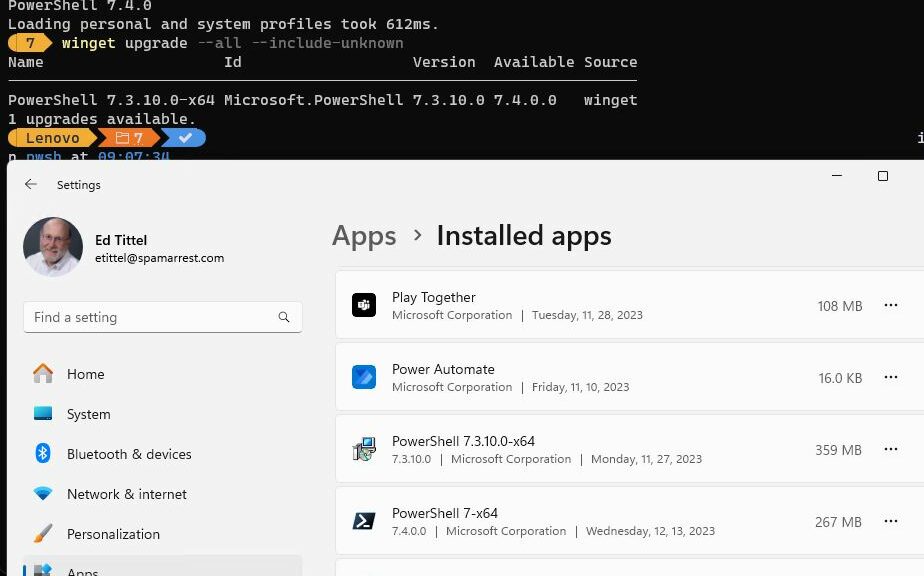
After uninstall/reinstall CNF in PowerToys, close and then re-open PowerShell. [Click image for full-size view.]
Sometimes, when certain little things get you, other little things can set them back to rights. In this particular case, that’s how I’d generally describe the path to an error-free PowerShell startup after update, with a working PowerToys CNF as well. Cheers!