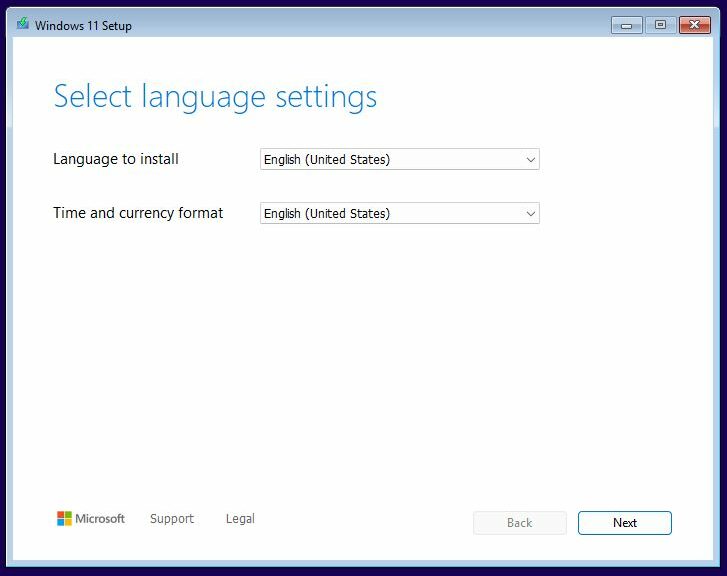
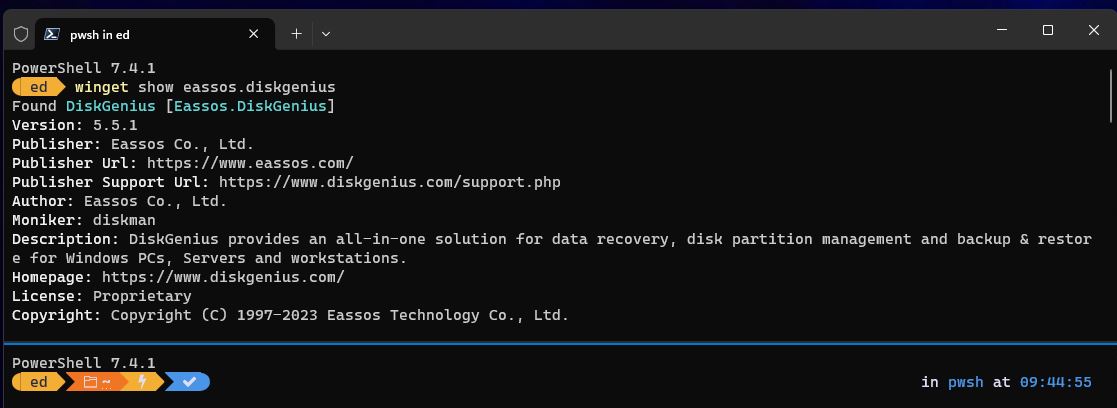
Well then: here we go! After a couple of hours of trying different things, I’m finally en route to installing a Windows 11 Insider Preview build that features a totally revamped OS install process. You can see the first step as the lead-in graphic. I’m now finally exploring Build 26040 Windows Installer having overcome initial Hyper-V stumbling blocks, as I will explain next.
Stumbling Before Exploring Build 26040 Windows Installer
Unlike earlier Windows 11 VM installs, this one didn’t complete successfully when I pointed it at the ISO for Build 26040. Instead, it kept citing to issues with virtualization-based security on the host PC. Because this stalwart Lenovo ThinkPad P16 Gen 1 Mobile Workstation had all the virtualization bells and whistles engaged, I was initially stumped. Then I turned on Device Guard in the UEFI and Presto! now everything is working. I’m not quite sure what the deal is, but having read about others who fixed the same problem in this way, I’m glad to simply move ahead instead.
What’s the Deal with the New Installer?
Good question. It’s a break with tradition that goes back to Vista that changes the look and feel substantially. After the initial language/time & currency questions (supplied with answers by default, and correctly), comes Keyboard or input method (US). I’ll skip that and shoot the next screen instead:
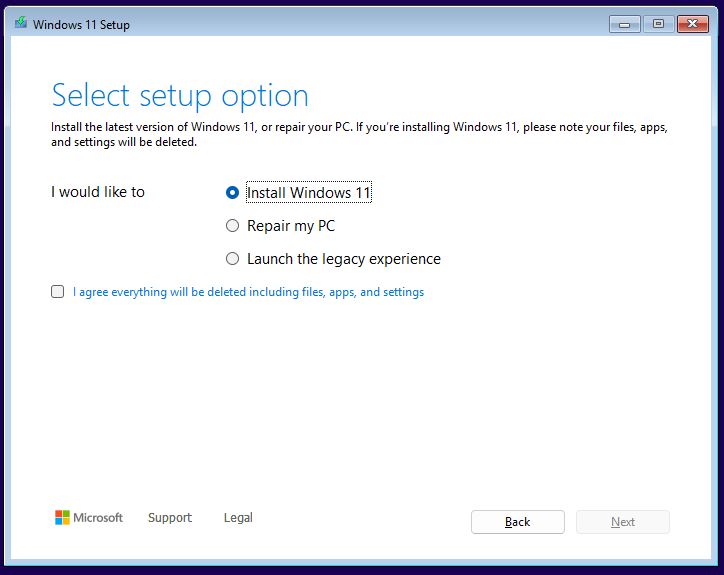
Next up (Scr03) you see options to (clean) install Windows 11, repair the current image, or launch the legacy experience.
Bootable Windows images can, by and large, repair a target PC’s installed image or wipe it out and install a different one. This reworked screen underscores those capabilities. Note: you can’t proceed to the next screen with Install Windows 11 selected (a clean install, that is) without also checking the “I agree…” stipulation that everything present will be deleted. Good call.
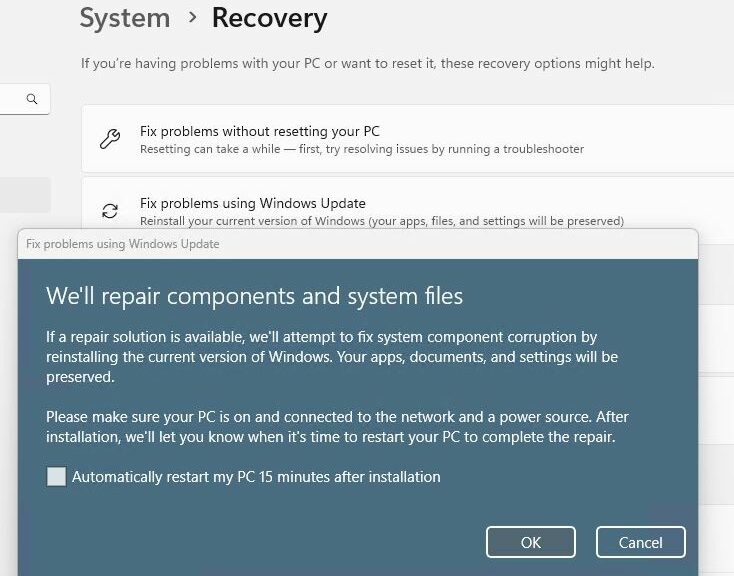
BTW, if you click “Launch the legacy experience” it reverts to the old familiar installer that has appeared in Windows versions since Vista. I’ll forgo further mention of this going forward except to observe that ESC let me start over from the very beginning with little muss or fuss. Ditto for “Repair my PC,” which proceeds with normal WinRE (Windows Recovery Environment) behavior.
Onward, Into the Bowels of Windows 11
Next up comes a request for a product key. Then comes a license screen (mercifully, it’s a simple one-paragraph agreement rather than the “whole shebang” as MS has presented in the past). Click an Accept button to proceed (Click “Legal” at center left and you get a URL where those inclined can indeed access the license in its awesome entirety).
The the install gets going: in this case, it finds the VHDX I defined for the VM and asks to consume the whole thing. Granted, by clicking “Next:”
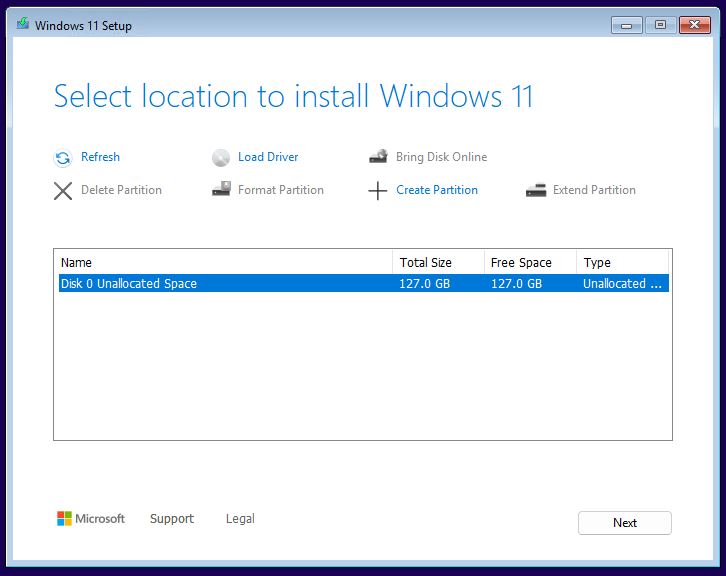
Screen 6 shows the virtual disk I set up for this VM. By default it grabs the whole thing.
Finally, we’re “Ready to install” as the next screencap proclaims. Because it’s as simple as Windows installs get (VMs are carefully constructed to push no boundaries by deliberate design). That makes it as safe to click the “Install” button at lower right as it ever gets. Here goes!
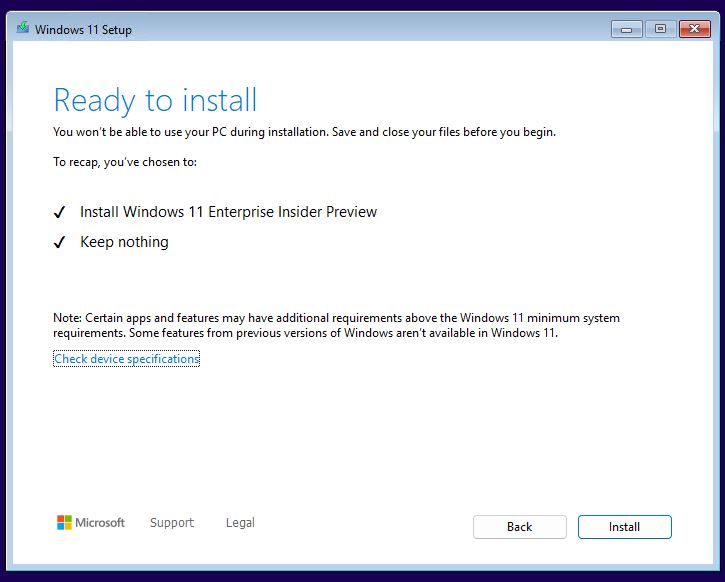
With a click on “Install,” the Installer actually gets to installing.
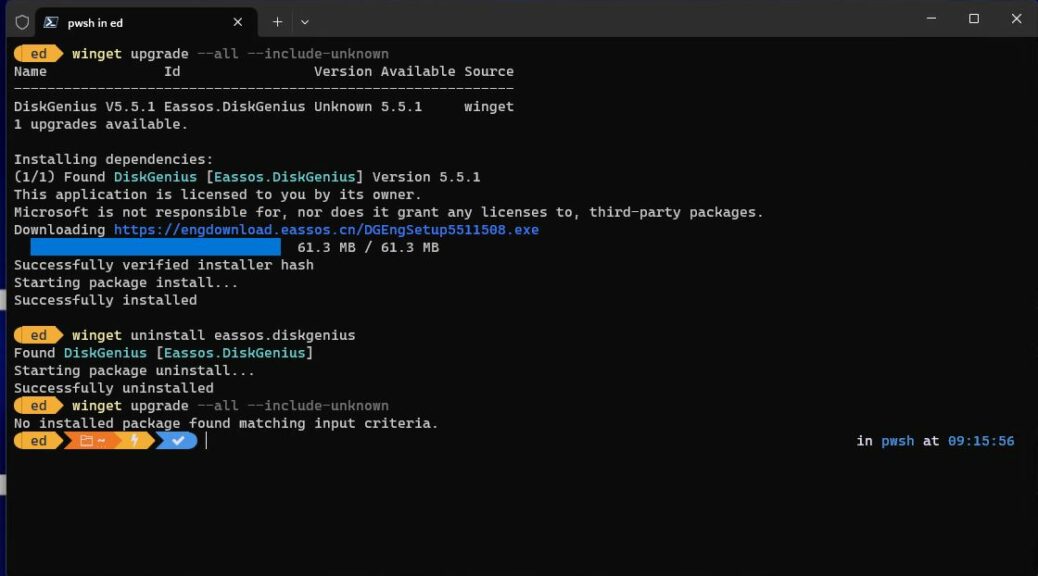
Then, an activity window shows up that reports progress (show just the upper snippet):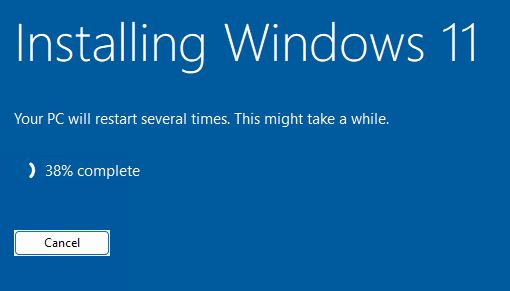
This counts through the installer’s progress and takes you through a couple of reboots before your get to the OOBE stage.
This takes several minutes to complete and then deposits you into the OOBE (Out of Box Experience) screens. I won’t provide these, but will enumerate them as they are pretty familiar to Windows-heads:
1. Is this the right country or region (US shows by default; click “Yes”).
2. Is the the right keyboard layout or input method (US shows by default, click “Yes”).
3. Want to add a second keyboard or layout (Skip by default, click same).
4. Checking for updates (as a fresh new release, it finds nothing and jumps to …)
5. Let’s set things up for your work or school (enter Microsoft Account, MSA) Note this has to be an AD-connected MSA. If you, like me, lack same use the Domain Join approach instead.
(See this AskWoody article for deets on doing this if you’ve not taken this route before.)
6. Choose privacy settings (Click “Yes” to accept defaults).
7. Checking for updates (Again, none because it’s a fresh preview).
8. Settings things up screen appears as the desktop and so forth are prepped for use (takes a couple of minutes, too).
Next, you’ll be prompted for your password. Then comes the desktop. Good stuff! Overall, those parts of the new installer that are new (screens through 7) are simple, straightforward and easy to understand and use. This is a positive development for Windows 11. Interesting, too, because it comes two years into its lifecycle.
If you want to see the whole setup sequence there are plenty of other places online where you’ll find them. Here are my two current faves:
Paul Thurrot: A Quick Look at Windows Setup in Windows vNext
Albacore (@thebookisclosed): Pics of other screens for those curious [you can scroll through in sequence up to product key].