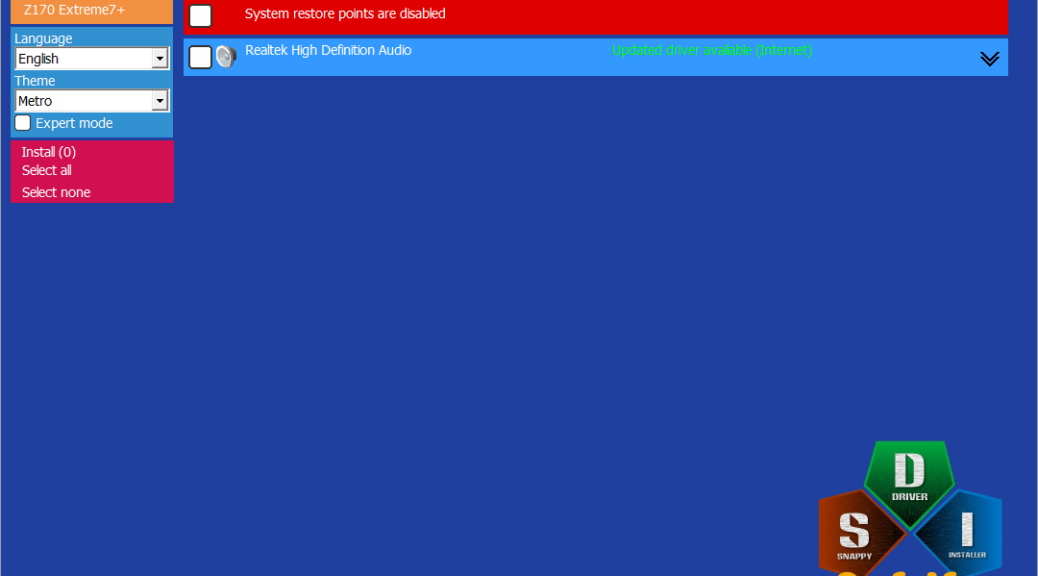
My attitude toward Windows Update driver tools has changed a lot over the years. I’ve tried a lot of them. Indeed Tim Fisher’s “Best free” Lifewire guide mentions no fewer than 8 (May, 2024). I’ve come to rely on an Open Source tool named Snappy Driver Installer Origin for driver checks and updates. But this morning, I noticed that Snappy misses Realtek UAD drivers — its “Universal Audio Driver” versions that work with newer devices– and wants to use HDA (High Definition Audio) drivers instead.
If Snappy Misses Realtek UAD Drivers, Then What?
I’ve long turned to the French website Station Drivers as my “driver source of last resort” when other sources come up dry. I don’t know where or how these guys get their downloads, but they usually have the very latest (and always virus-free) versions of device drivers available. Thus, for example, my updated UAD driver was version 9464.1 dated May 6, 2024.
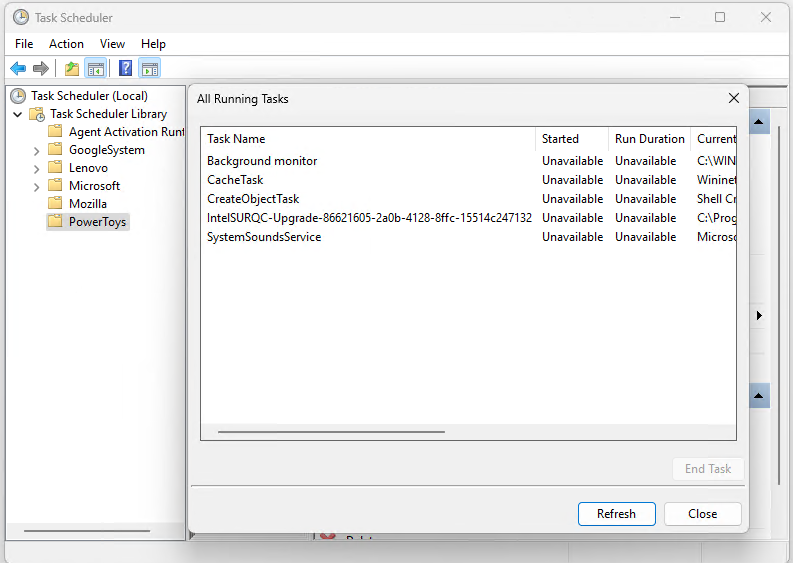
As you can see in the lead-in screencap, Snappy correctly identifies that my aging SkyLake i7 Asrock Z170 Extreme4+ mobo has a Realtek audio device that needs a driver updates. But it insists that such a driver be the High Definition Audio (HDA) variety. That actually works, but not with the Realtek Audio Console (which pairs with UAD drivers by design).
So what I do when I see Snappy recommend a driver I don’t want is simple. I elect not to install it. Instead, I use it as a warning to update the UAD driver, then head on over to Station Drivers to see if what they’ve got for download is newer than what I’ve got installed. In this case, it turned out to be version 9464.1 (available) vs. 9618.1 (installed). Fixed that in a hurry, I did!
Supplement Tools with Experience
This is a general approach that works well with Windows maintenance of all kinds. Once you learn the foibles and limitation of your chosen tools, you can also learn when and how to over-rule them. That’s what I did with the Realtek UAD drivers this morning. As these opportunities present, I urge you to follow suit, because that sometimes the way things go here in Windows-World.