Here’s an interesting thing. For conventional Windows applications, a quick trip to Help > About is all it usually takes to see their version info. Alas, by and large, Windows apps lack such facilities. In reading about a recent update to the Phone Link app at WinAero this morning, I went looking at my various installations to see what I could see. Turns out that eliciting Windows Store app version info is doable, but may take a little finesse. I found two can’t-fail methods, which I will share here.
Why I’m Eliciting Windows Store App Version Info
The afore-linked WinAero study avers, and my own checks confirm, that only Insider versions of Windows 11 currently get the required version of Phone Link. Indeed, Phone Link’s version number must be 1.24112.73.0 or higher on the PC for the new pop-up share file menu to pop up. This raised the question: how to check Phone App version number in particular, and Store app numbers in general.
I found two relatively easy ways, neither of them glaringly obvious:
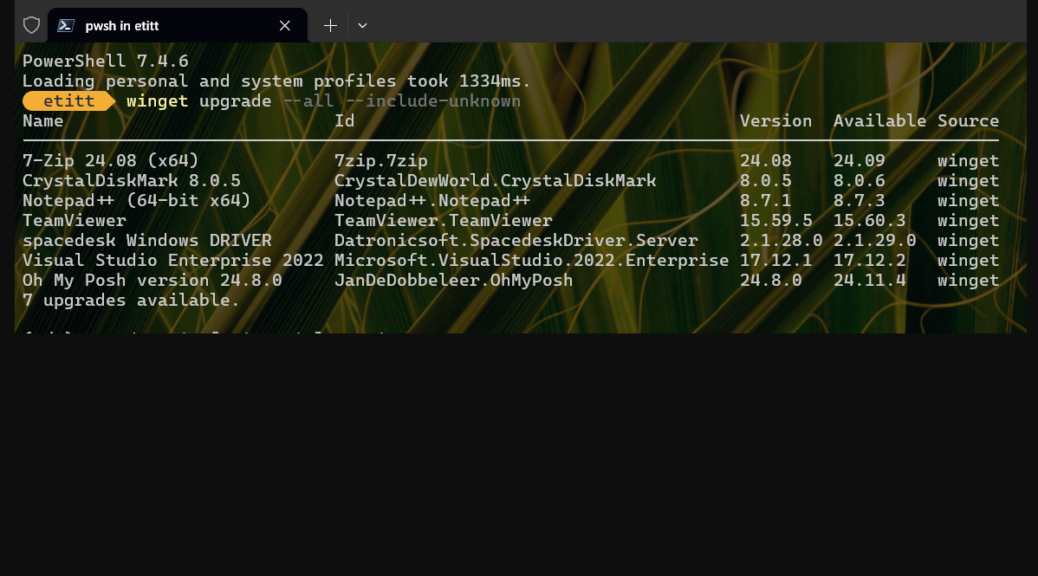
[Method 1] Use the WinGet list command, e.g. WinGet list “Phone Link” in this case (because the name includes an interior space, it must be enclosed in single or double quote marks).

The version on this Canary PC is 1.24112.89.0.
[Method 2] Visit the Microsoft Store, and look it up on its product page there. Some scrolling (look for the “Additional information” subheading) is required. Using the Phone Link entry as an example, here’s what you see:
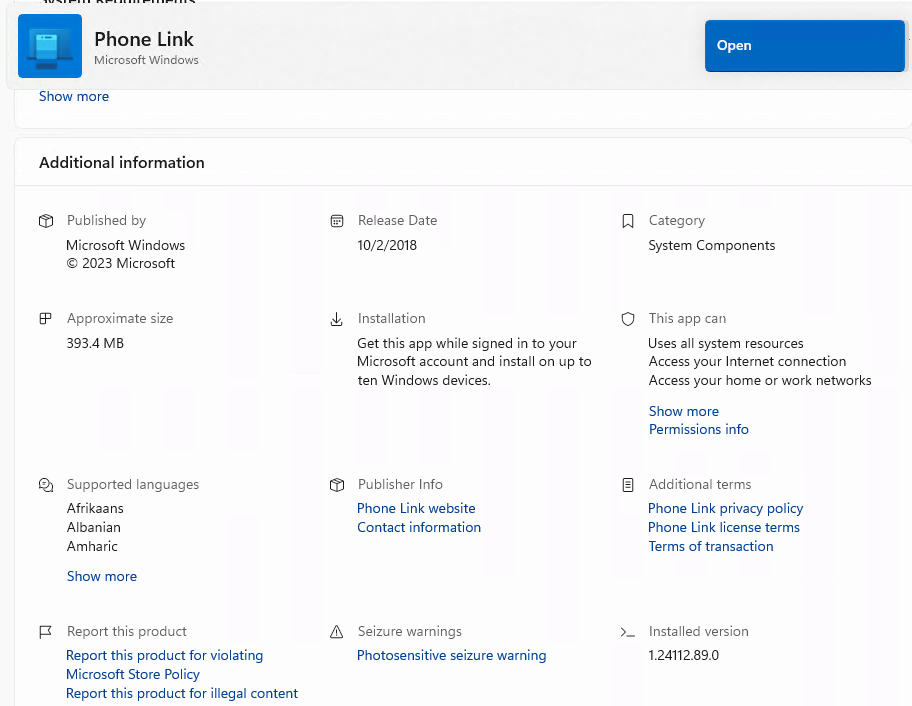
Version number is at lower right.
Store Lookup Gets Weird
I wasn’t able to look Phone Link up using Windows Store search. I had to go to the Downloads icon in the left-hand column and look for the most recent update to Phone Link there. That took me to the product page where I grabbed for foregoing information, including version number. And when I asked Copilot to give a link it gave me something different instead “Sync your PC and phone easily with Phone link.” It includes a link to open the Phone Link app (Open-URL:ms-phone) which seems to indicate that while the Phone Link app gets updates from the Store, it comes pre-installed through some other means. Go figure!
What an interesting ride this one turned out to be…
Concluding Hilarious and Unscientific Postscript
Just for grins I asked Copilot “What version of Phone Link is running?” It gave the right answer too. So there’s a third possible method. But when asked what version of Copilot was running Copilot sez: “While I don’t have specific version details, I am always here to provide accurate information and support.” I have to laugh!