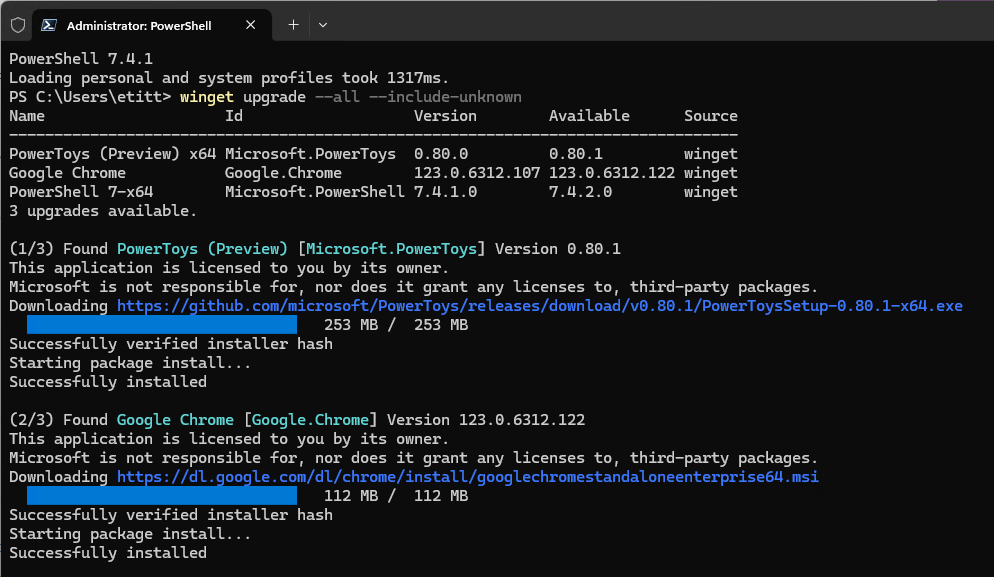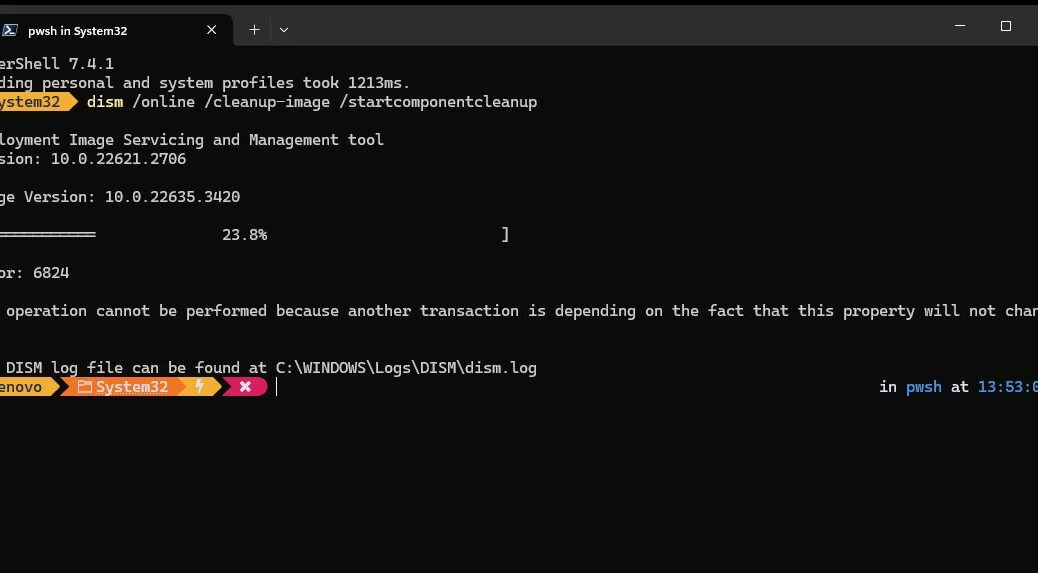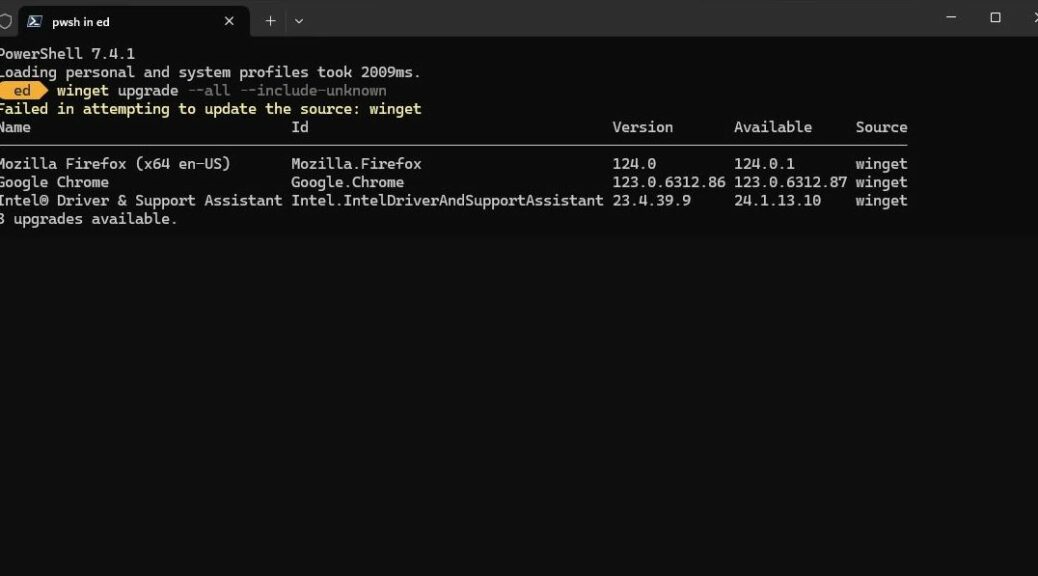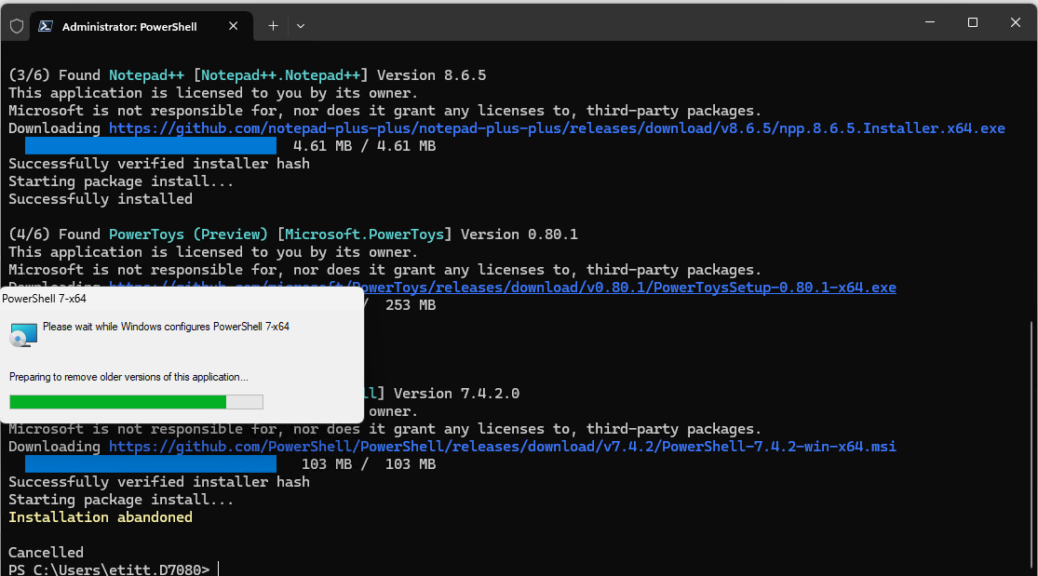
Here’s a good one. Take a look near the bottom of the lead-in graphic. It shows what happens at the end of a WinGet upgrade sequence with the PowerShell installer. But whereas that installer used to say “Installation cancelled” it now says “Installation abandoned.” Hence my assertion: PowerShell Install Goes Cancelled to Abandoned. In truth, this simply means the Windows Terminal window must be closed and re-opened for a new PowerShell version to take effect.
What PowerShell Install Goes Cancelled to Abandoned Means
Things get interesting when a program that’s currently running gets updated. Generally, for the code to take over from the old, the old must first stop. Then, the new must start up and run, so it can use all of its newly-minted capabilities and capacities. The “cancelled” and “abandoned” stuff is text for an error message that indicates the installer itself had to terminate in some kind of unexpected, unusual, or surprising way.
Look at what comes up when I close Windows Terminal, and then re-open it. Just for grins, I add WinGet list microsoft.PowerShell and another WinGet upgrade … check. The former shows the new version 7.4.2.0 is present (as does the lead-in prompt above it). The latter shows that a new WinGet check no longer reports that PowerShell needs an upgrade. Case closed!
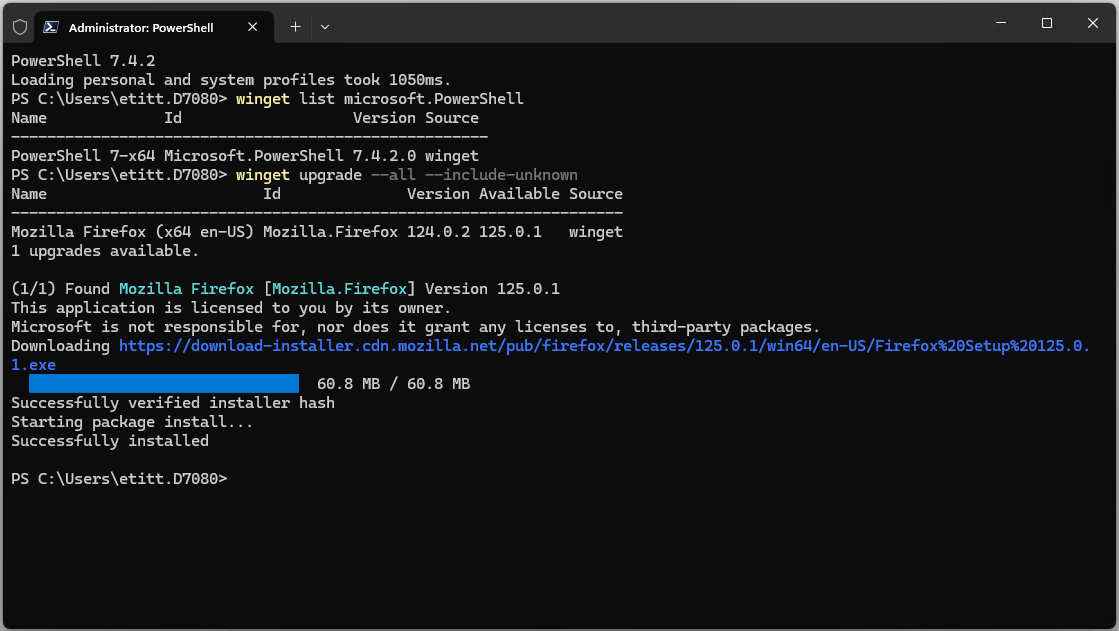
The new PowerShell version is running so it no longer generates an update notification. [Click image full full-size view.]