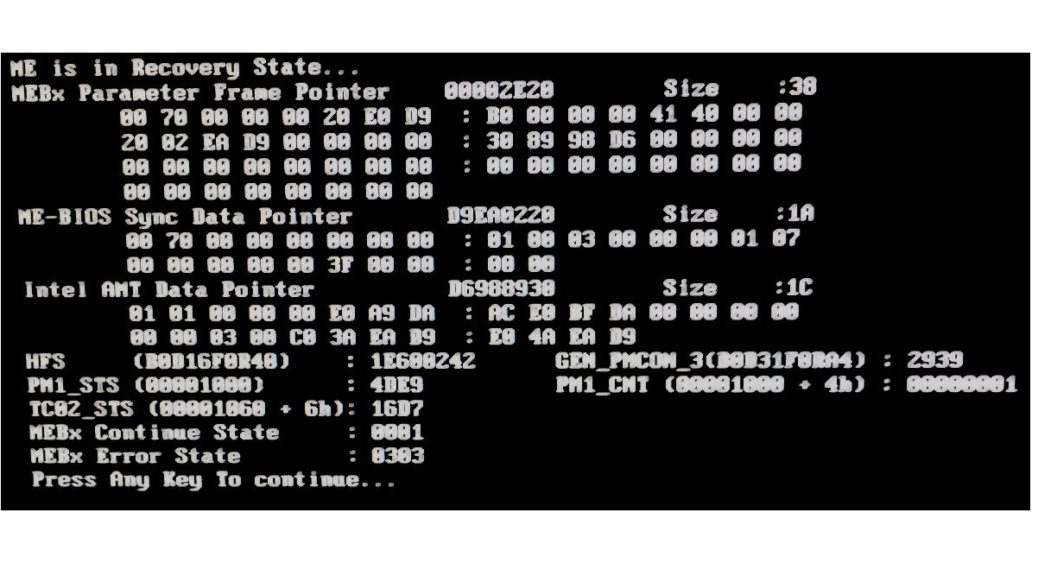
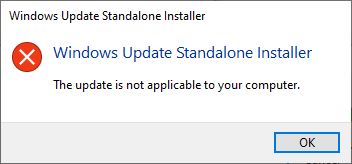
I knew it was coming, but not when. I’ve already retired my Lenovo T520 laptop. I bought them together, so my X220 tablet has the same CPU — an i7-2640M Sandy Bridge– and a 6 Series/C200 Series chipset. In the wake of the latest Dev Channel (Fast Ring) 21286 Build, this machine is now throwing Intel Management Engine errors. As the lead-in screencap shows it tells me “ME is in Recovery State.” Then, it hangs until I hit the proverbial “Any Key.” When I say the Lenovo X220 Tablet hits IME wall, I’m really saying it’s too old for the installer. Simply put, Windows 10 apparently doesn’t know what to do with this old hardware any more.
If Lenovo X220 Tablet Hits IME Wall, Then What?
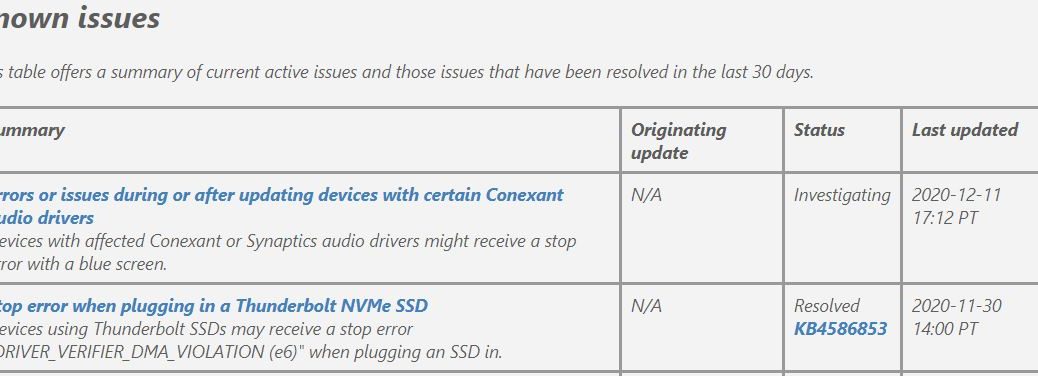
I can keep this machine going for a while yet, but I can tell its days are numbered. Upon investigation, its most current IME drivers and software date to the Windows 8.0 and 8.1 era. And then, there’s this cheery warning on the drivers and software download page for the X220 Tablet:

Key phrases in the warning are “no longer being actively supported” and “available ‘as-is'”. Translation: PC is old, and you’re on your own. [Click image for full-sized view.]
I found some fascinating discussion from others who’ve had this problem with this PC and others of its vintage. The most interesting item is at Bill Morrow’s Thinkpads.com forum. It prescribes a firmware hack as the best fix, which more or less turns off the Intel Management Engine (more recently renamed to Active Management Technology, or AMT).
To use this approach, I would have to buy a cheap (under US$20) EEPROM burner. Then I’d need to hack the bits for the BIOS myself (through a Python program named ME_CLEANER).
I’m still chewing on whether or not I really want to do this. I will keep it running as it stands as long as I can, I think. I’ll pass it along to my old buddy Ken Starks at Reglue.org when I can’t upgrade Windows 10 on it anymore. Even with this glitch, by pushing the “Any Key” after each reboot during the Windows 10 install process, I got this machine upgraded to Build 21286. For the time being, I’ll just keep on keeping on until I have to do something else. Stay tuned!


