Late last week, SUMo (Software Update Monitor) informed me that the version of OneDrive on the home-from-school PC was outdated. It didn’t update itself, nor did any of my usual update tools handle this item either. Thus, I found myself asking: “How do I perform a manual OneDrive Update?” The answer, quite fortunately, is: “Easy!”
Working Through Manual OneDrive Update
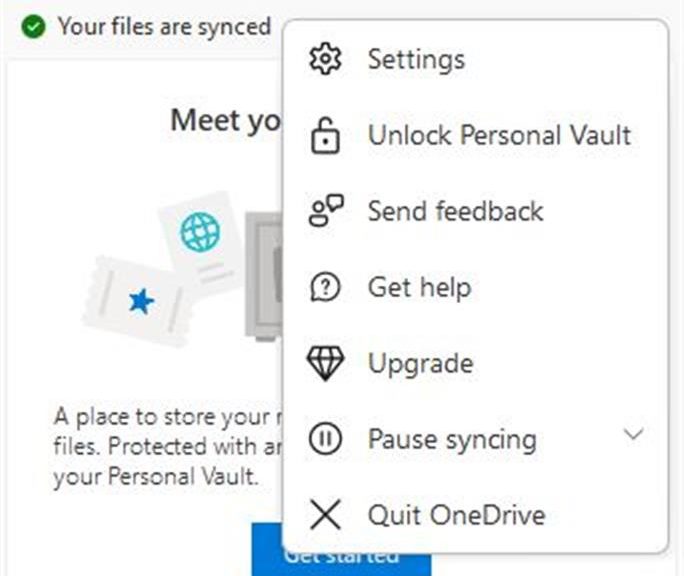
If you right-click the OneDrive cloud symbol in the taskbar notification area, a menu appears. Click “Settings” from that menu (shown in the lead-in graphic for this story).
Next, click the “About” tab at the upper left of the resulting OneDrive window. If you the click on the version number in the “About Microsoft OneDrive” pane (boxed in red below), it takes you to the OneDrive release notes page.

The Build number clues you into what’s running on the target PC.
From there, you can compare the version number for the installed version (shown in your UI) and the “Last released build” under the “Production ring” heading on the web page. If the numbers agree, you’re up to date. If the on-web version is higher numbered than the local one, click the link to download the OneDriveSetup.exe file. You need only double-click that file to bring your OneDrive version current. Easy-peasey!
Ordinarily, OneDrive takes care of itself just fine. But if you find a PC with an out-of-date version — even a way out-of-date as on the former school laptop — this technique will catch you up quickly and easily. Cheers!