One week ago today (March 30), MS released an optional update KB4554364 through the Microsoft Update Catalog. This update is discretionary (though it will probably get rolled up into the next Update Tuesday on April 14). The update was released specifically to address reported issues with certain VPNs and with Internet connectivity problems for certain applications. If one has no such problems, it’s not necessary to install KB4554364. I just went ahead and did it anyway on one of my PCs. Why? Because the process of installing KB455364 illustrates MS Catalog Update install actions and behavior. That’s the subject for today’s blog post, in fact.
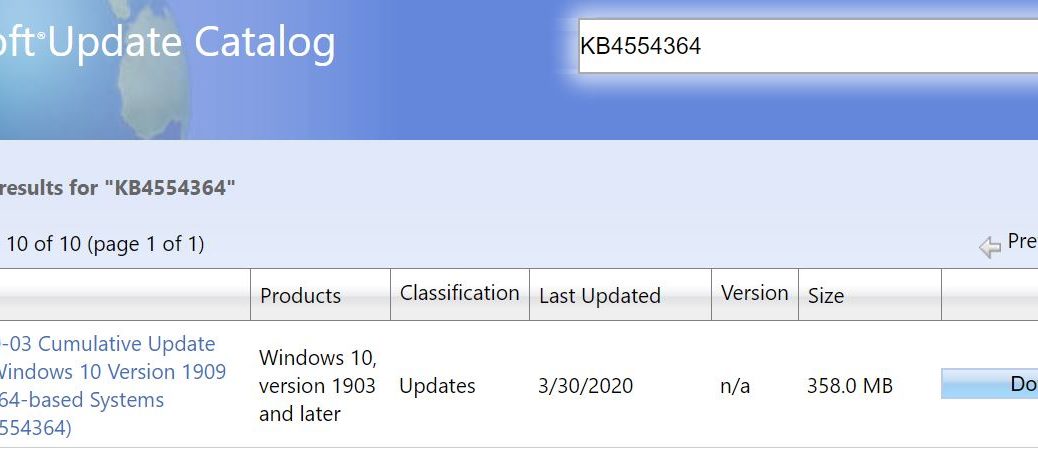
To begin the process, one must download the update from the MS Update Catalog. The entry for the 64-bit 1909 version of this item provides the lead-in illustration for this story. If you click the download link at the far right, you’ll be prompted to confirm that download in a pop-up window. Note: this download is named windows10.0-kb4554364-x64_0037f0861430f0d9a5cea807b46735c697a82d0c.msu. The file extension at the end of the file name — .msu — indicates it will call the Windows Update Standalone Installer to install itself. Careful inspection of the filename shows it identifies numerous aspects of the update involved:
- windows10.0 identifies the operating system target as Windows 10
- kb4554364 identifies the governing knowledge base article that describes this particular update
- x64 identifies that the update is for 64-bit OSes
- the long string of digits is a globally unique identifier (GUID) for this particular self-installing update file
- the .msu file extension, as already mentioned, indicates that this file calls on the Windows Update Standalone Installer to apply the update(s) it contains. Some updates come in the form of cabinet (.cab) files. I’ll explain how to install those in the concluding section of this blog post
Step 2: KB4554364 Illustrates MS Catalog Update Install with Installer Start-up
To launch the self-installing update file, double-click it in File Explorer, or right-click and select “Open” from the pop-up menu. This launches the Windows Update Standalone Installer, depicted in the following screencap:
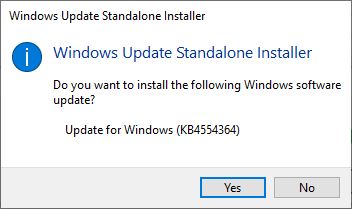
When the Windows Update Standalone Installer starts up, it asks you to confirm installation of the targeted update (KB4554364, in this case). Click “Yes” to fire off the update process.
Step 3: KB4554364 Illustrates MS Catalog Update Install with Update Installation
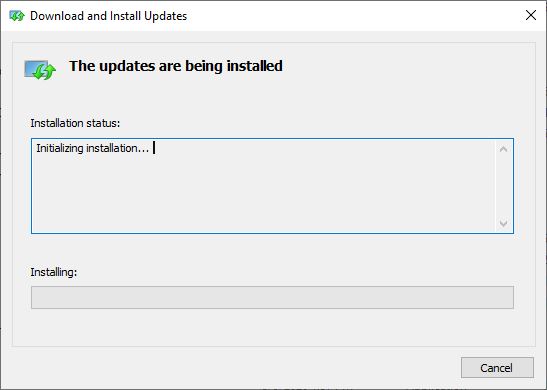
First, a status window appears that indicates the Windows Update Standalone Installer has begun its work. As you can see it report that is is “Initializing installation…”
Once the intialization phase is complete, the Standalone Installer reports that it is installing the specified update (KB4554364)
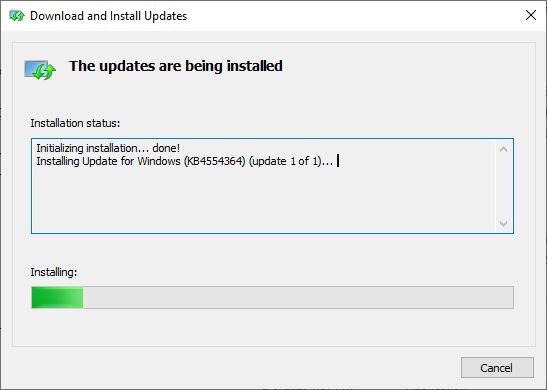
This takes some time to complete, but eventually you’ll see a report that the update installation has completed
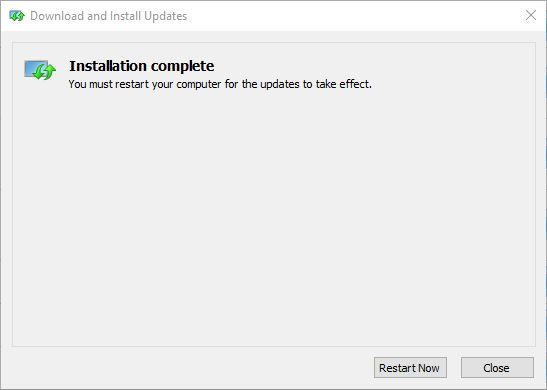
At this point, the update won’t take effect until the host PC is restarted. Thus, you have the option of forcing an immediate restart (click the “Restart now” button). OTOH, if you have unsaved or unfinished work on that system, or aren’t yet ready to restart, click the “Close” button and keep on computing. You can manually restart later at a more convenient time, or the PC will automatically restart when the next eligible restart time window comes around.
Installing Cabinet Files from the Windows Update Catalog
You can use the DISM command to install .cab files downloaded from the catalog. I find it easiest to shift right-click the download entry in File Explorer, then use the “Copy as path” option from the pop-up menu. As an example, I just did so with the .cab file named "C:\ProgramData\Package Cache\{CE83D0BD-418A-F3D1-D6CE-687E96D1EBD0}v10.1.17763.132\Installers\ff8dd5a961e46b5d05906ac4b7a5ba37.cab" purely for illustration. The proper DISM syntax is:
dism /online /add-package /packagepath:path-spec
Thus, for the preceding path specification, this becomes:
dism /online /add-package /packagepath:C:\ProgramData\Package Cache\{CE83D0BD-418A-F3D1-D6CE-687E96D1EBD0}v10.1.17763.132\Installers\ff8dd5a961e46b5d05906ac4b7a5ba37.cab
If the path specification includes any spaces, leave the quotation marks around that string. Otherwise, as you see above, it’s OK to remove them. This will apply an update-package in .cab format to your current, running Windows image.
Cheers!